Load Entry
The load form is designed for a logical flow so you can enter loads quickly and accurately.
- Go to Load Management > Add New Load.
- A Load Information page opens, divided into Origin/Destination, Load Information, and Bill-To Information.
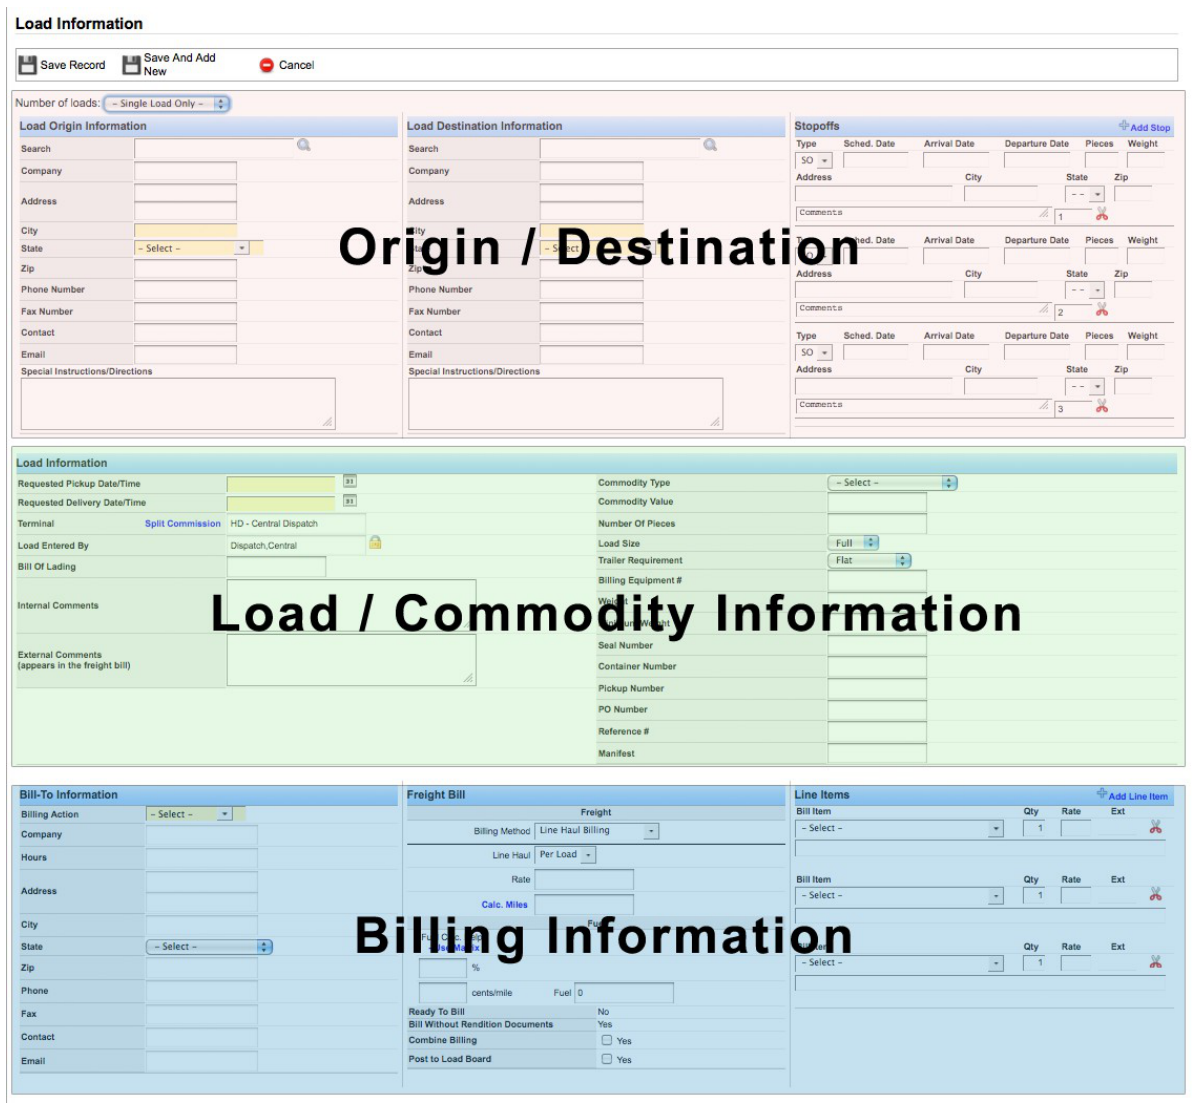
Origin / Destination
Enter applicable information in the Load Origin and Destination sections (Shipper and Consignee).
Note: Only yellow fields are required, but Transport Pro recommends entering all applicable information.
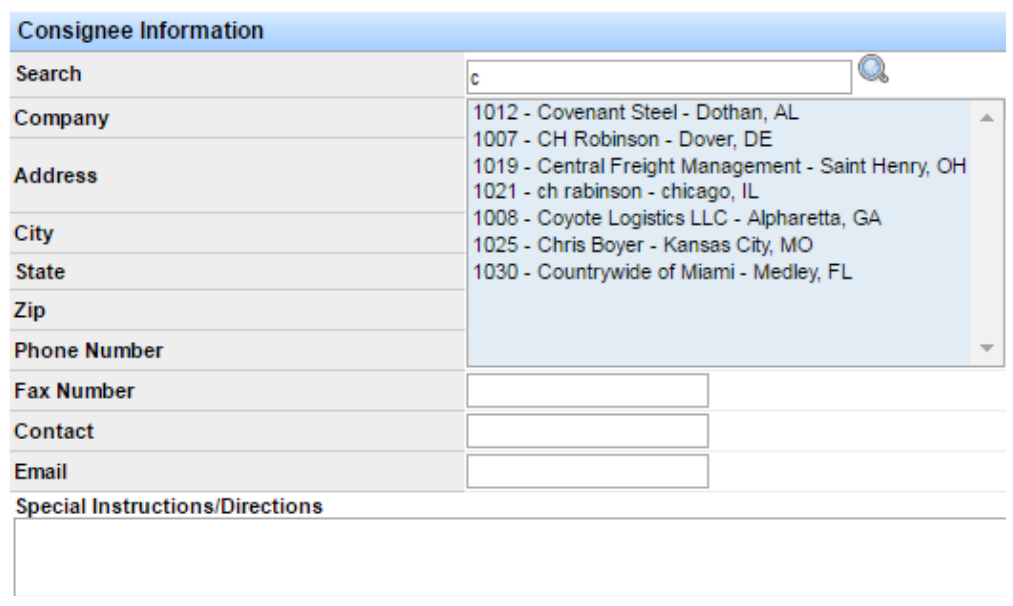
You can enter locations manually or search for the customer's name in the Search box, which tags the load with the shipping location for reporting. Use Special Instructions/Directions for anything the driver needs to know about pickup or delivery.
A complete company name and address are required to bill the load—enter them as soon as you have them, even if they are not required on initial entry.
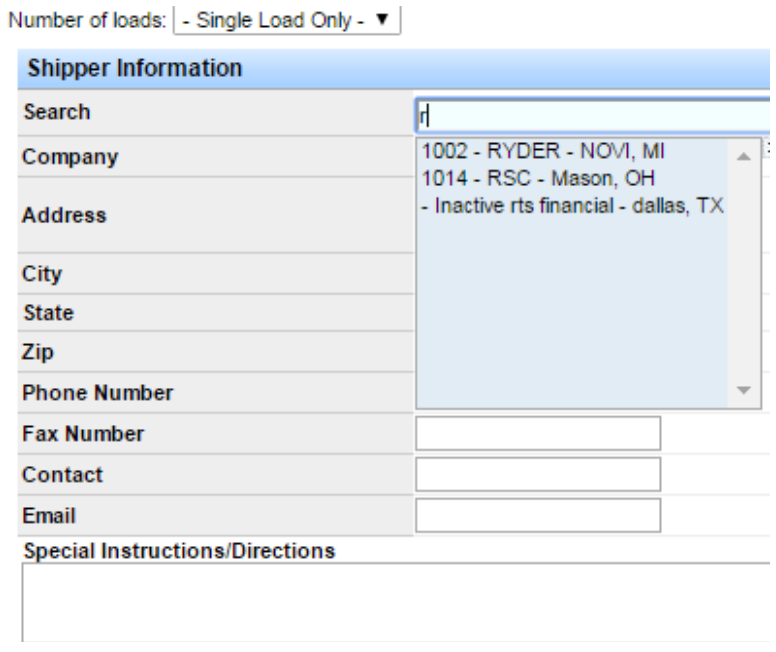
Note: You may copy up to ten instances of the load if you have multiple similar loads. This saves time on load entry.
Load / Commodity and Bill-To Information
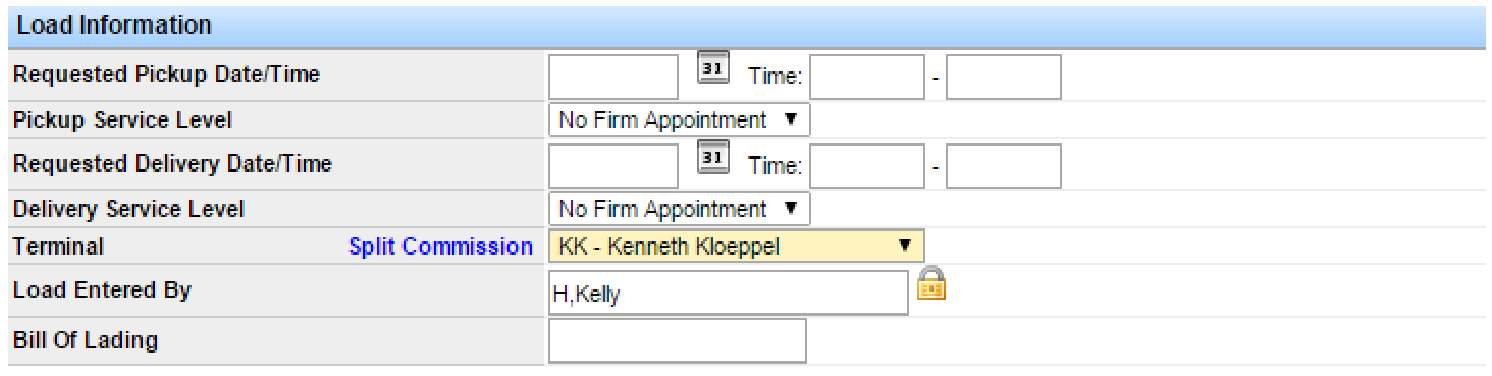
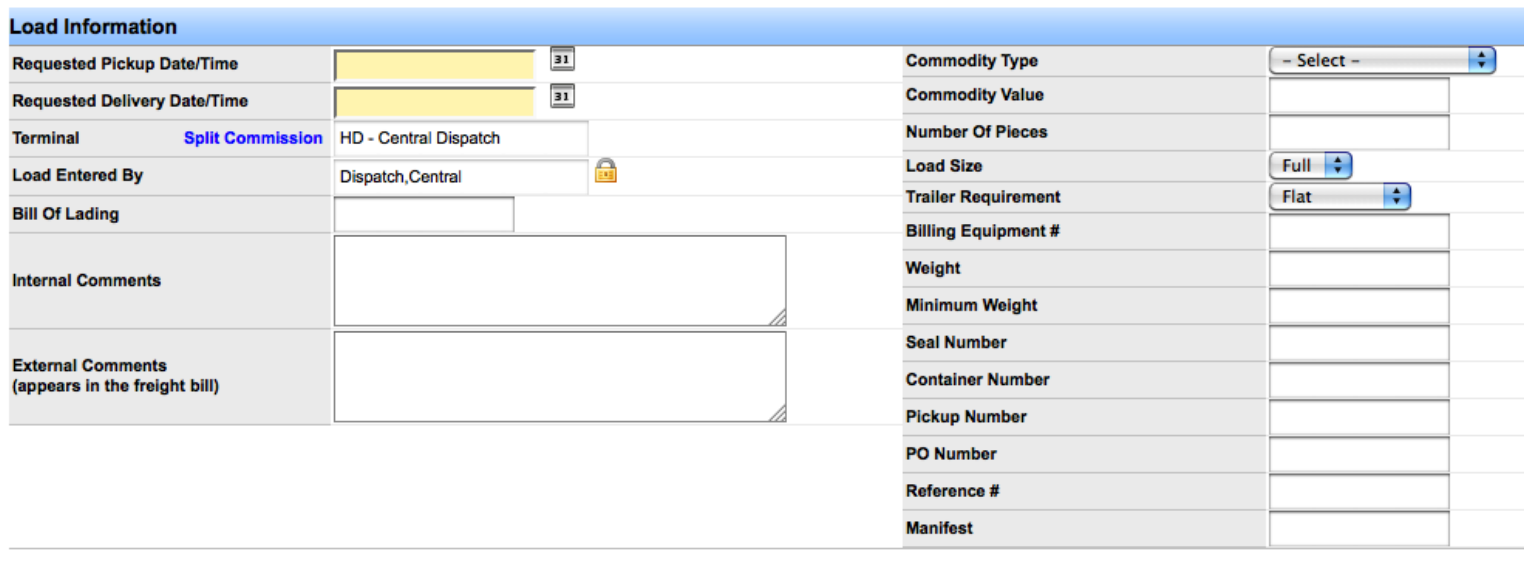
Enter applicable commodity and scheduling information.
Important: Requested Pickup Date/Time, Requested Delivery Date/Time, Bill of Lading number, Commodity Type, and Weight are required. You cannot mark the load Ready to Bill without them.
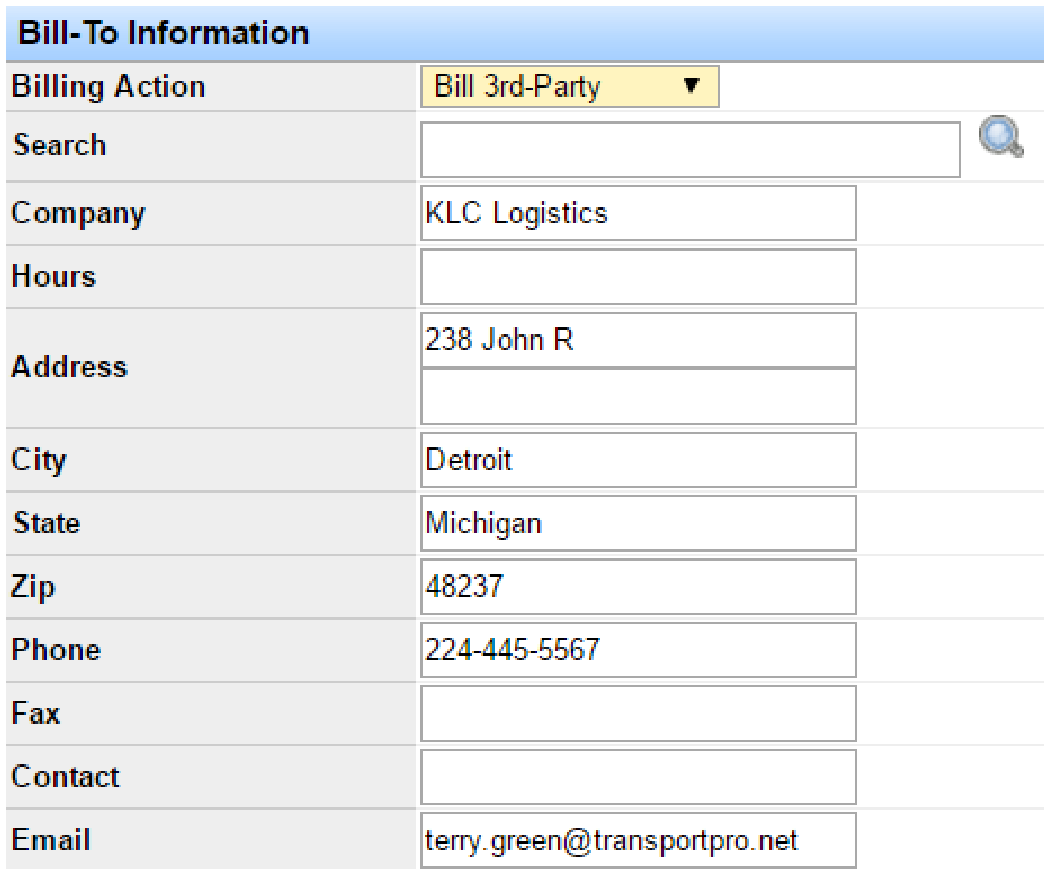
Enter the customer you are billing.
Important: A customer record must be set up under Customers before a load can be saved. The system requires a valid customer—shipper, consignee, or third party. If you are not billing the shipper or consignee, select 3rd Party from the drop-down, then search for the customer. Do not select a random customer because yours is not set up yet. See Add a Customer.
Freight Bill Information
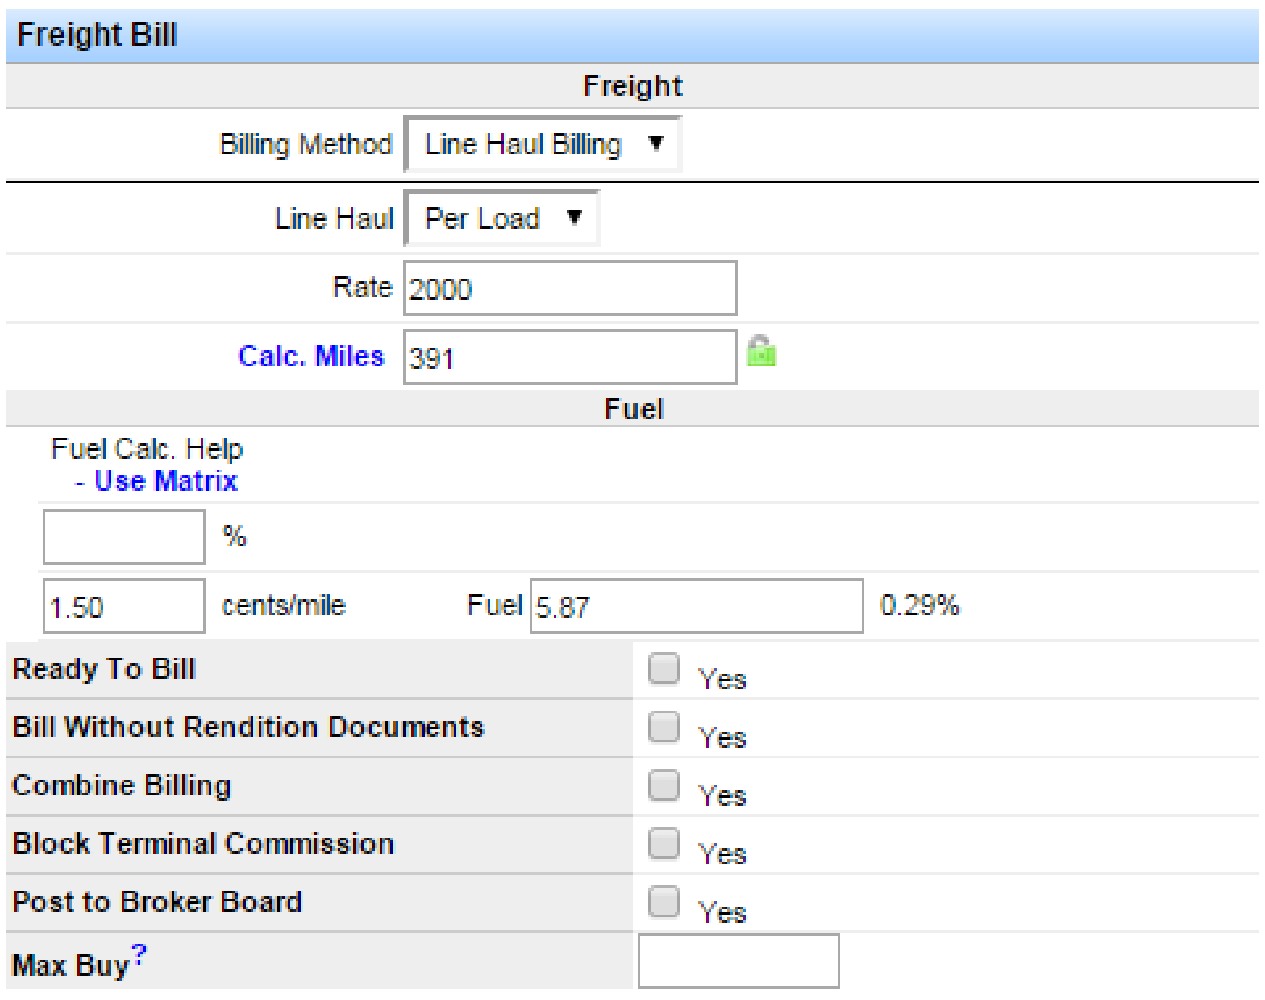
Enter the billing rate information for the load. You must enter a value—even if it is 0—for rate, miles, and fuel.
- Per Mile Billing: Enter the rate per mile (for example, 1.50). Complete the miles field, or click Calc Miles to calculate mileage.
- Per Load Billing: You still must enter miles. The Rate field is the flat amount charged for the freight portion of the bill.
- Cents Per Hundred Weight (CWT) Billing: Enter the rate as a dollar amount (for example, 5.25). You must enter weight and minimum weight for the freight portion to calculate correctly.
Line Item Information
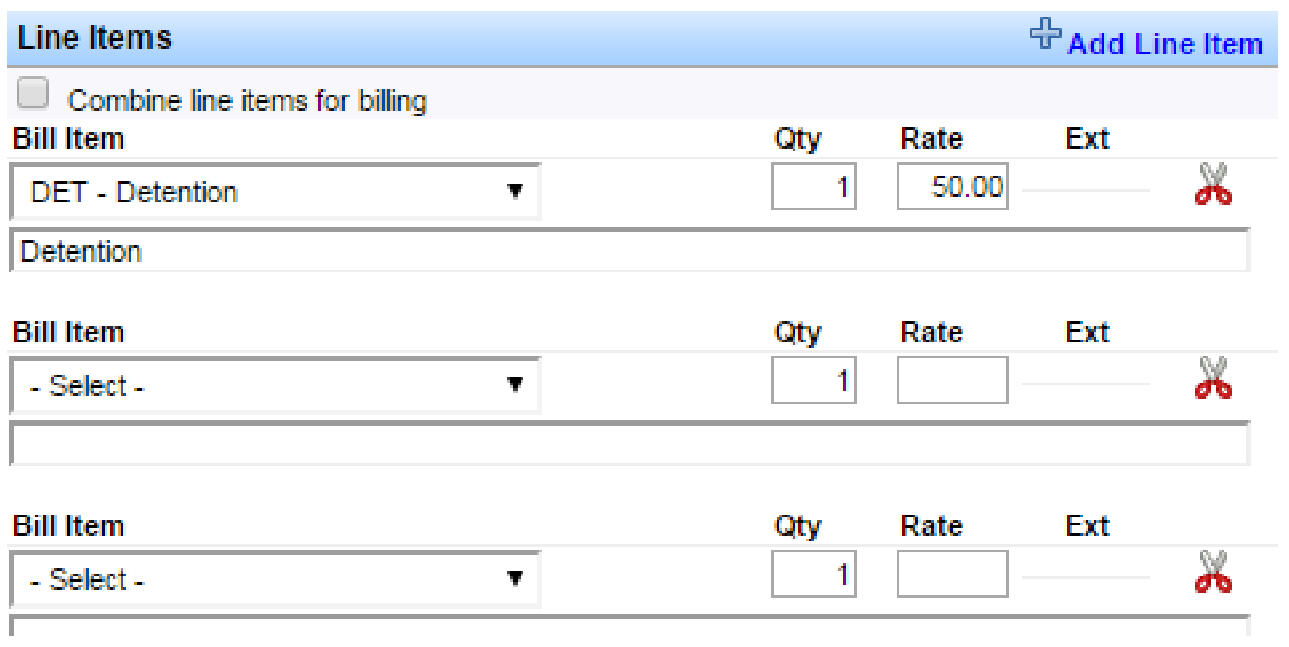
Select the Bill Item and enter the quantity and rate. Click Add Line Item in the upper right of the Line Items section to add another row. Click the scissor icon to remove a line item.
Note: Line items must be set up before dispatching. Add or edit them under Administration > Manage Billing Codes > Add Line Item or Search Line Items.
You can combine line items for billing so freight, fuel, and other items show as one amount. This does not change the total. Combine Billing can also be defaulted on the customer record.
Express Loads
To add an express load:
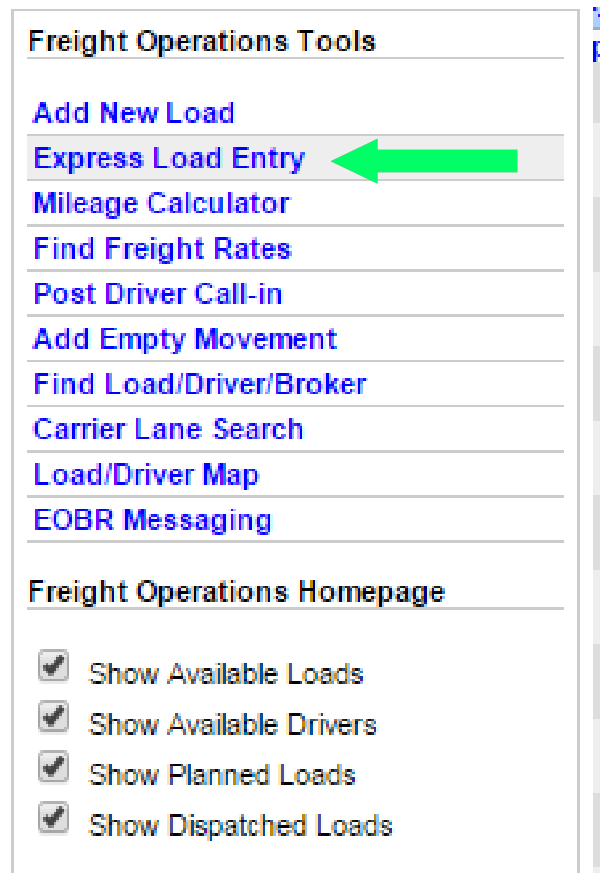
- Go to Load Management > Freight Operations Dashboard.
- Click Show Freight Operations Tools in the upper right.
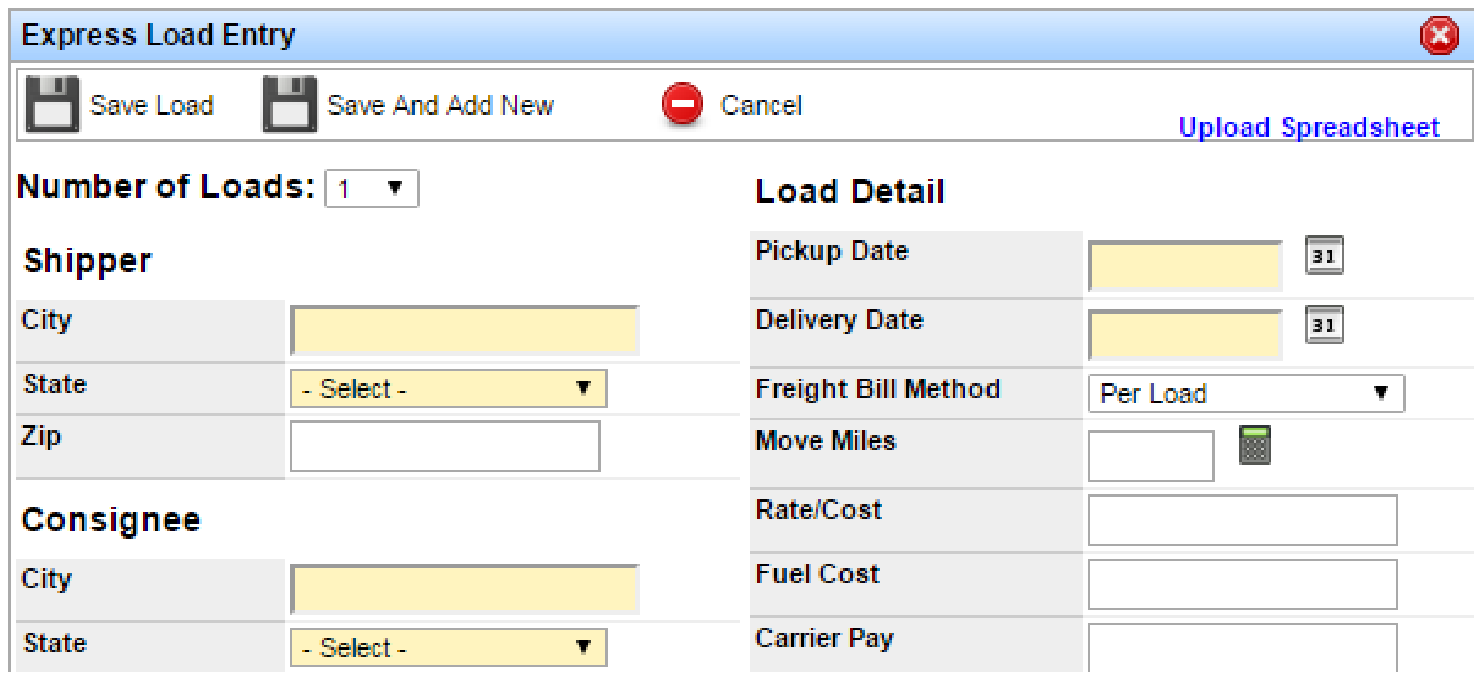
- Click Express Load Entry.
- Enter the applicable information and click Save Load.
Note: At the bottom of the form, check Post to Boards if you want to post the load to other boards. See also the Freight Operations Dashboard guide.
Stop-Offs
Add a Stop-Off
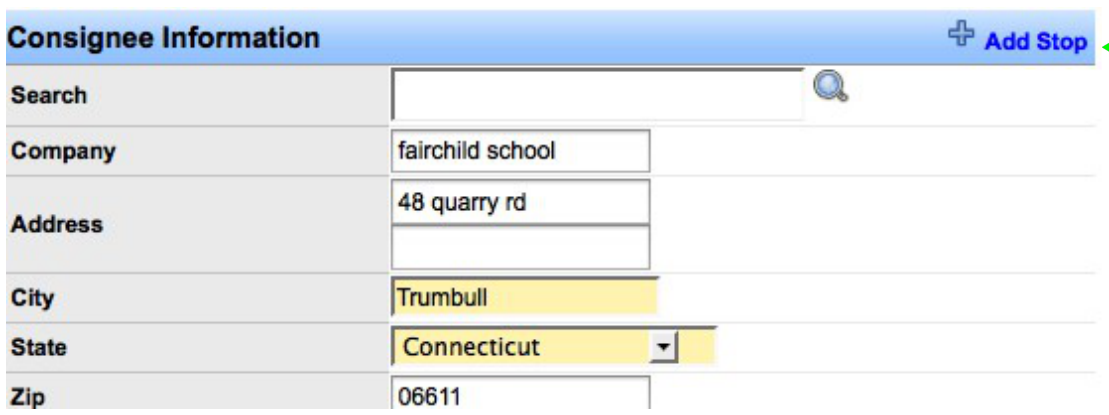
Click Add Stop in the upper right of the Consignee Information box and fill out the appropriate information.
Delete a Stop-Off
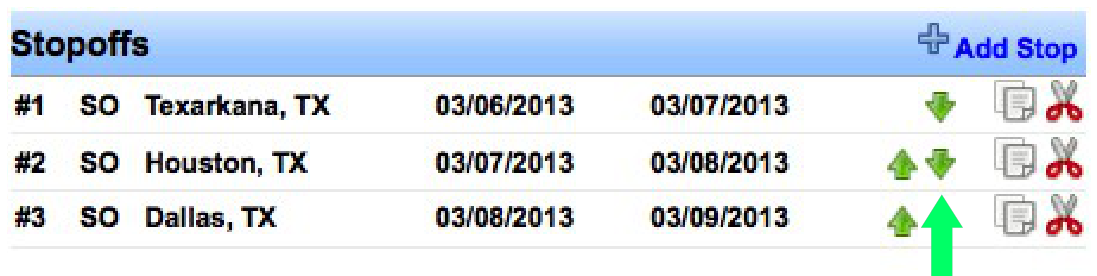
Click the scissor icon to the right of the entry you want to delete.
Edit a Stop-Off
Click the edit icon to the right of the entry, or click any of the displayed text for the stop-off. The detail/edit view appears below the overview of all stops. The stop-off you are editing is highlighted in yellow.

Change the Stop-Off Order
If you have multiple stops, use the up or down green arrows to reorder them. Changing the order does not change dates or times.
Stop-Off Fields
- Scheduled Date: Date/time the driver is supposed to arrive.
- Arrival Date: Actual date/time the driver arrived.
- Location / Delivery fields: Search by customer name to auto-populate location fields when available. For a stop-off (SO), enter the scheduled delivery date/time and when the driver should leave. For a pick-up (PU), enter the scheduled pickup date/time and when the driver should leave.
Note: After a load is dropped off or picked up, return to these fields and enter the actual dates and times, including when the driver left the facility.
Complete as much load information as you have—pickup and delivery dates, terminal, commodity, weight, PO number, pickup number, and similar fields many customers require for payment.
File History and Dispatch
At the bottom of the Load Summary screen, the File History section shows documents tagged to the load as billing processes paperwork (scanned at truck stops, company stores, or dropped with billing). Click the download link to view a file.

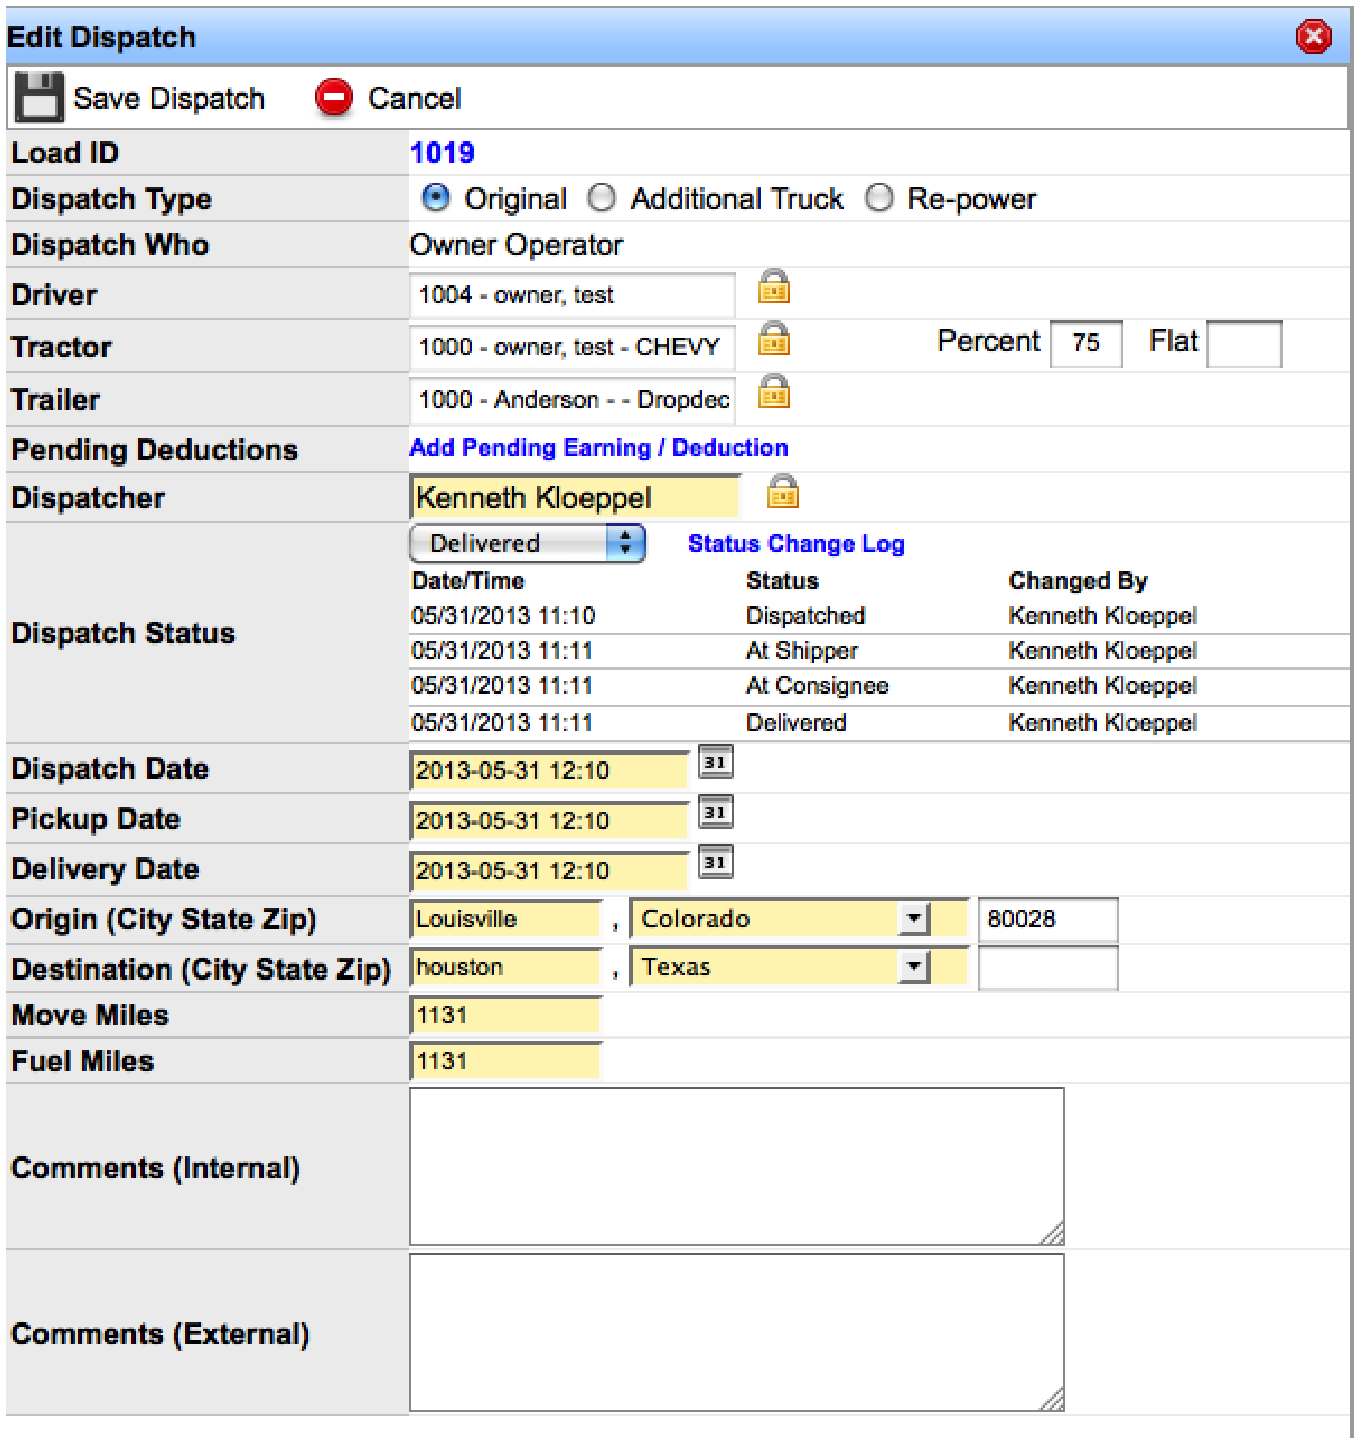
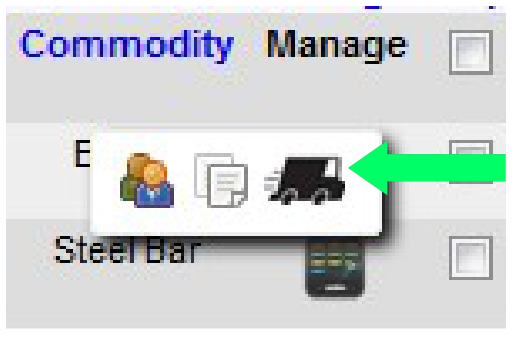
You can dispatch from the Available Freight board or from the Load Summary screen. The Dispatch History section shows who is currently dispatched, including split loads or re-power situations. Click Add Dispatch for a new dispatch, or the Manage icon to update or deliver an existing one.
Note: When dispatching an owner operator or company driver, complete the Driver, Tractor, and Trailer fields. Transport Pro auto-populates related boxes once you select a driver, tractor, or trailer. To override a trailer (for example after a drop-and-hook), click the lock icon next to the trailer and enter the new trailer ID. Always dispatch the correct driver, tractor, and trailer.

To broker a load, change Dispatch Who to Broker Carrier. The form updates so you can search for a carrier—only active, approved carriers are available. Enter the pay amount, choose fax or email for the rate confirmation, and enter the contact fax and/or email. Transport Pro creates and sends the rate confirmation automatically.