Available Loads
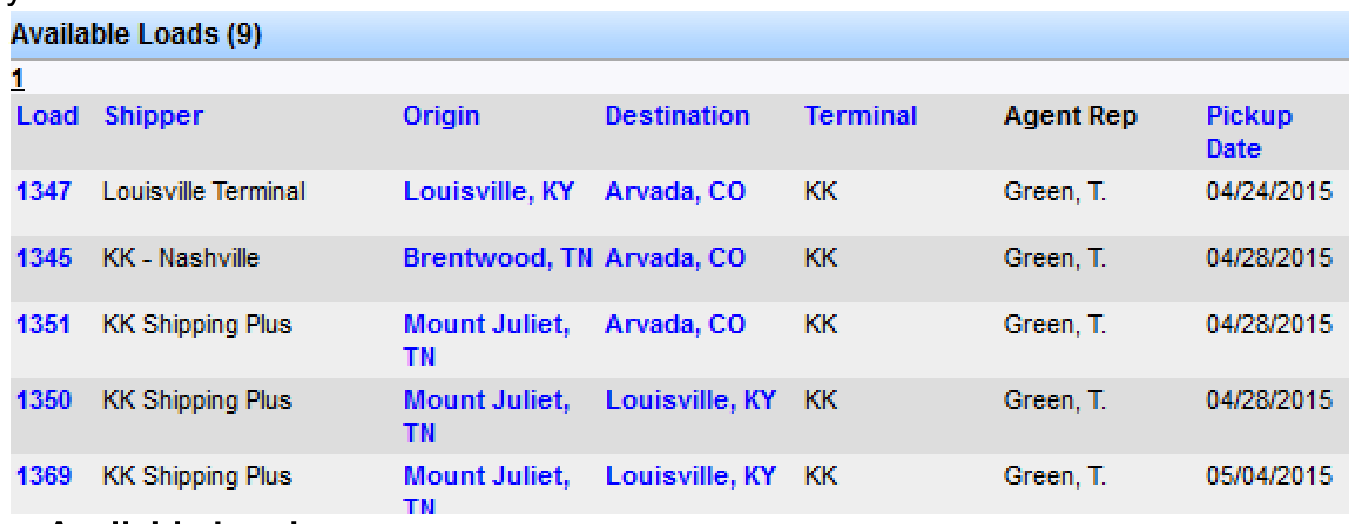
Available loads include:
- Active loads that have not yet been dispatched and have not yet been billed
- Express loads that have not been converted to a load and whose expiration date has not yet been met
Remove Available Loads
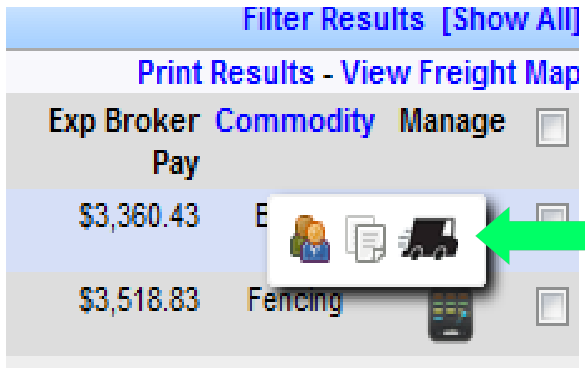
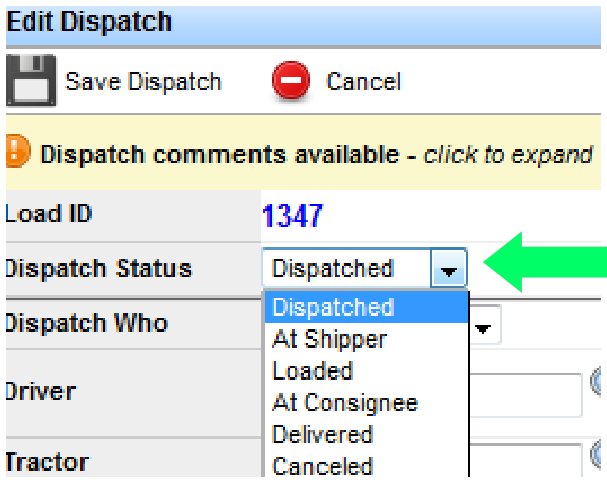
A load leaves Available Loads when you dispatch a driver or broker on it, or when you cancel the load. Click the Dispatch icon to open the Edit Dispatch window, then choose the correct option from the Dispatch Status drop-down. See also Cancel Load vs Cancel Dispatch.
Manage Available Loads
From the manage column you can find drivers near the load, edit the load, or add a dispatch.
Filter, Print, and Map
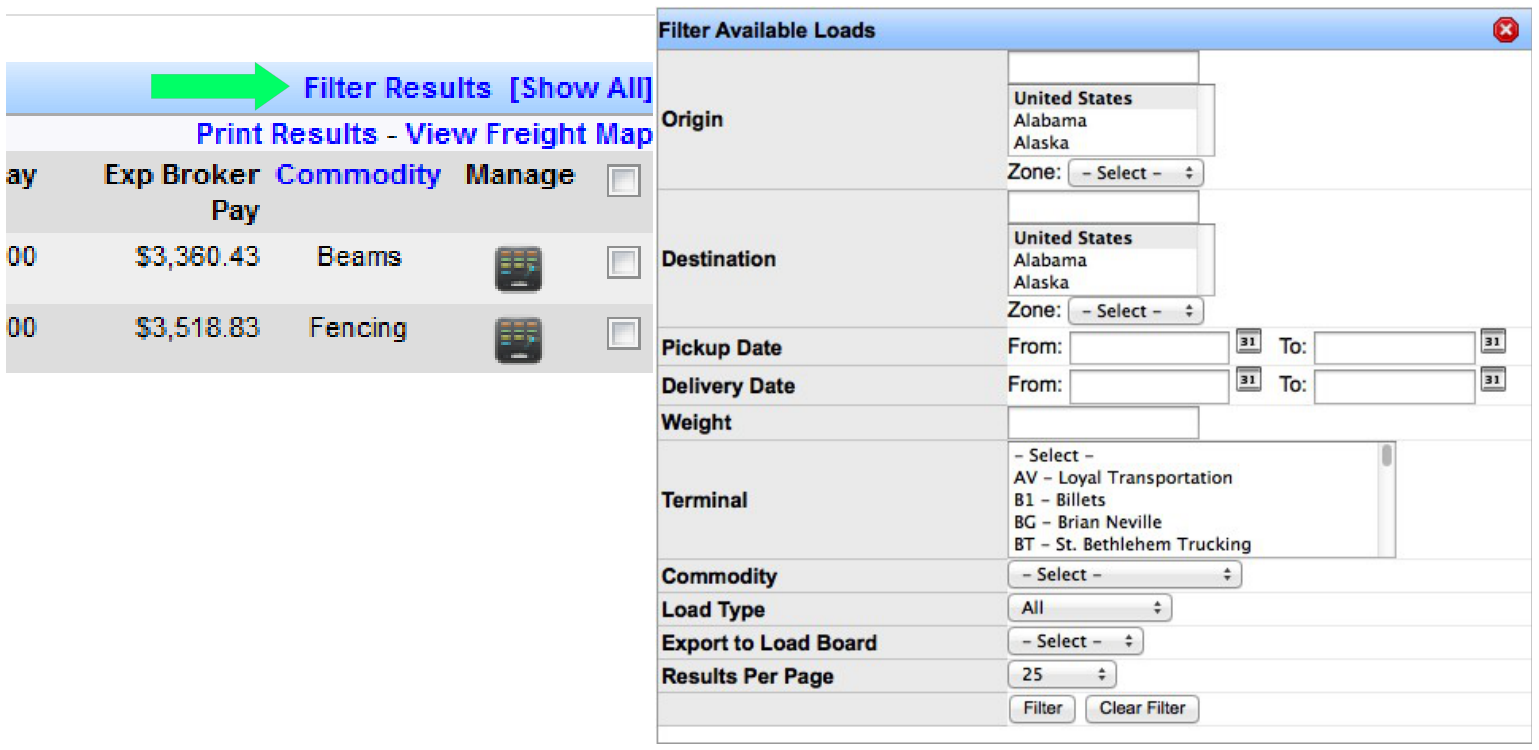
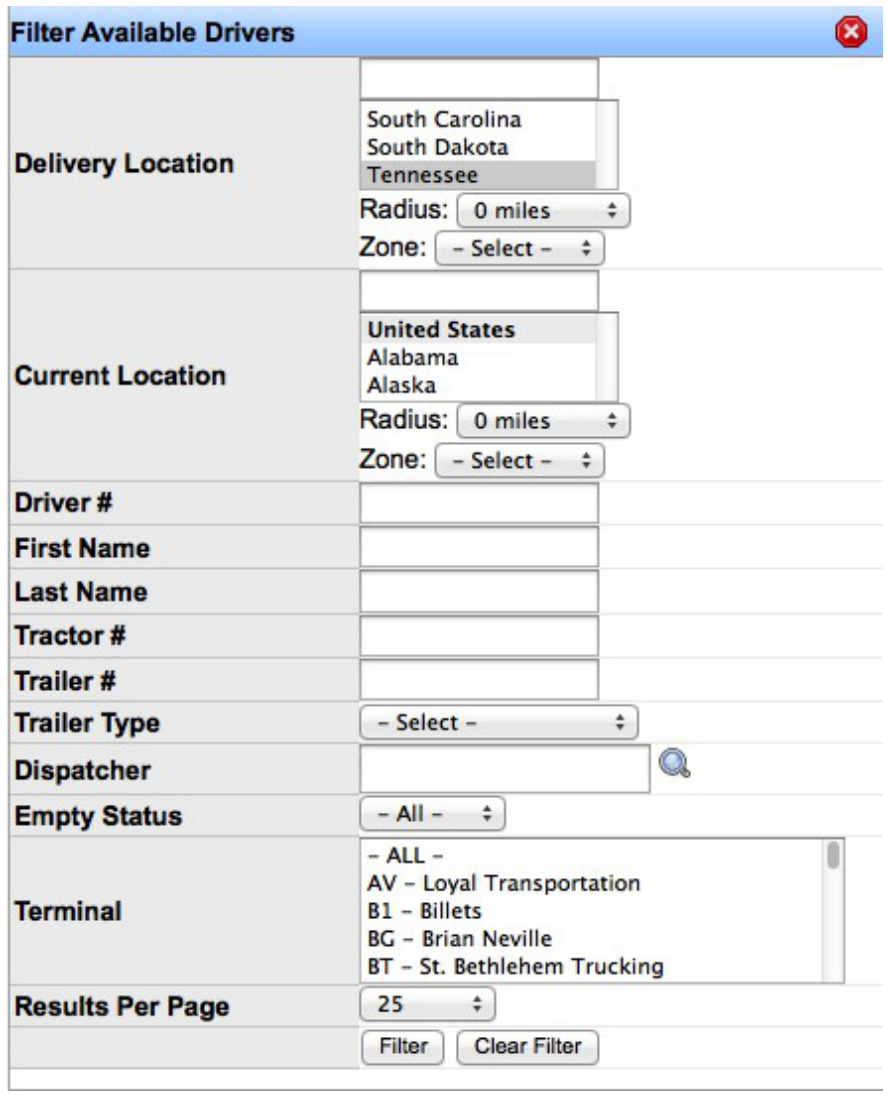
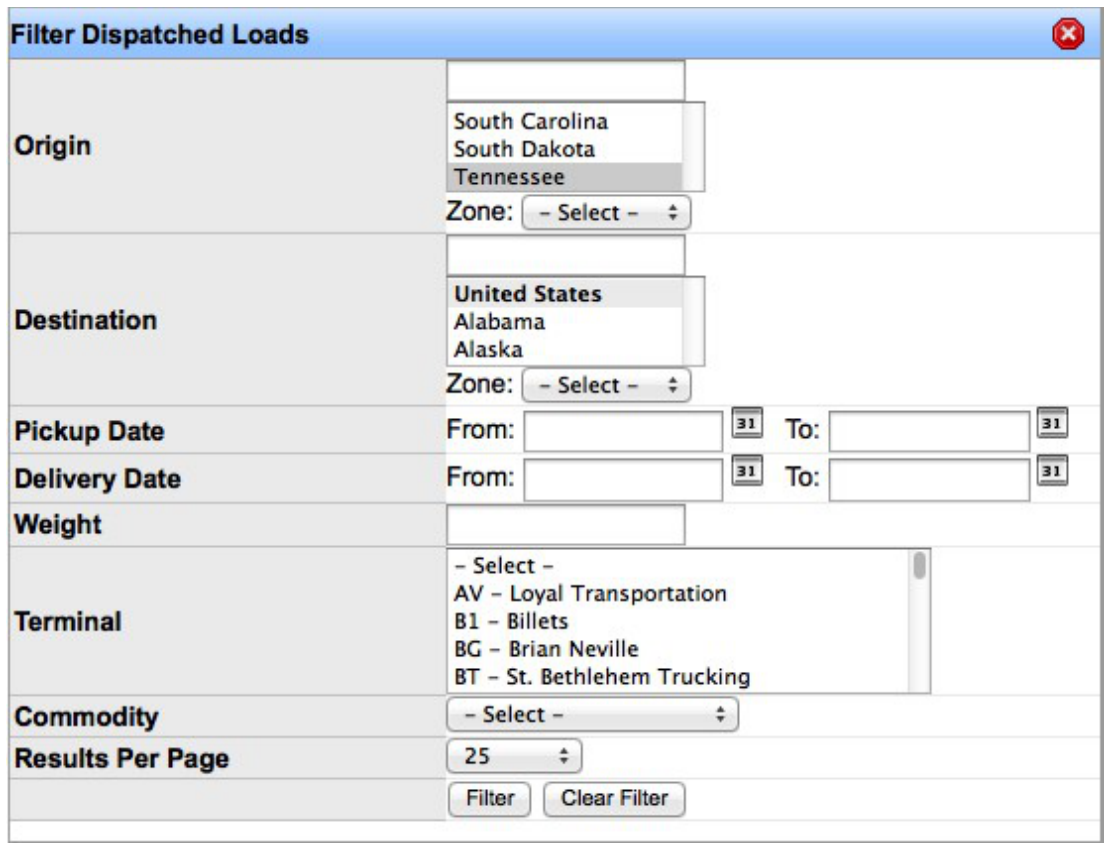
Click Filter Results in the upper right of the Available Loads section to search by specific criteria. On the same computer, your filter criteria are remembered the next time you log in. Click filter, then Clear filter to show all.
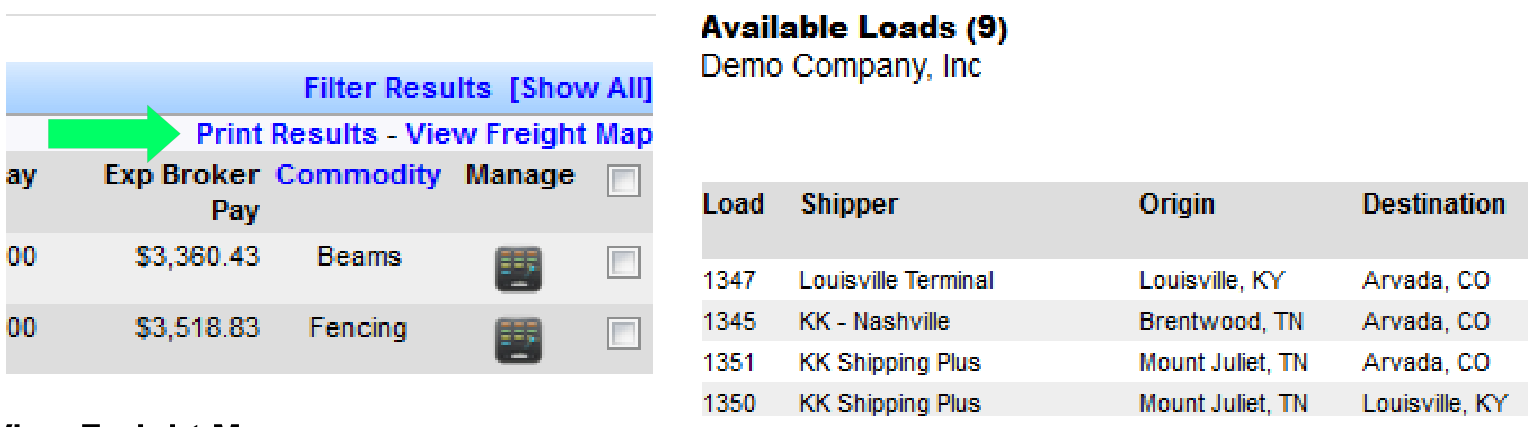
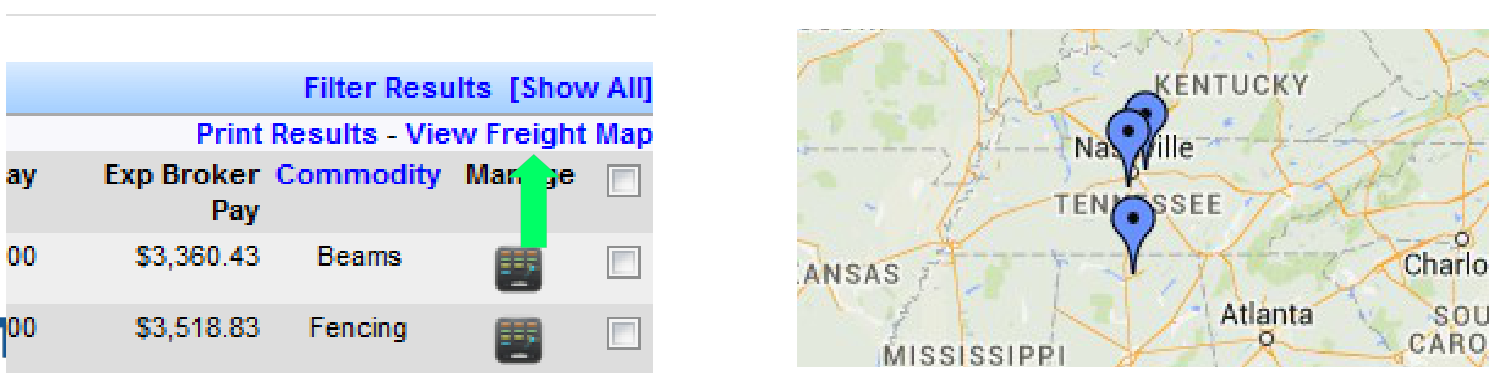
Print Results opens a printer-friendly list of available loads (respecting filters). View Freight Map opens a map with pinpoints for those loads.
Active Drivers
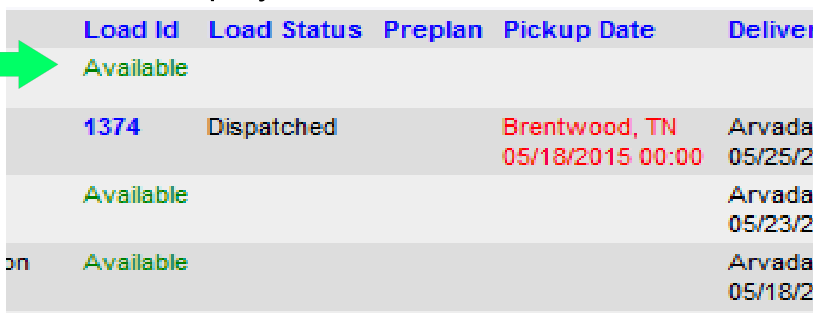
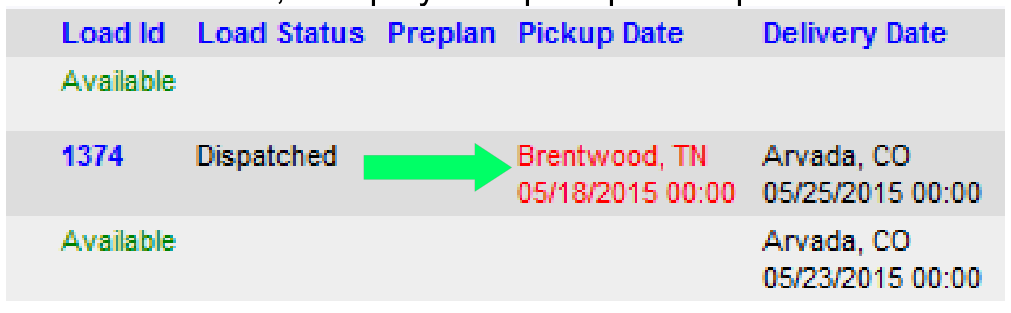
Active drivers are drivers not currently dispatched on a load. The Load Id column shows Available, or the ID of the load they are on if dispatched.
Column Descriptions
- Pickup Date: Pickup date of the driver's current load (if dispatched). Uses the dispatch pickup date first; otherwise the load pickup date.
- Delivery Date / Destination: Where the driver is located at the specified time. Uses the dispatch delivery date first; otherwise the load delivery date. For currently dispatched drivers, this shows the final destination and estimated arrival.
- Manage: Update the driver's status or find loads near the driver's destination.
Text Color Definitions
Pickup Date:
- Brownish red: Warning that the driver should arrive at the initial pickup within 2 hours.
- Red: Warning that the driver should have already made the initial pickup.
Destination Date:
- Brownish red: The driver should be within 2 hours of the final destination.
- Red: The driver should have reached the final destination.
Use Print Results, View Freight Map, and Filter Results for active drivers the same way as for available loads. Filters are remembered on the same computer.
Planned Loads
Planned loads are loads that have not yet been dispatched. Dispatching the load removes it from this section.
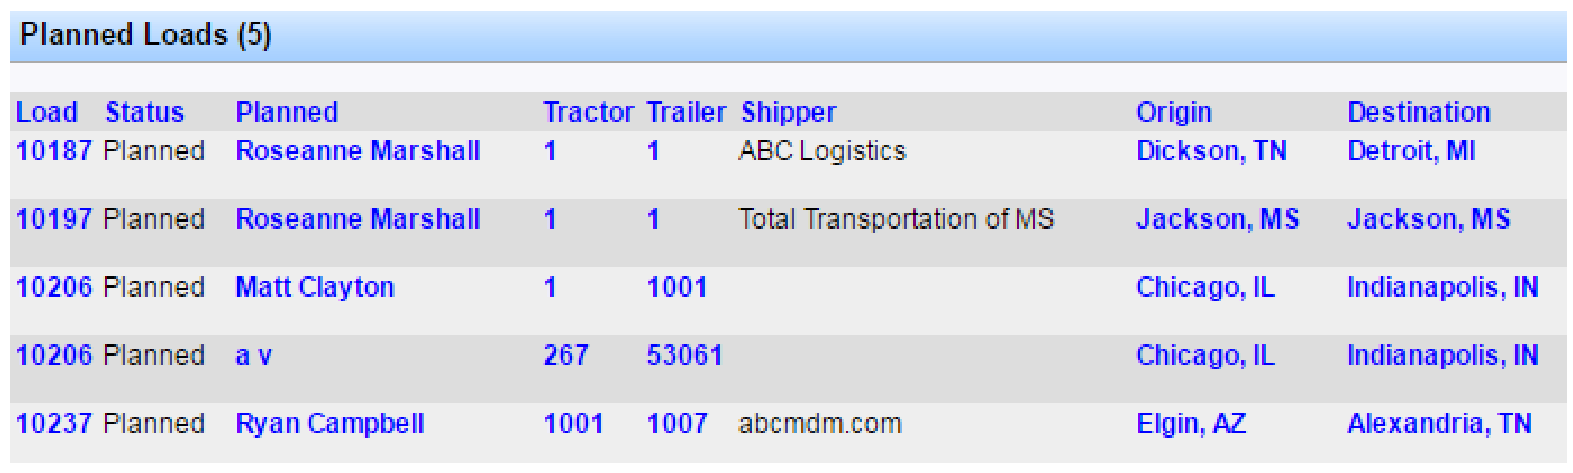
- Dispatched: Name of the driver planned on the load.
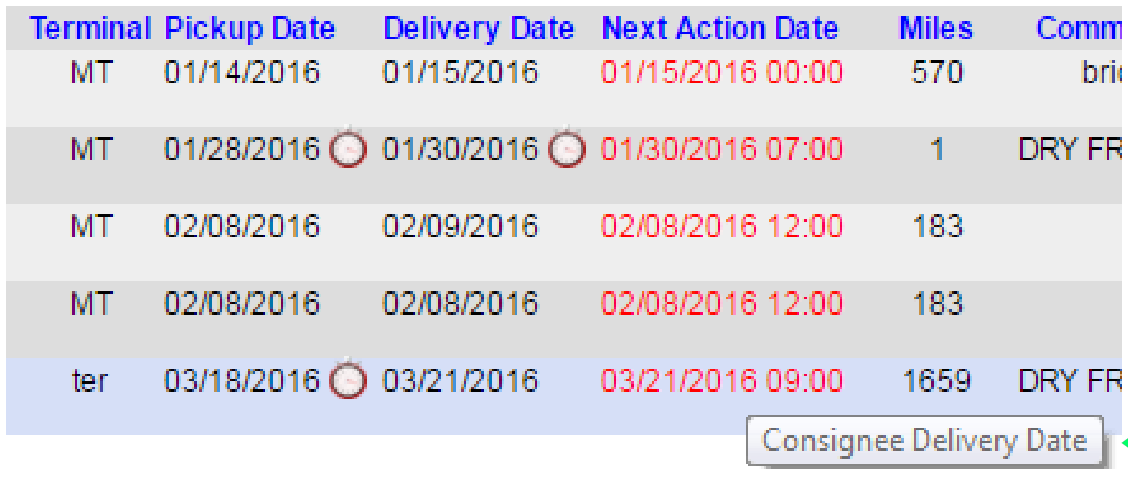
- Pickup Date: Date the load is to be picked up from the customer.
- Delivery Date: Final delivery date as entered on the dispatch.
- Next Action Date: Next milestone date across all dates on the load. Hover over the date/time to see what it reflects.
Print Results opens a printer-friendly list of planned loads (respecting filters).
Dispatched Loads
Dispatched loads are loads that have been dispatched but have not yet been delivered. Delivering the dispatch removes the load from this section.
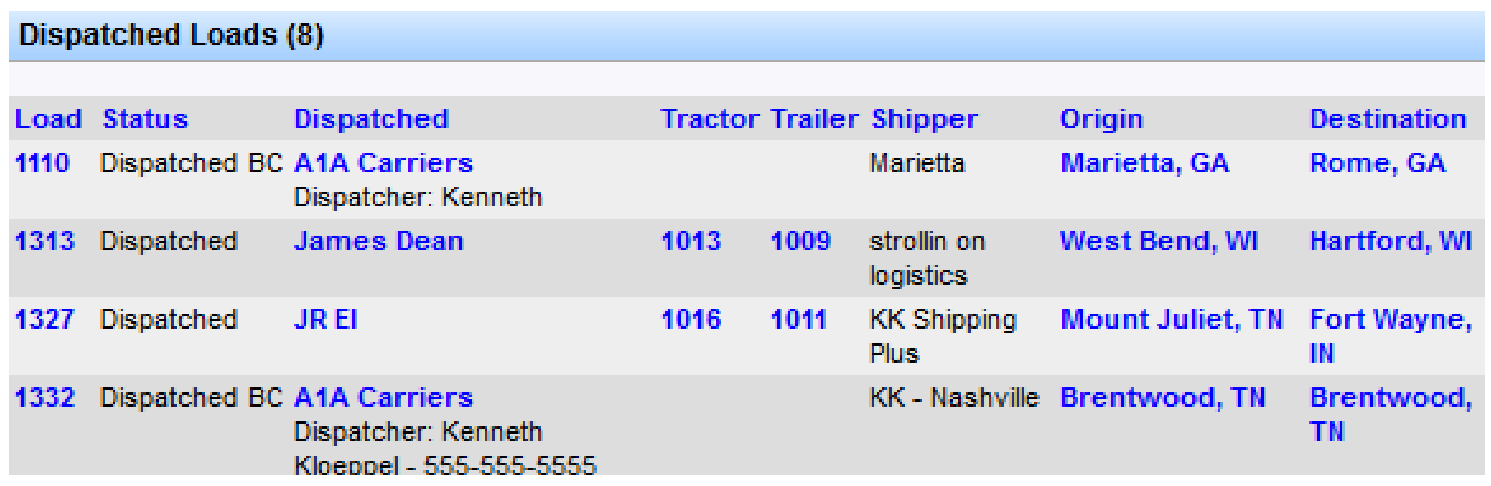
- Dispatched: Name of the driver or broker carrier on the load.
- Pickup Date: Date the load is to be picked up from the customer.
- Delivery Date: Final delivery date as entered on the dispatch.
- Next Action Date: Next milestone date on the load. Hover to see what the date/time reflects.
- Manage: Manage the dispatch information on the load.
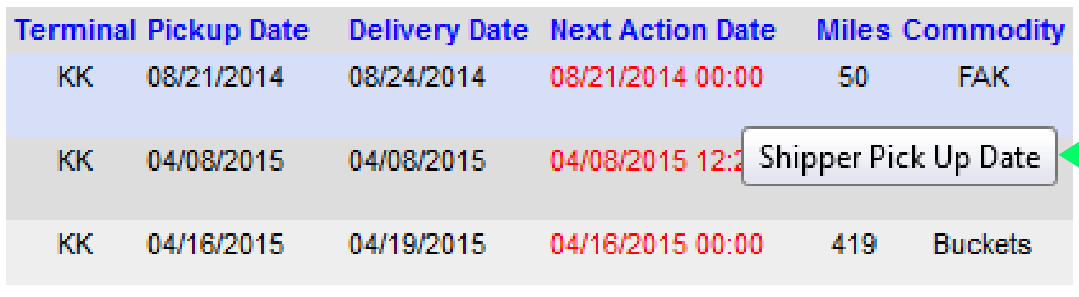
Next Action Date order:
- When status is In-Route to Shipper, the pickup date is displayed.
- When status changes to In-Route to Consignee: if there are no stop-offs, the dispatch delivery date is shown; if there are stop-offs, the scheduled date of the next non-delivered stop-off is used; once all stop-offs are delivered, the dispatch delivery date is shown.
Text Color Definitions
Next Action Date:
- Brownish red: Warning that the driver should arrive at the next scheduled stop within 2 hours.
- Red: Warning that the driver should have reached the next scheduled stop.
Use Print Results, View Freight Map, and Filter Results as with other sections. Filters are remembered on the same computer.
Freight Operations Tools
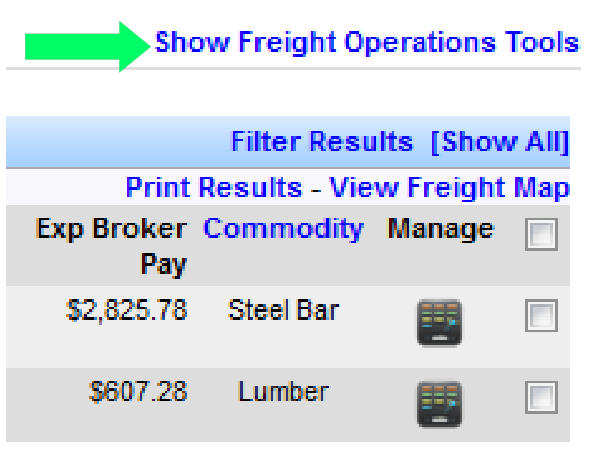
In the top right of the dashboard, click Show Freight Operations Tools to open the toolbox.
- Add New Load: Opens a window to enter a new load. See Load Entry Overview.
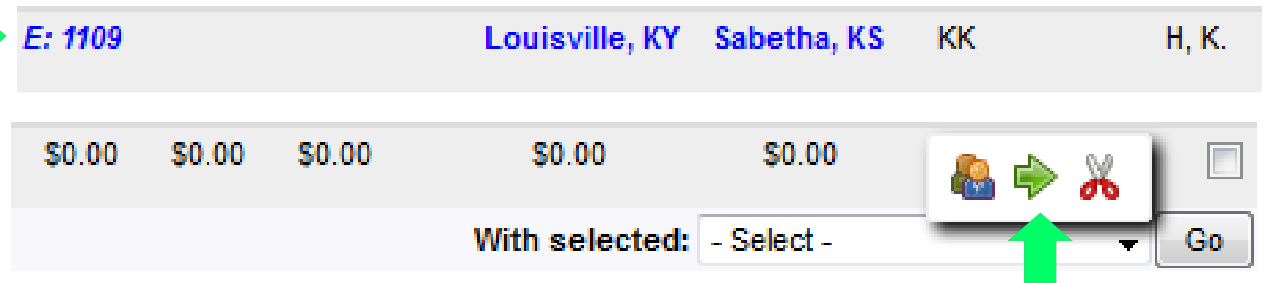
- Express Load Entry: Enter an express load that can be posted as available on load boards. The Expire date is when the load leaves load boards and Available Freight. To convert an express load to a secured load, click the green arrow in the Available Loads manage column (shown only for express loads). Express loads show an italic E before the load number (for example, E: 1109).
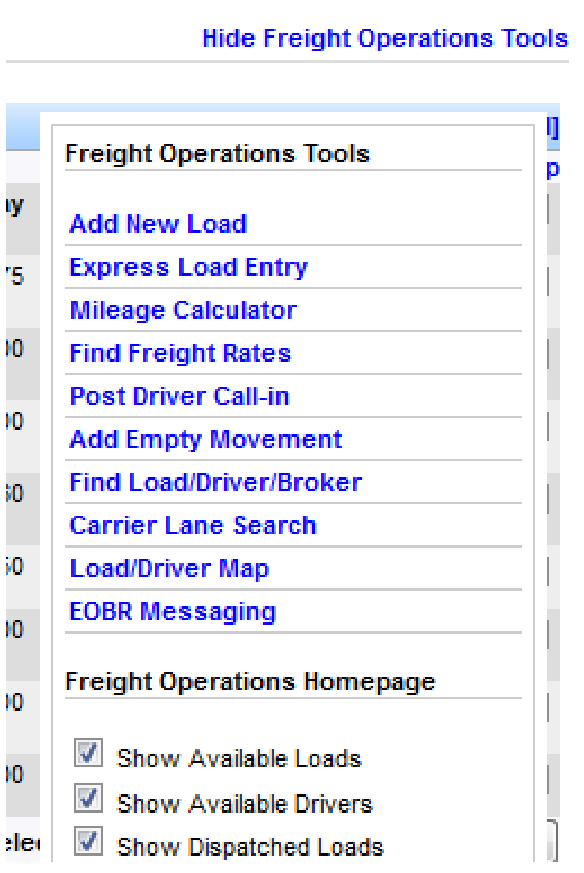
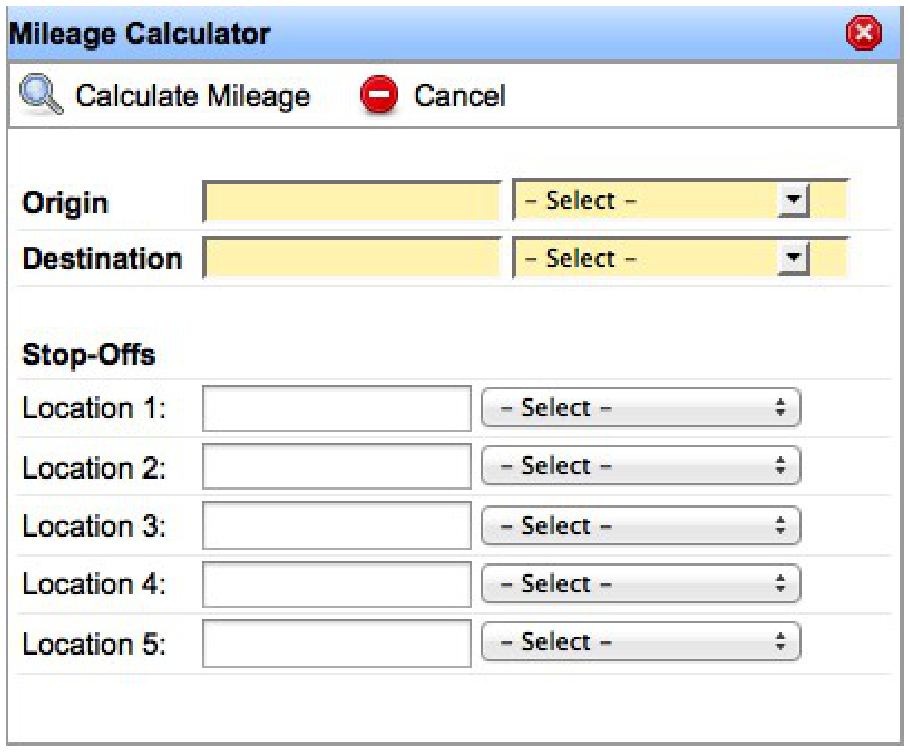
- Mileage Calculator: Calculates total miles between two points with up to five stops.
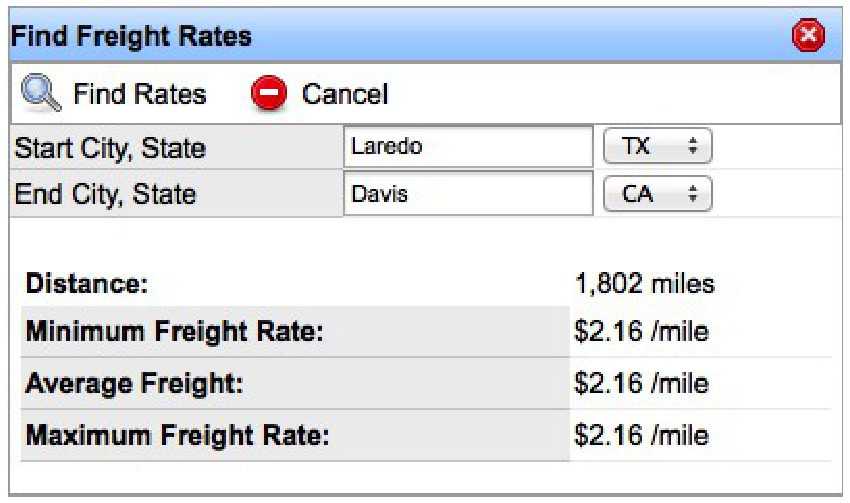
- Find Freight Rates: Enter starting and ending city/state, then click Find Rates to see minimum, average, and maximum rates.
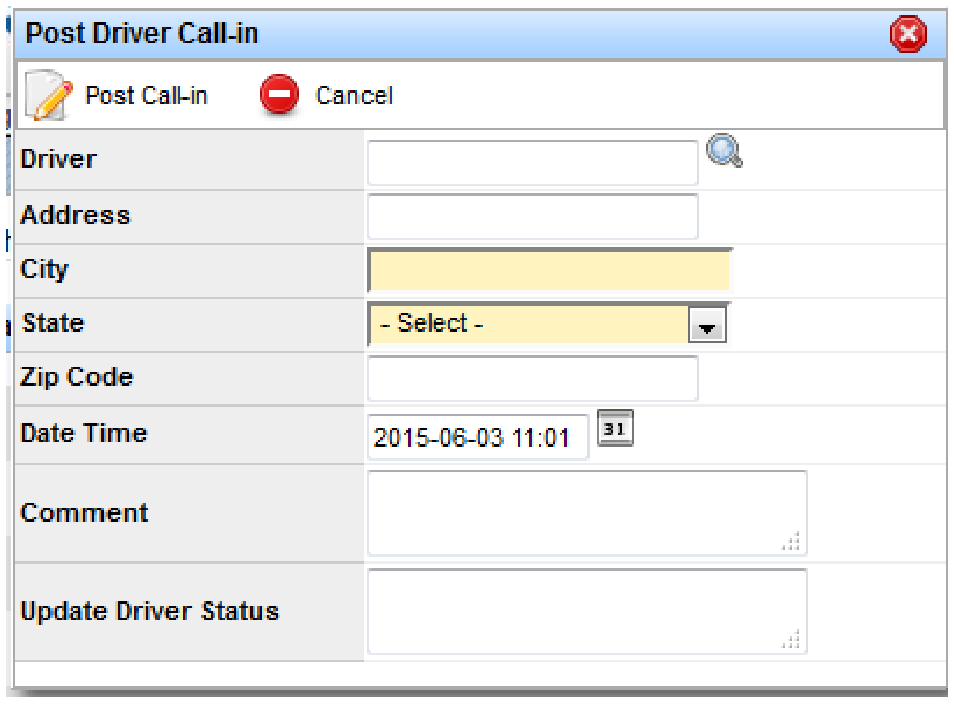
- Post Driver Call-In: Update the driver's last known location so the Available Drivers section stays current.
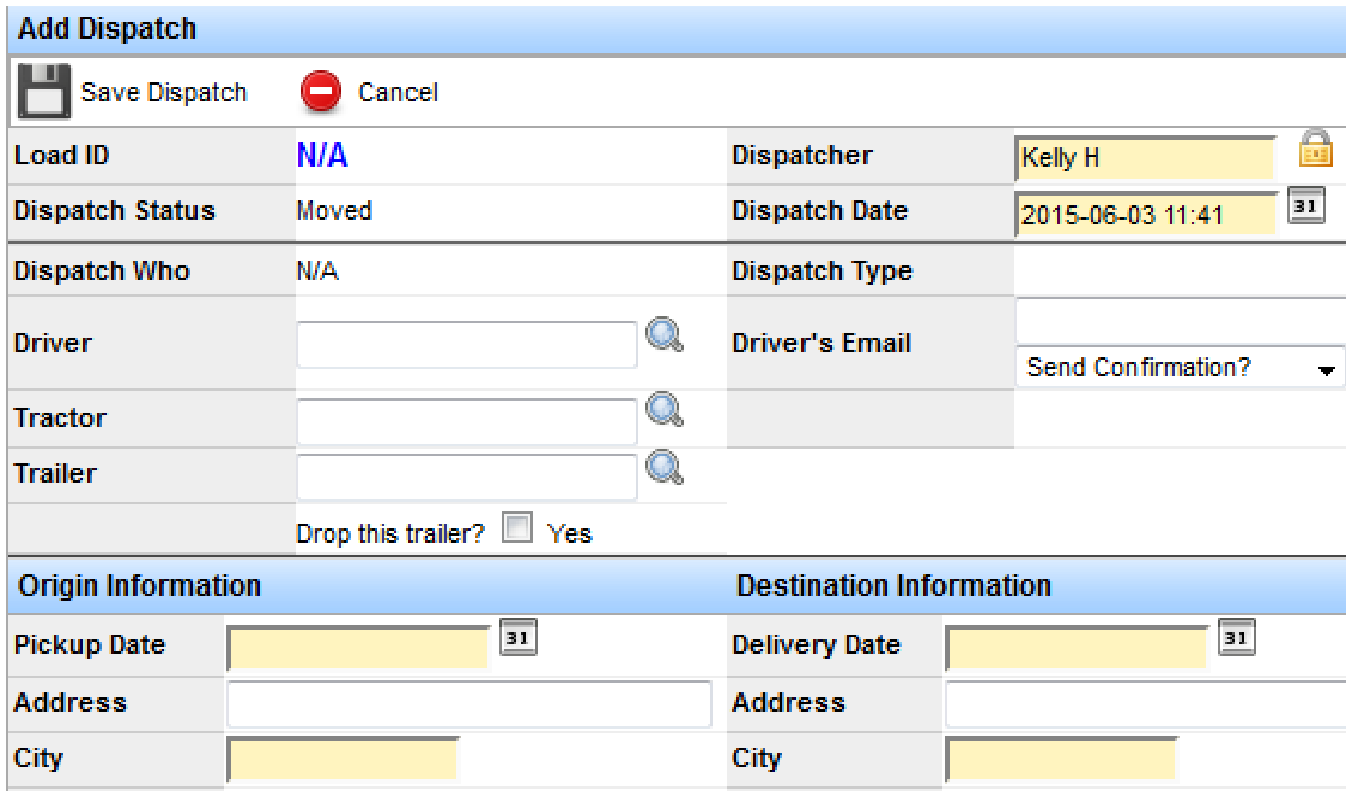
- Add Empty Movement: Record empty miles—for example, dropping in Nashville and deadheading to Louisville for the next pickup. See also Empty Movements.
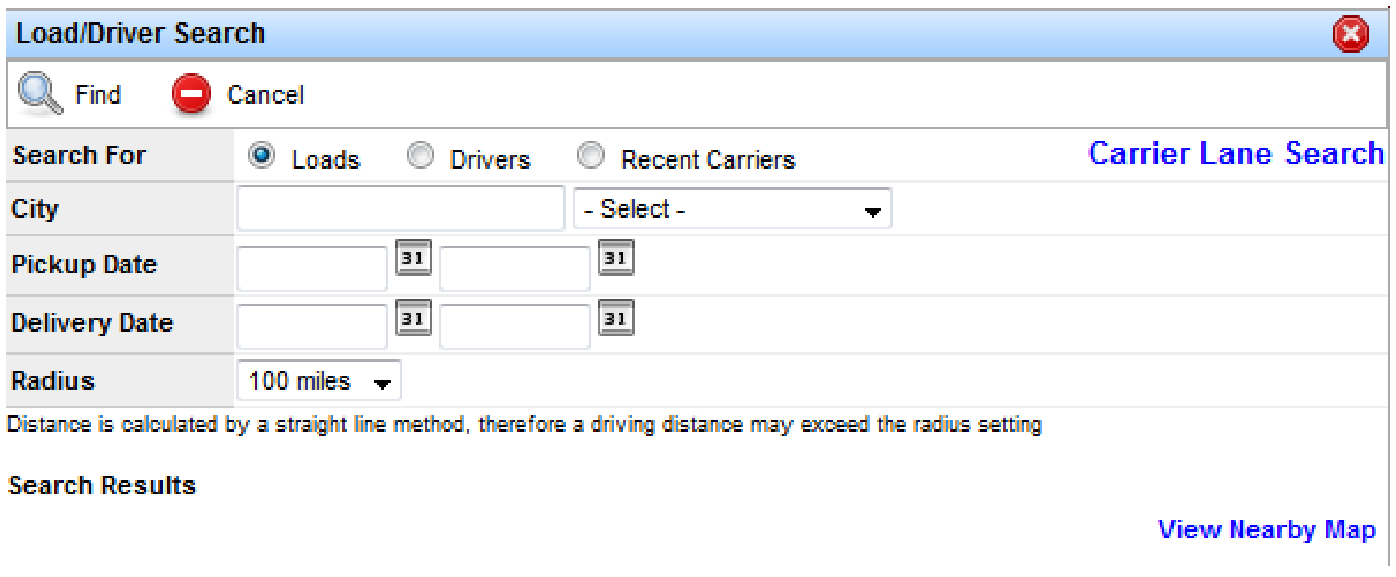
- Find Load/Driver/Broker: Find loads, drivers, or brokers within a search radius. For example, select Loads, enter city/state, set a radius, and click Find.
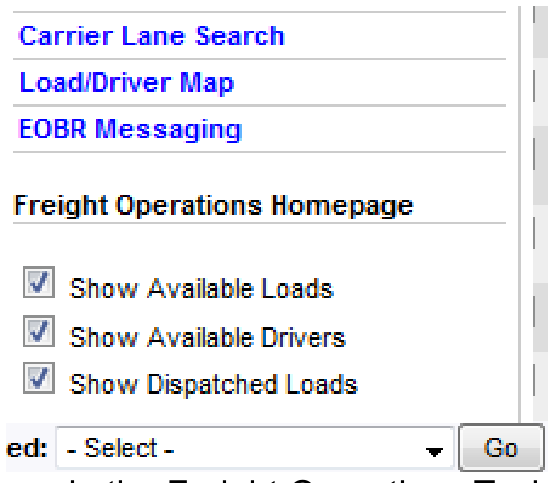
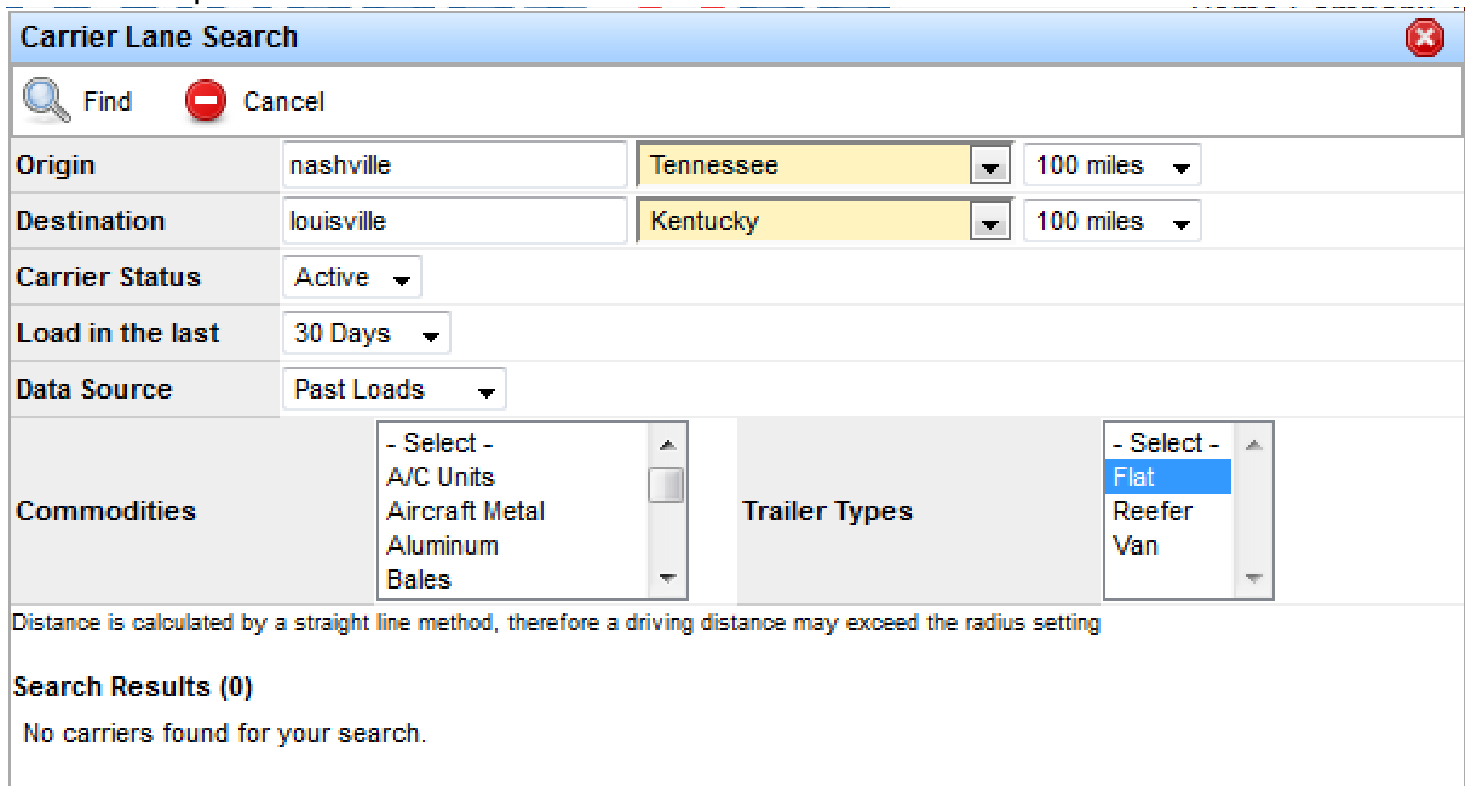
- Carrier Lane Search: Search recent carriers in the area, carriers who covered a lane for you before, or carriers with that lane on their profile.
- Load/Driver Map: Shows available loads and drivers as red and blue pushpins. Yellow pushpins mark locations with both drivers and loads. Click a pushpin for details.
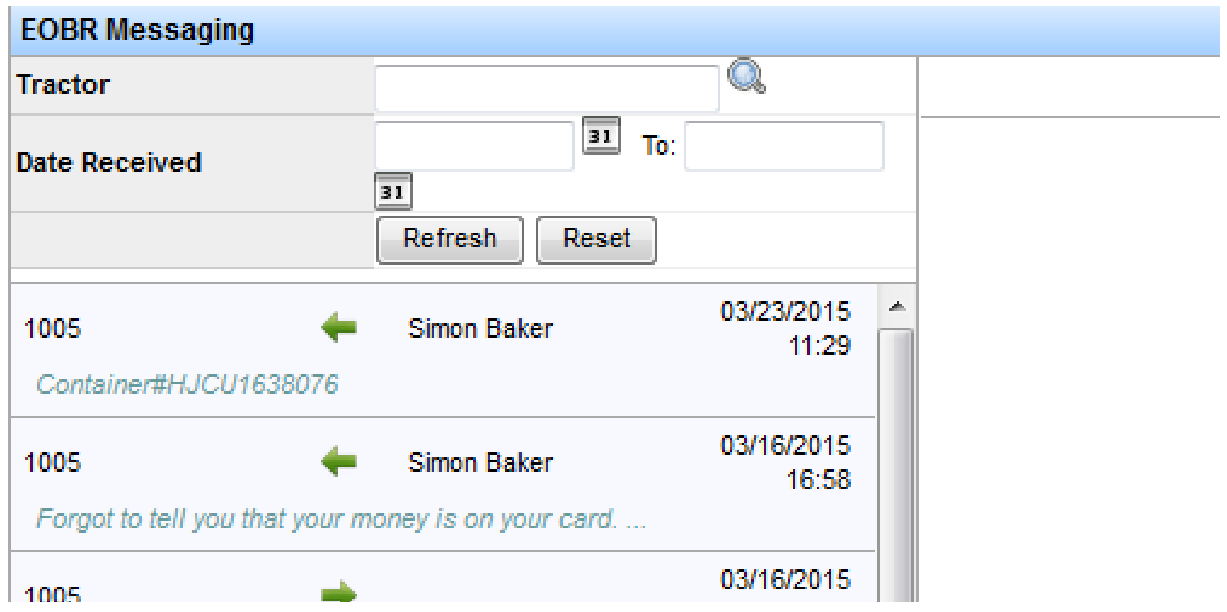
- EOBR Messaging: Communicate with drivers on the road.
Freight Operations Homepage Settings
By default, all boxes in the Freight Operations Tools box are checked. Unchecking a box hides that section on the homepage.
Note: These settings are retained on the computer you are using, even after you log off. On a different computer, you may need to adjust the settings again.