


Add a Stopoff
You add stopoffs from the Load Information screen. You can enter them when you first create the load, or go back and edit an existing load.
Note: You can add a stopoff at the time of entering the load information. To reopen a load later, use any of the methods below.
Three ways to open the correct load:
- Go to Load Management > Search Loads and Dispatches, enter the load ID (and any other filters), click Search, then click the load ID in the results.
- Go to Load Management > Freight Operations Dashboard, locate the load, and click the load ID. See also Freight Operations Dashboard.
- Use Quick Launch: hover the black Q icon at the top of the screen, click it, type the load ID, and press Enter.
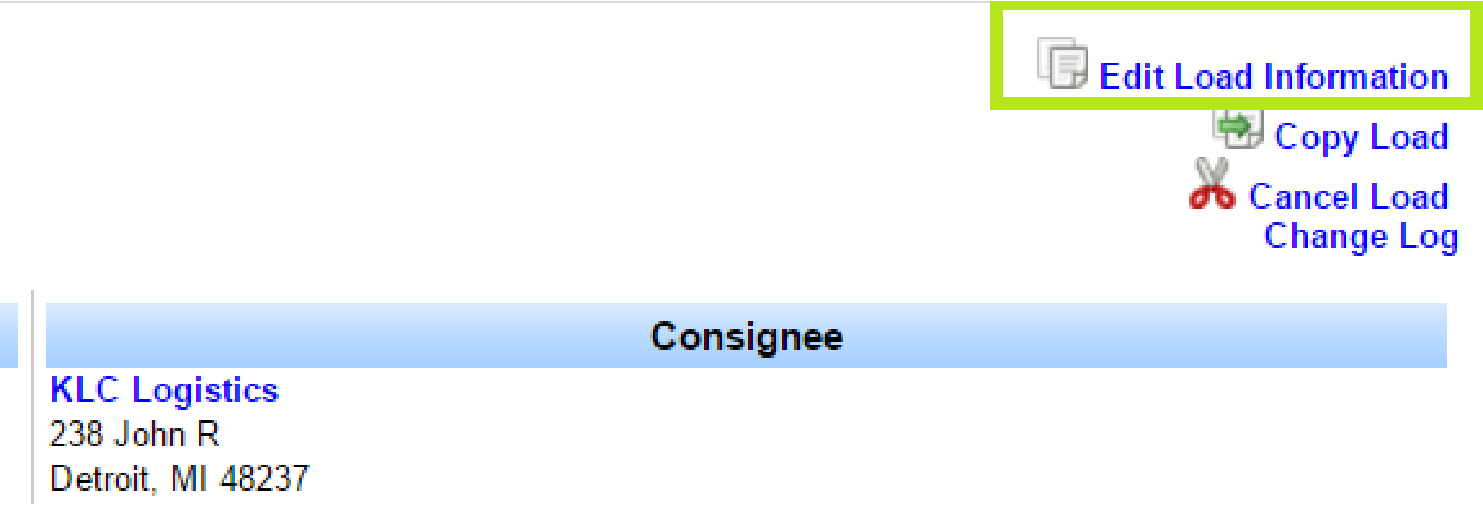
If you land on the Load Summary screen, click Edit Load Information in the upper right to open Load Information.
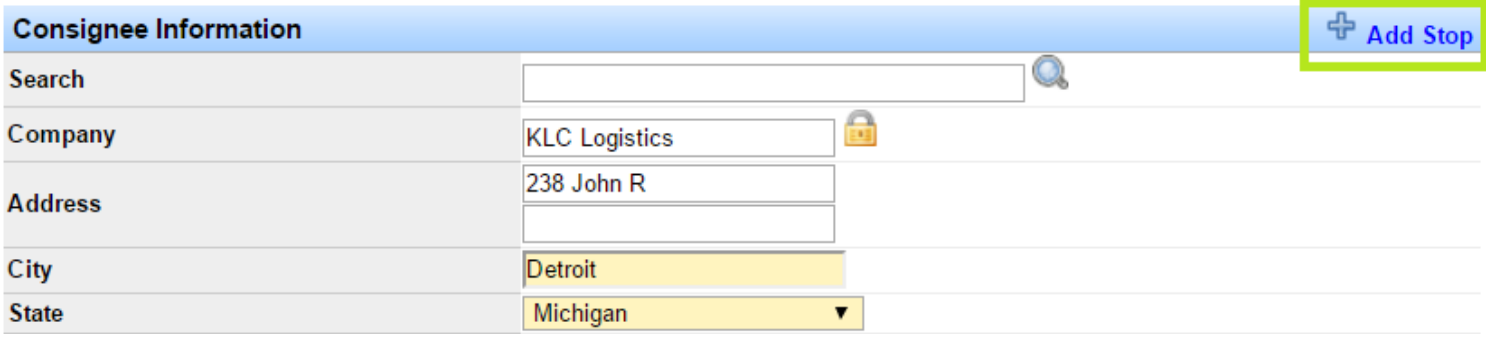
- In the Consignee Information box, click Add Stop in the upper right. A Stopoffs section appears.
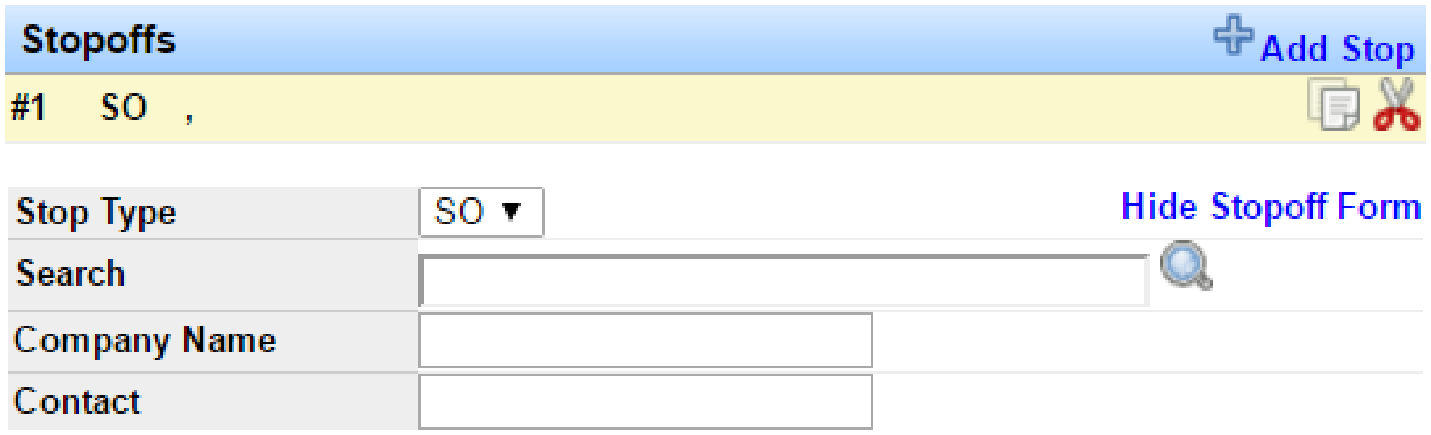
- Select whether this is a stopoff or pickup from the Stop Type drop-down.
- Enter the company for the stop. If it already exists, start typing in Search, then click the correct company so the rest of the fields auto-fill. If it is new, enter the company information manually.

- Select the service level from the Service Level drop-down.
- Enter the Scheduled Date, Arrival Date, and Delivery Date.
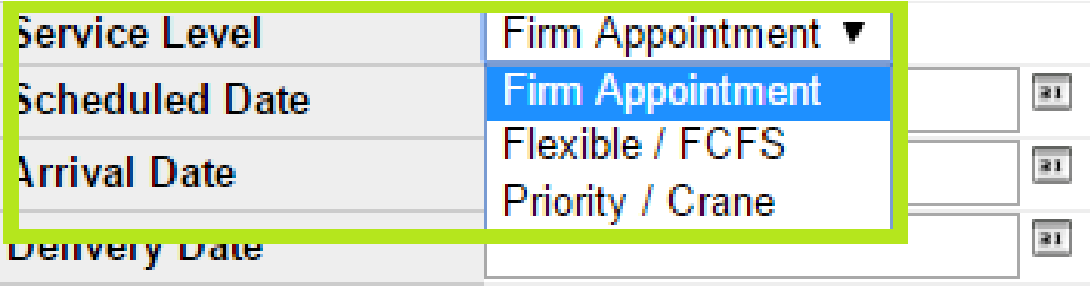
- Scheduled Date: The date/time the driver is supposed to arrive.
- Arrival Date: The date/time the driver actually arrived.
- Delivery Date (stopoff / SO): The date/time the load was delivered and the driver left the facility.
- Delivery Date (pickup / PU): The date/time the load was picked up and the driver left the facility.
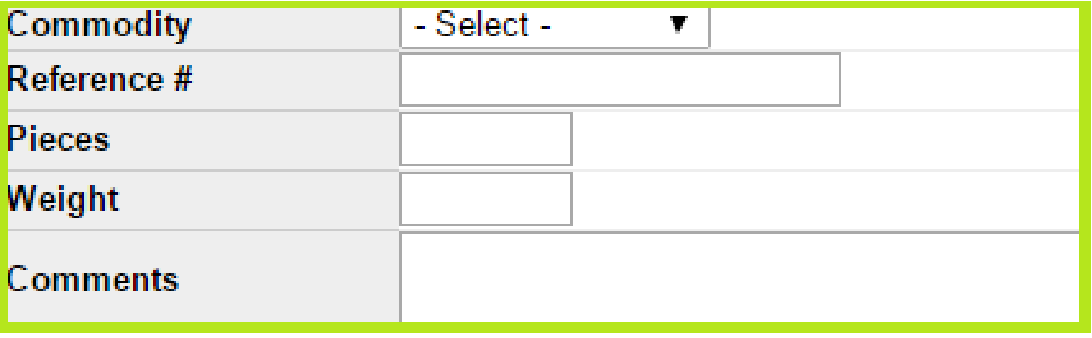
- Enter commodity, reference number, pieces, weight, and comments if needed.
- Click Save Record.
Note: You can add as many stopoffs and/or pickups as necessary.
Edit or Delete a Stopoff
After you save stopoff information, you can edit or delete it.
- Open the load using any of the methods above. From Load Summary, click Edit Load Information.
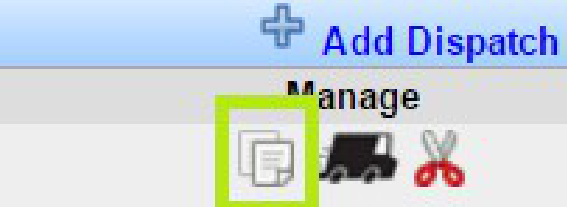
- A Stopoff box appears next to Consignee Information. Use the paper icon to edit, or the scissors icon to delete.
Change the Stopoff Order
If you add multiple stops and need to change the order, use the green arrows on the Load Information screen.
- On Load Information, find the stopoffs to the right of Consignee Information. Click the green up or down arrow next to the stop you want to move.
- When the order is correct, click Save Record.
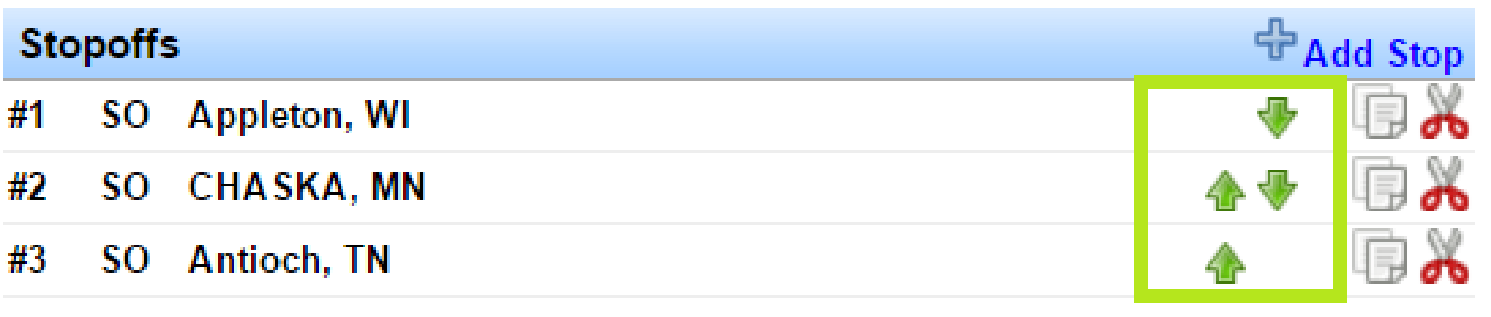
Note: Changing the order does not change the dates or times on the stopoffs. The arrows only change sequence.
Add a New Location
When you need a location that is not yet in the system for a stopoff, you can add it from the Stopoffs section on Load Information.
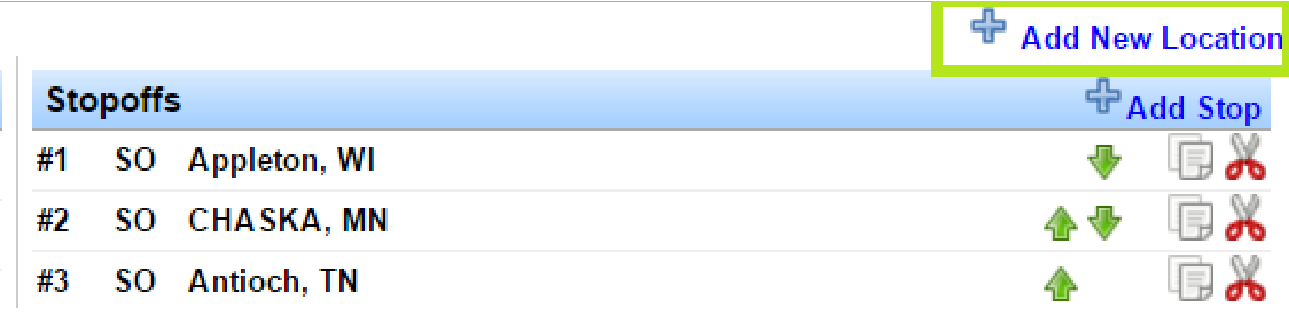
- Open the correct Load Information screen. Just above the Stopoffs section, click Add New Location.
- A Location box opens. Yellow fields are required. Enter the company information and click Save Record.
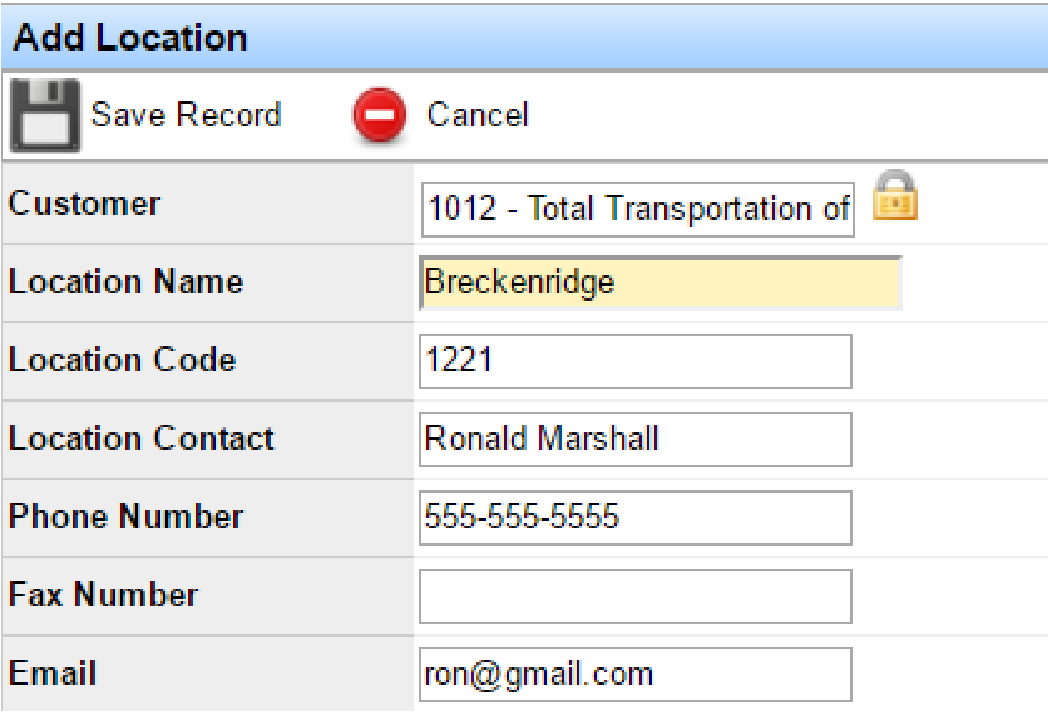
- The location is now available. When you type the company in Search, it auto-populates—click it to lock it in.

Note: Locations show indented below the company they are associated with.
- After the stopoff location is entered, click Save Record.
Edit Load Origin/Destination
When you dispatch a load, the shipper, consignee, and any stopoffs appear in the Dispatch Information section. From there, dispatchers can edit the origin and destination and check or uncheck location boxes. Changes made here are not visible to the customer.
- On Load Summary, scroll to Dispatch History and click the Edit icon on the right.
- On the Edit Dispatch form, open Dispatch Information. Click Edit Origin/Dest.

- Origin and destination fields become editable. Update them as needed.
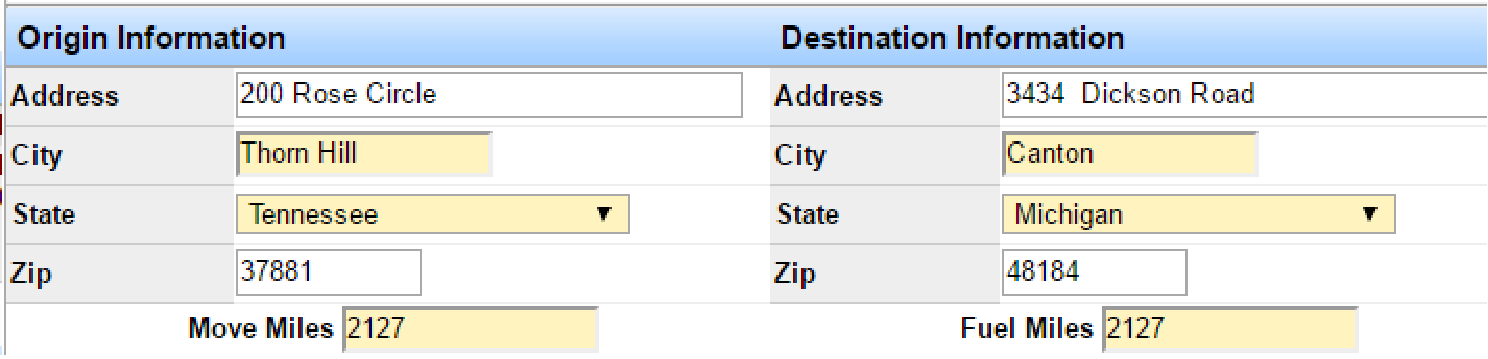
- Edited locations are added to Dispatch Information and checked by default. The system labels an edited origin as DO and an edited destination as DD.
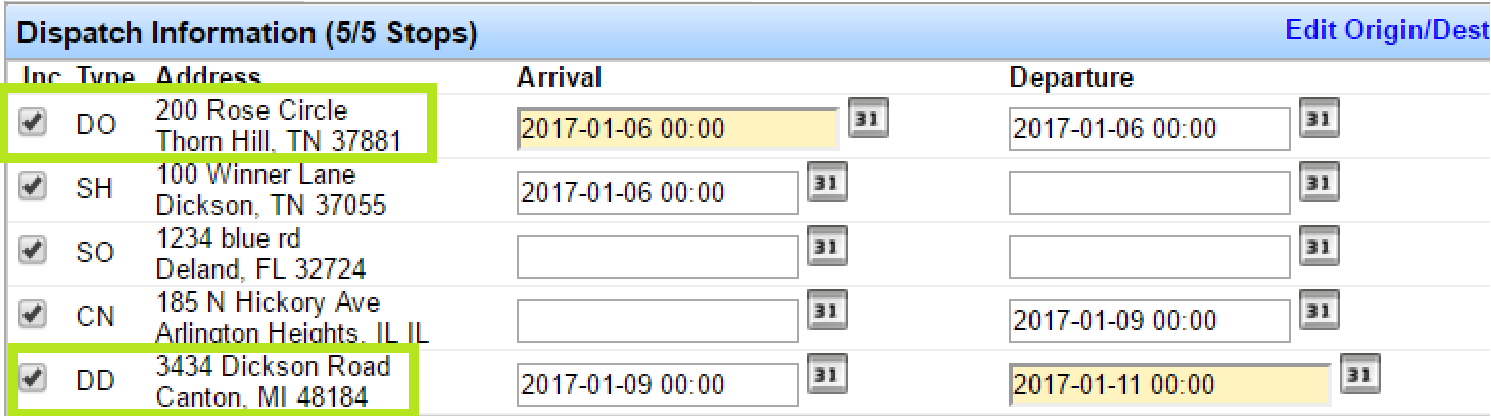
Review the addresses and check only the stops the driver needs. In the example below, the driver's destination is the DD location. Mileage recalculates when you check or uncheck boxes.
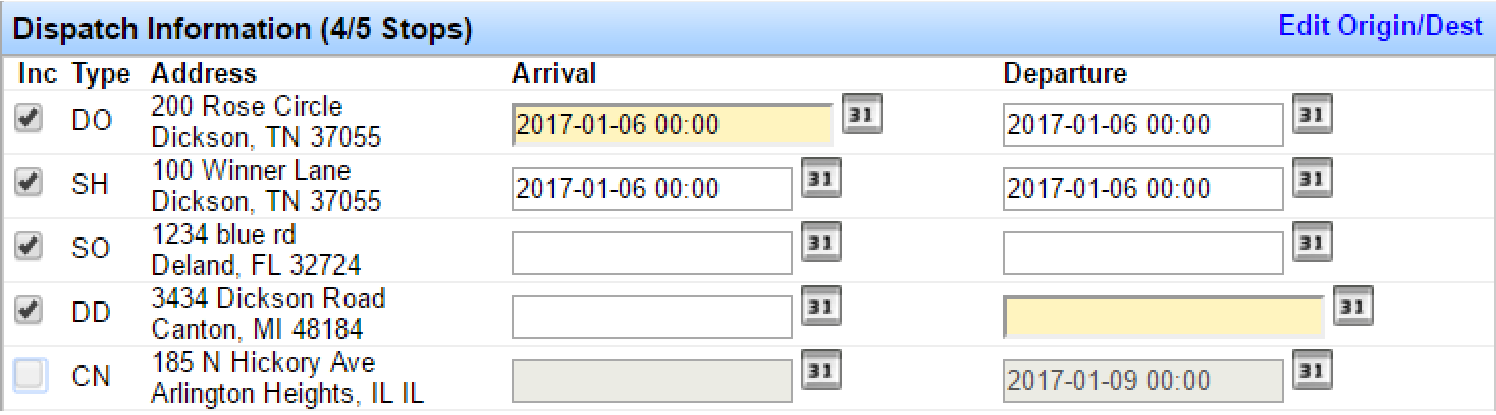
- When the correct locations are marked, click Save Record.
Important: Origin/destination edits on the dispatch form are not visible to the customer.
Questions about stopoffs? Contact support@transportpro.net.