Add Customers to Transport Pro
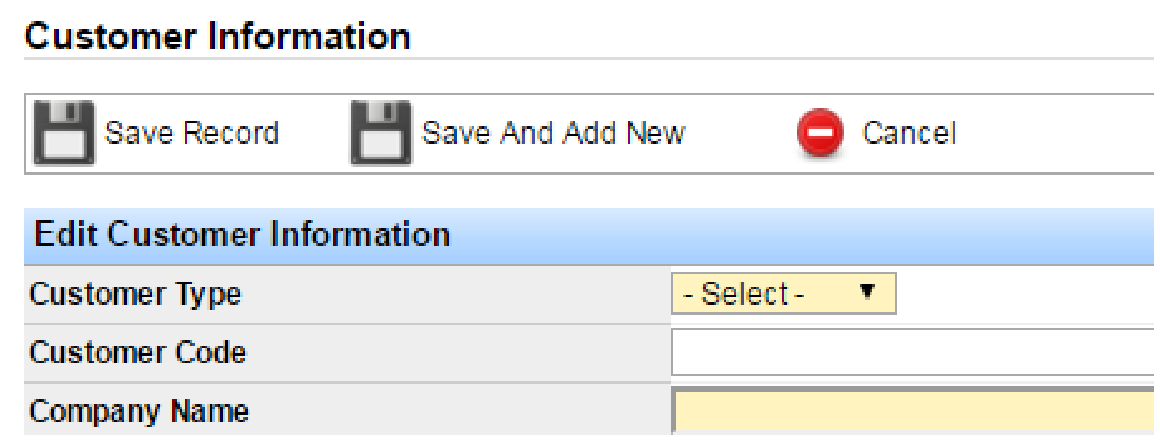
Go to Customers > Add Customer. A Customer Information window opens.
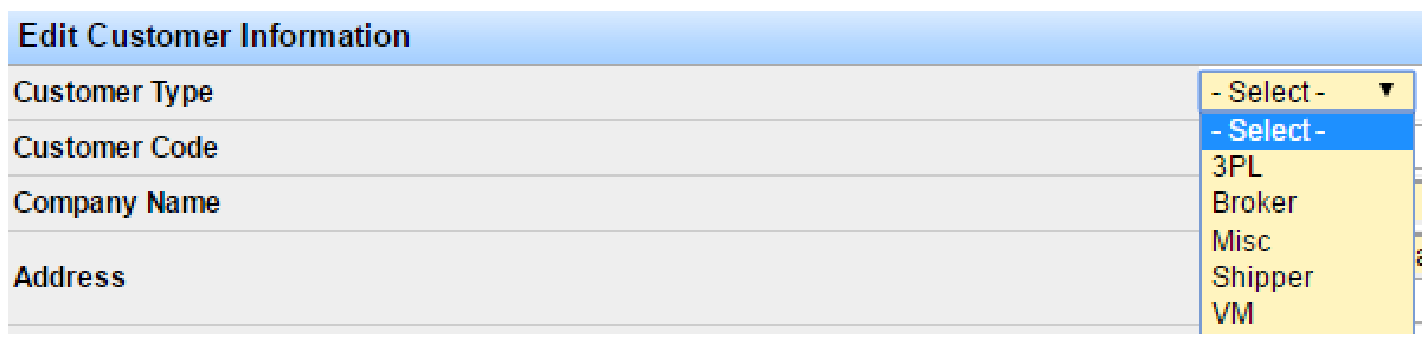
Select the customer type from the Customer Type drop-down.
Note: Misc and VM are only used in the Miscellaneous section of the system, so those customer types are not available for dispatch. To use the customer on a load, select Shipper, 3PL, or Broker.
Enter a Customer Code if applicable—this code can be used for searching and reporting.
Company and Contact Details
Enter the company name and full address.
Note: If you type the zip code first, the city and state populate automatically.
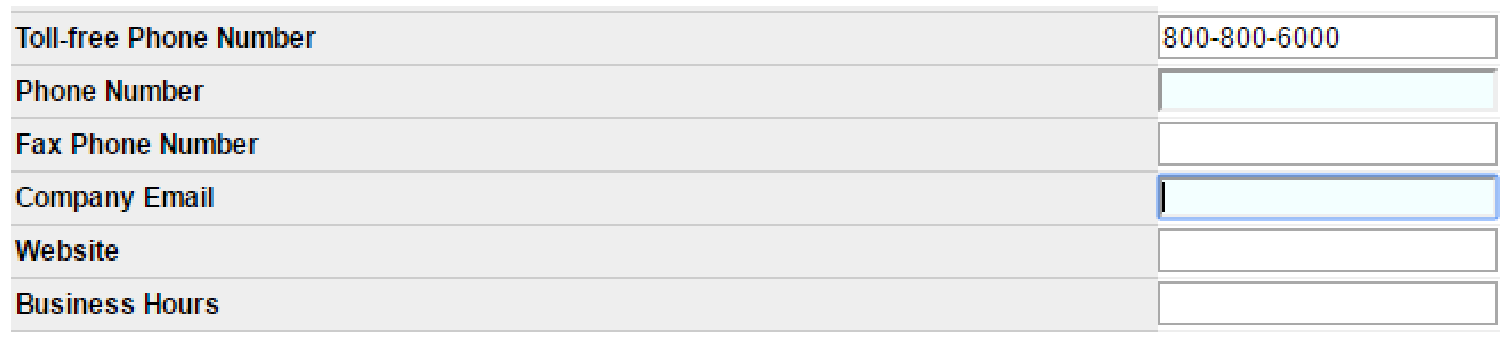
Enter applicable phone numbers, company email, website, and business hours.
- Portal Password: Set a portal password for this customer if they will use the customer portal. See the Customer Portal guide for setup details.
- Dispatch Notes: Optional notes that auto-populate in the Special Instructions/Directions field on the Load Information screen when you use this customer on a load.
Notifications and Assignments
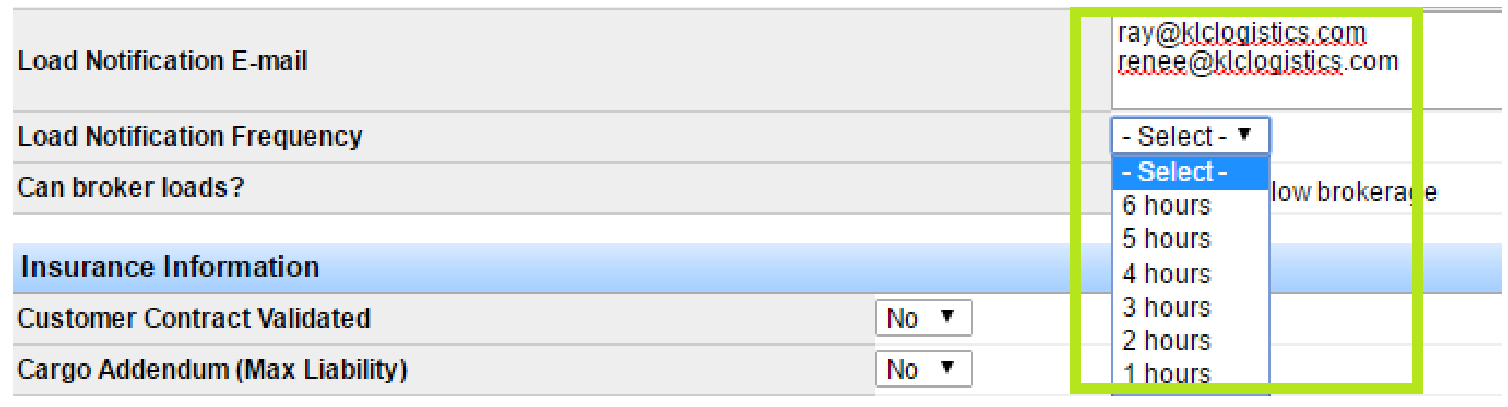
Enter a load notification email if applicable. Any address entered here receives status notifications from Transport Pro. Choose how often notifications are sent with the load notification frequency drop-down.
Note: You can enter as many emails as needed—put each address on a separate line.
- Do not allow brokerage: If checked, the system prevents you from dispatching a broker carrier on any load for this customer.
- Terminal / Sales Rep / Customer Service Rep / Collections Rep: Assign as needed. Leave Terminal blank if the customer can be used by more than one terminal; otherwise select a terminal to restrict load entry to that terminal.
- Contract Date: Enter the contract date if you have a contract with this customer.

Billing and Fuel Options
If the customer has a fuel surcharge matrix, mark how the fuel surcharge is set up and which fuel surcharge region the customer is in. The surcharge calculates automatically when this customer is entered on a load.

Select the customer's factoring company if applicable, how the customer will pay you, and how they want to receive invoices. You can also enable combine billing or specialty billing.
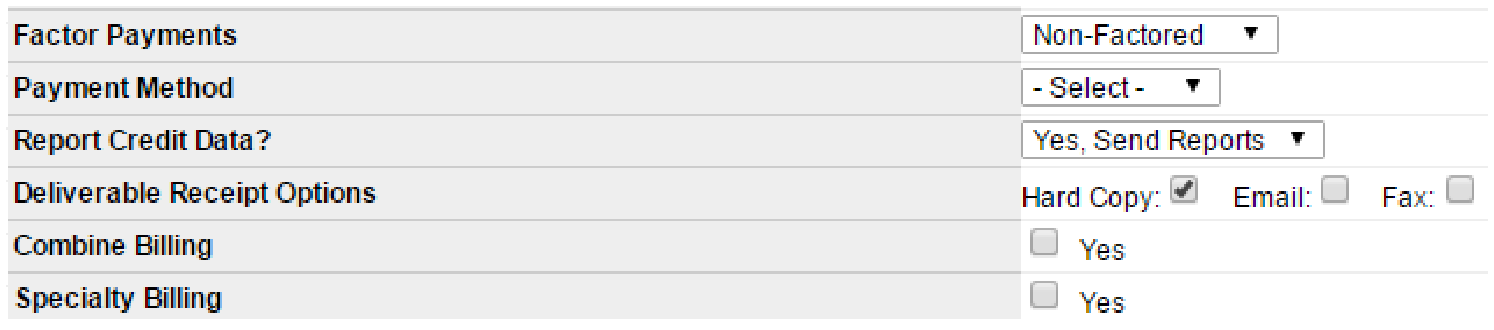
Note: Invoices can be sent to your factoring company via email or FTP. If you need a hard copy, check Hard Copy so the system drops the invoice into the print queue.
- Combine Billing: Presents the billed amount as a lump sum, even if you break out freight, fuel, and accessorials on the load.
- Specialty Billing: Use when the customer requires a special billing process (for example, logging into another site to send an invoice). When checked, a warning appears in the Freight Bill section of the Load Summary page as a reminder.
- Sister Company: Prevents terminal commission calculations any time this customer is used on a load.
- EDI Billing Map: Select your EDI billing map if EDI billing is set up.
- Pay Gross Reduction: Amount deducted from the line haul before owner operator or agent commissions are calculated. This does not affect flat-rated broker carriers or owner operators dispatched on these loads.

Insurance and Credit Information
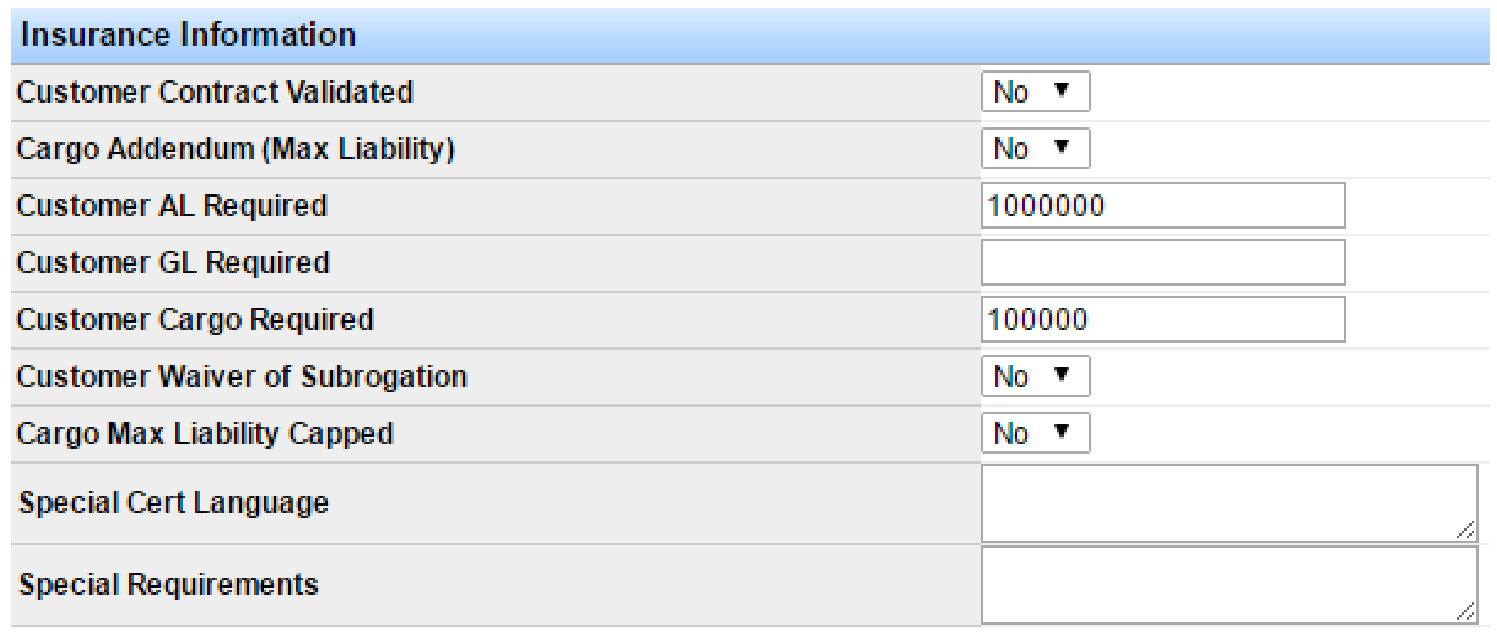
Fill out the Insurance Information section. No fields are required, but completing applicable fields helps with organization.
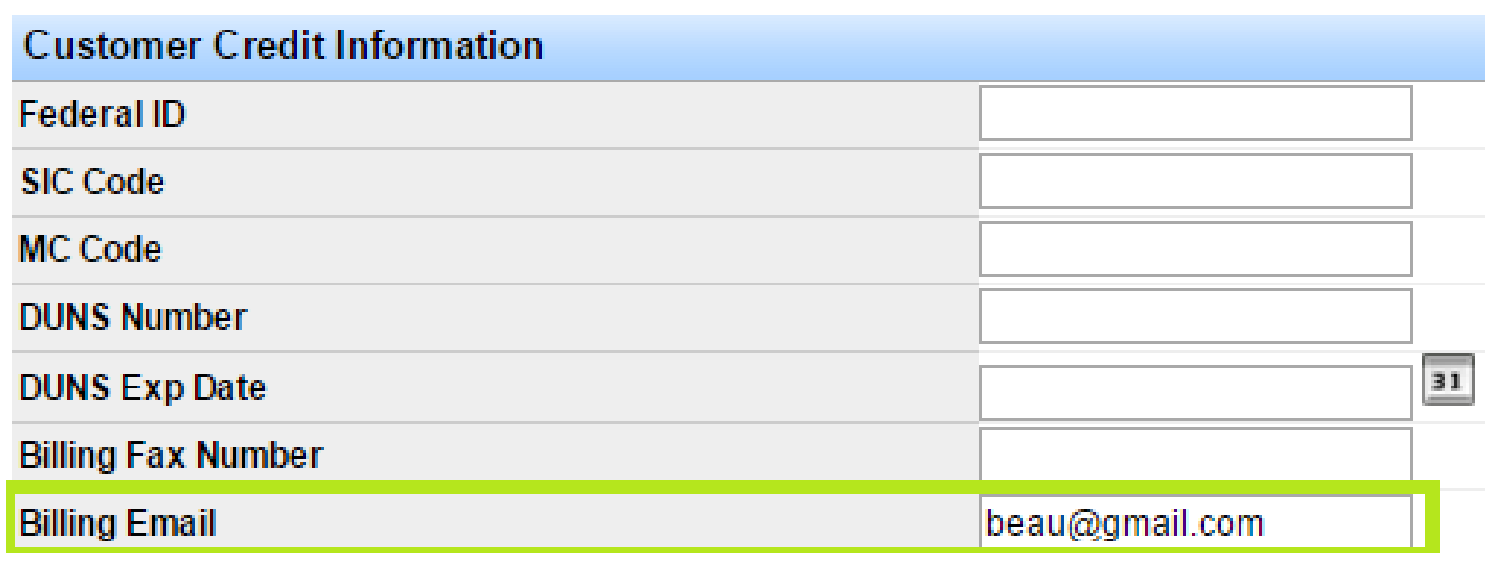
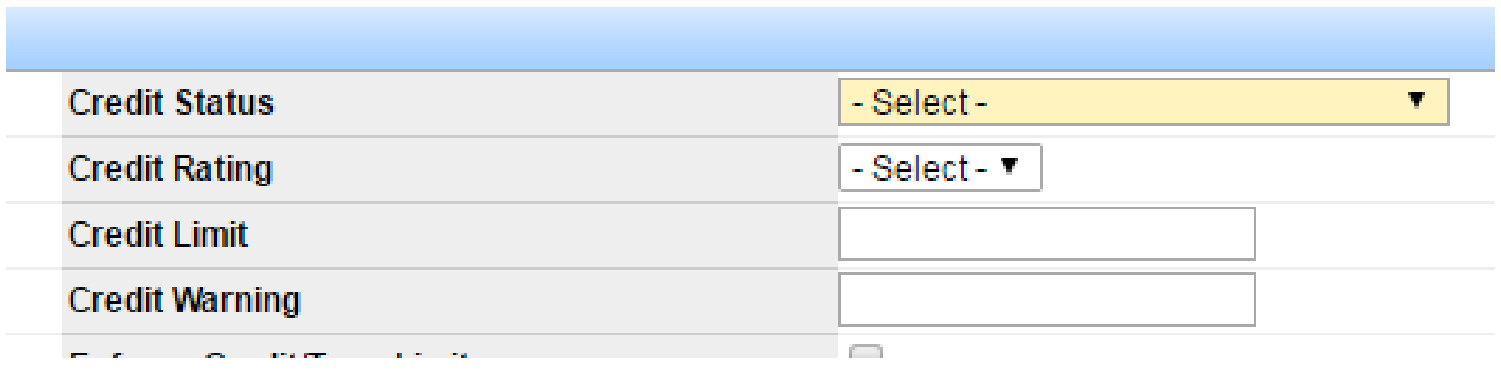
Complete the Customer Credit Information section.
Note: If you want the customer to receive billing deliverables by email automatically, you must enter the customer's billing email. When you create the billing packet, the system sends it to that address. This is optional and depends on the customer's billing preferences.
Important: Credit status is required. If you select an inactive credit status, the customer will not auto-populate or be available on a load.
When the necessary information is entered, click Save Record.
Set Up Rendition Billing for a Customer
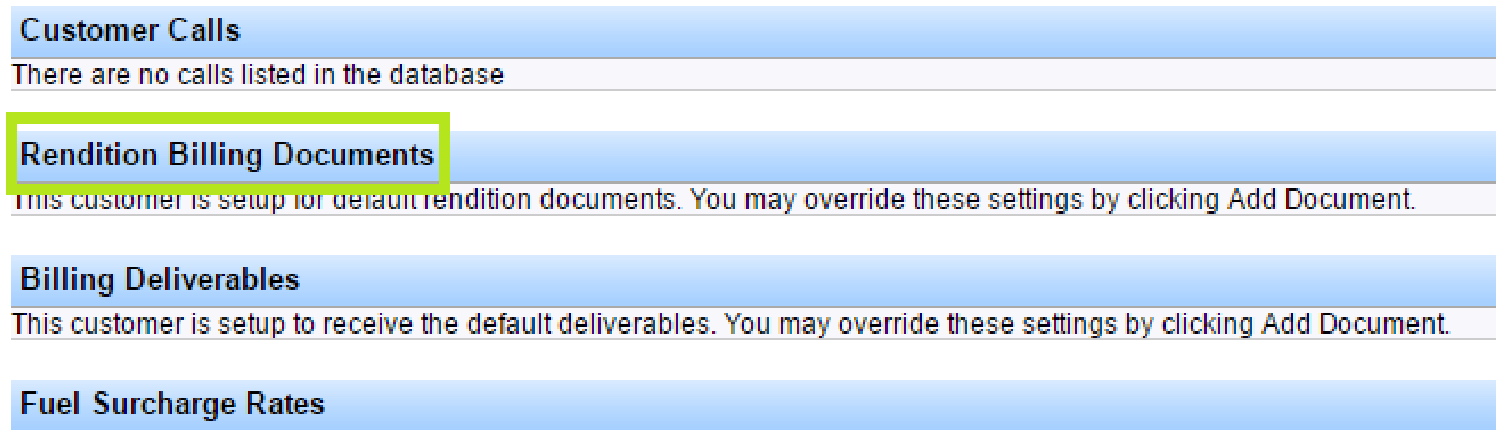
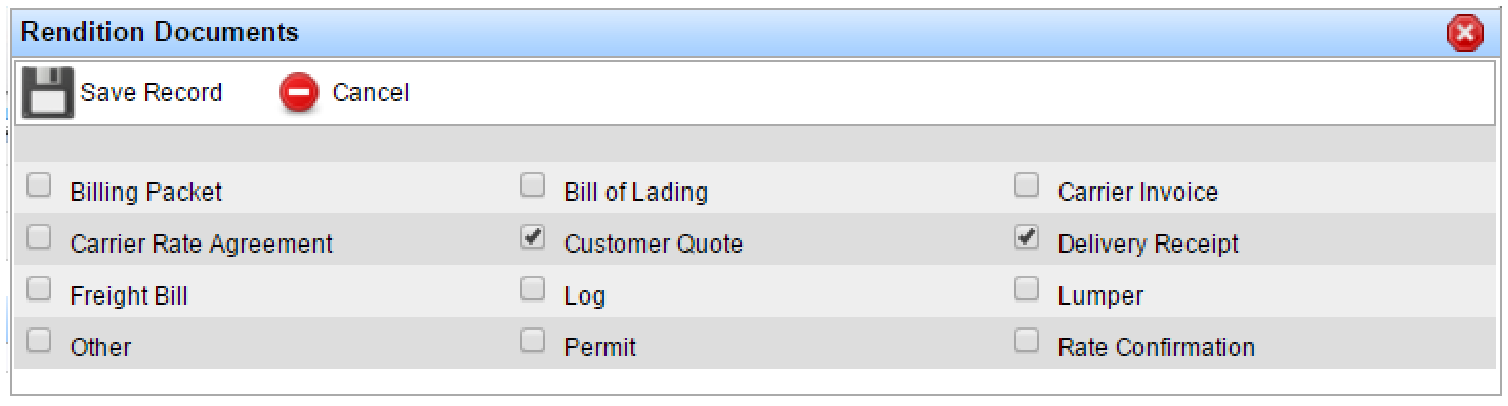
After you enter a customer, you can set up rendition billing documents. By default, the system requires a freight bill and bill of lading for each customer. If a customer needs additional documents, override the defaults and add the required document types. Rendition documents ensure the correct files are attached to the customer's loads before billing.
- On the Customer Summary screen, scroll to the Rendition Billing Documents section.
- Click Add Document.
- In the Rendition Documents window, check the boxes for documents required for this customer.
- Click Save.
Set Up Billing Deliverables for a Customer
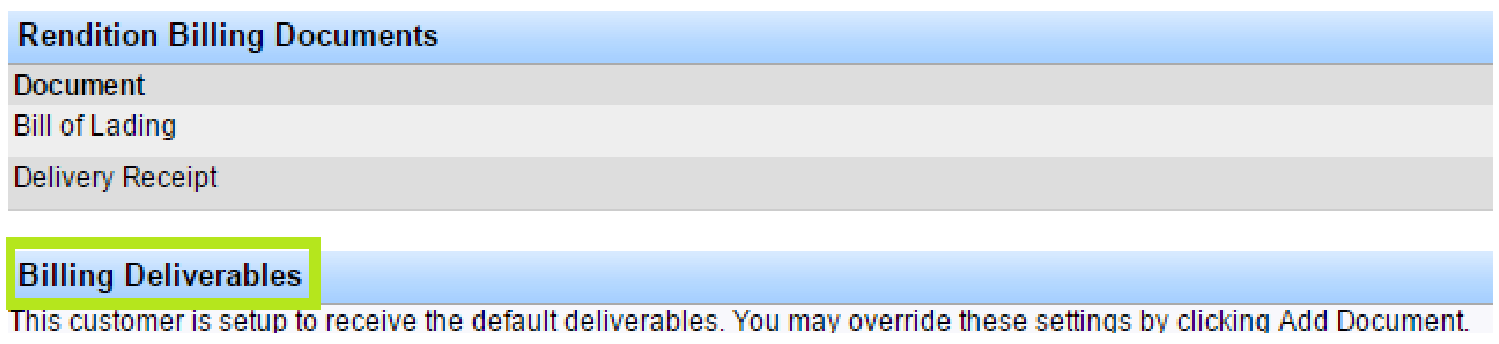
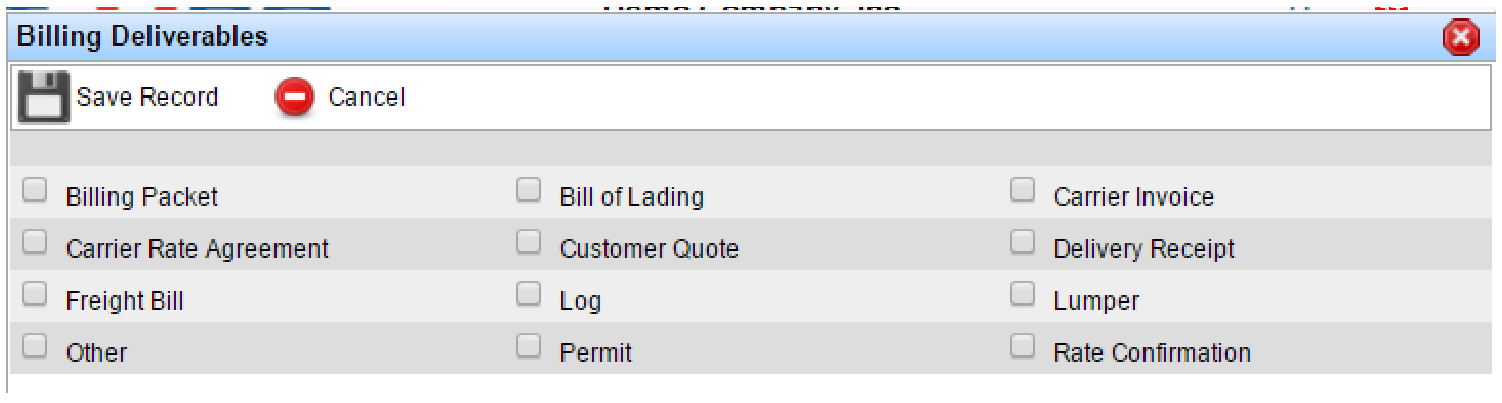
Rendition billing documents ensure the correct documentation is attached before a load is billed. Billing deliverables ensure the correct documents are included in the billing packet. By default, the required billing deliverables are the freight bill and bill of lading.
- On the Customer Summary screen, scroll to the Billing Deliverables section.
- Click Add Document.
- In the Billing Deliverables window, check the documents required in billing packets for this customer.
- Click Save.
Edit Customer Information
To edit a customer's information:
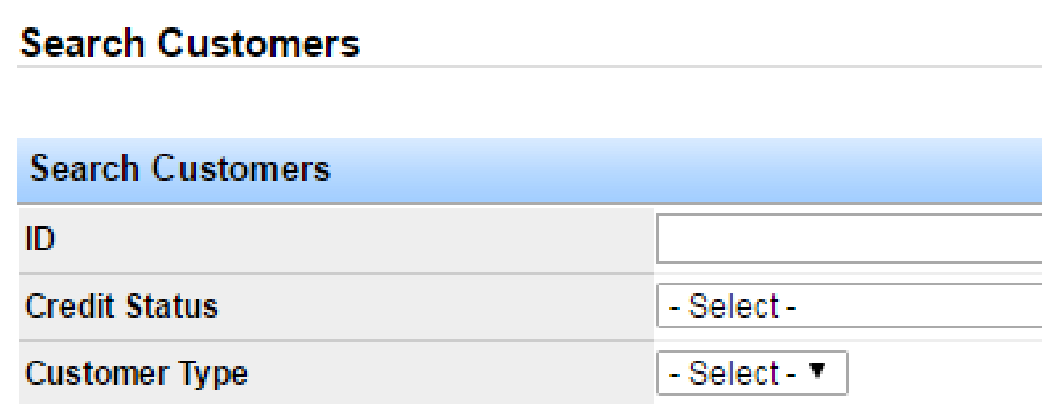
- Go to Customers > Search Customers.
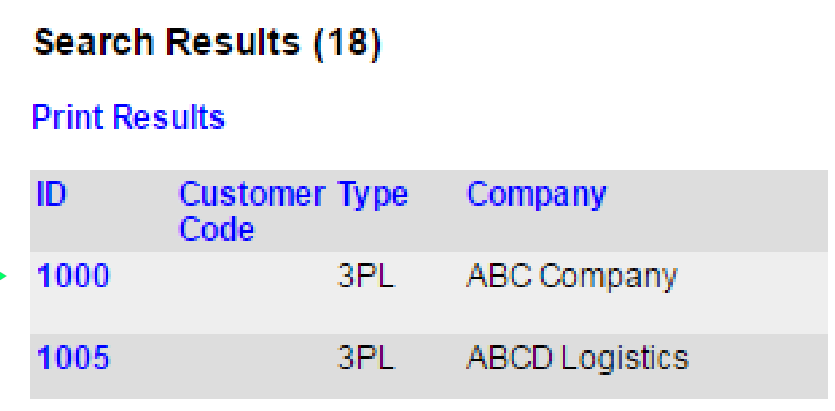
- Filter as needed, then click Search.
- Click the ID of the desired customer.
- On the Customer Summary screen, click Edit Information in the upper right.
- After making changes, click Save.