Cancel a Dispatch
Use this when you want to remove the current dispatch but keep the load available.
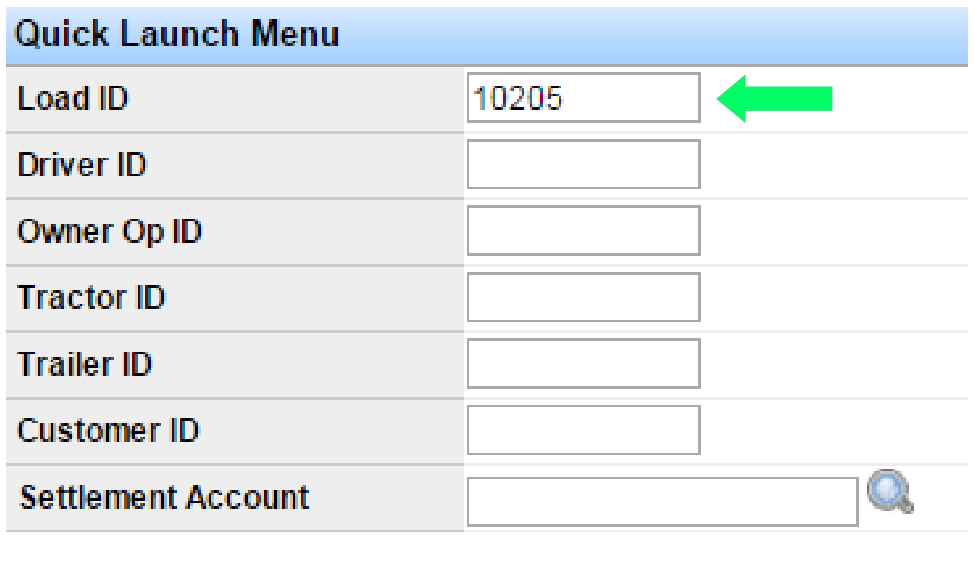
- Open the load with Quick Launch: click the Q, enter the load number in the Load ID field, and press Enter.
- On the Load Summary screen, scroll to Dispatch History and click the Manage icon.
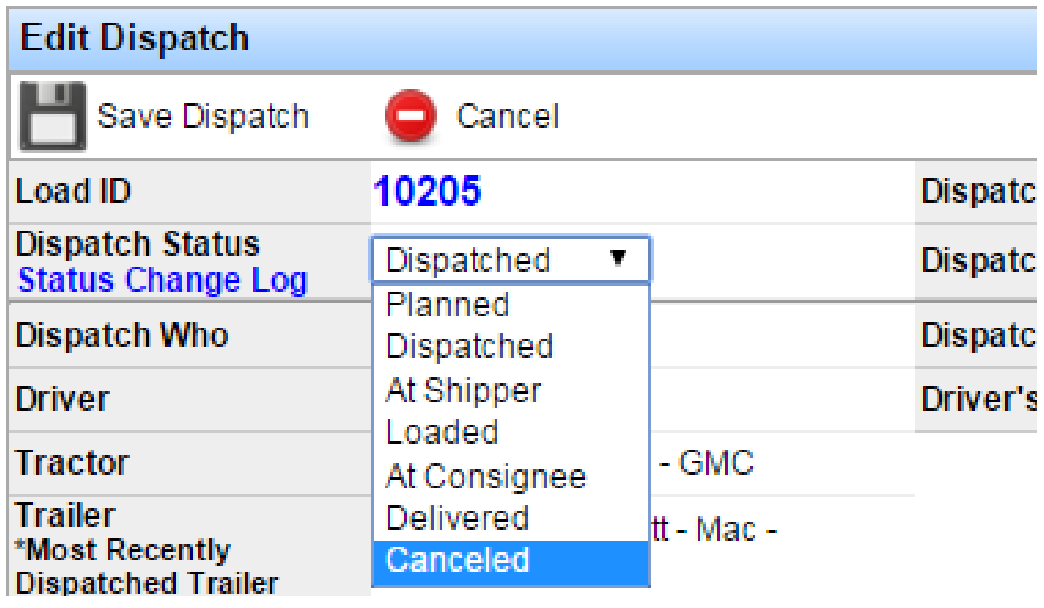
- In the Edit Dispatch window, select Canceled from the Dispatch Status drop-down.
- Click Save Dispatch.
Note: You can also open the load from Load Management > Search Loads and Dispatches.

After you save, the dispatch is canceled but the load remains available. You should see it in the Available Loads section of the Freight Operations Dashboard.
Cancel a Load
Important: Canceling a load is different from canceling a dispatch. Once you cancel a load, you cannot change it back to available. If you later need to dispatch the same freight, copy the load to preserve the information—copying creates a new load number.
- Navigate to the load you want to cancel (Quick Launch or Search Loads and Dispatches, as above).
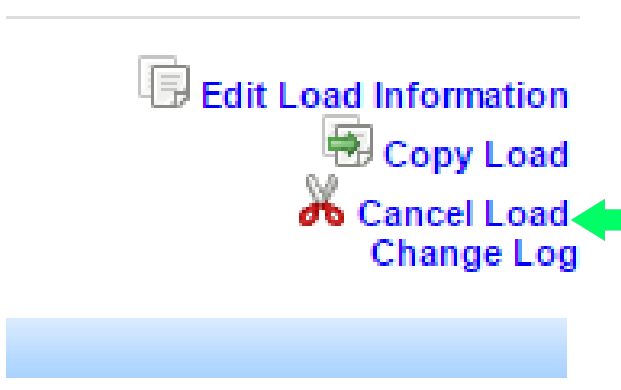
- On the Load Summary screen, click Cancel Load in the upper right.