


Add Tractors
Go to Drivers/Equip > Equipment > Tractors > Add Tractor. A Tractor Information window opens. A Tractor ID is assigned automatically—you can change it if needed.
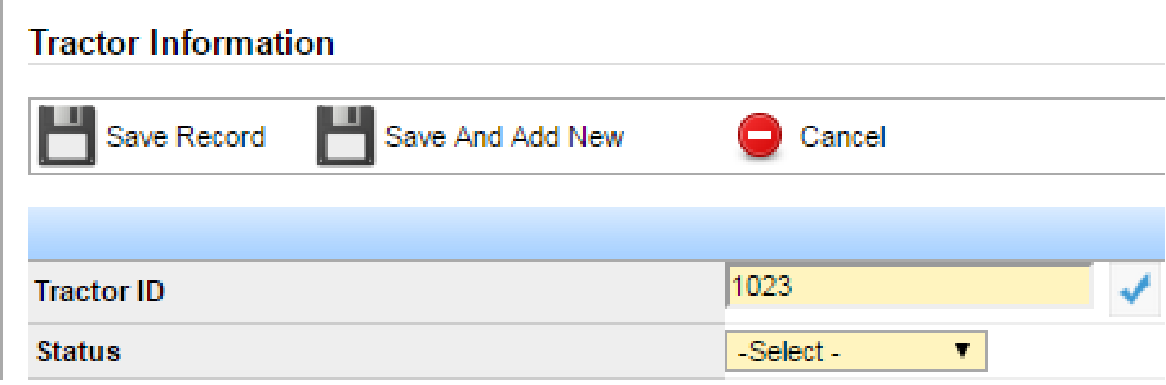
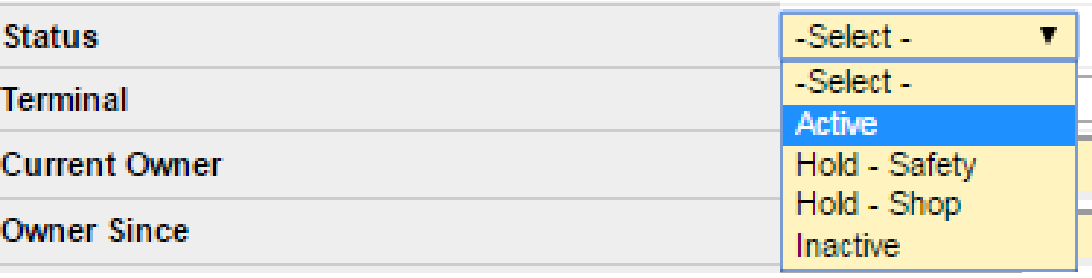
Select the status from the Status drop-down.
Note: Only Active tractors are available for dispatch.
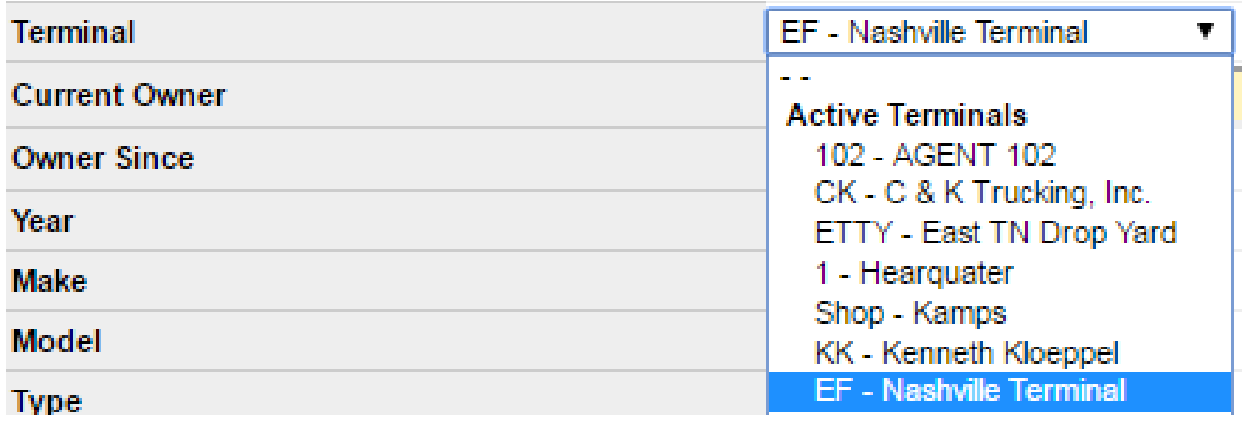
If this equipment belongs to a specific terminal, select it from the Terminal drop-down. If more than one terminal can use it, leave Terminal blank.
Note: Only terminals already in the system appear here. To add a terminal, open Transport Pro in a new tab and go to Administration > Manage Terminals > Add Terminals. See Add & Manage Terminals if you need that workflow.
Enter the current owner's name and the Owner Since date. Both are required. Each tractor must have an assigned owner so the system knows who to pay. As you type, matching names appear—click the correct name to lock it in. Click the lock icon to clear or change the name.
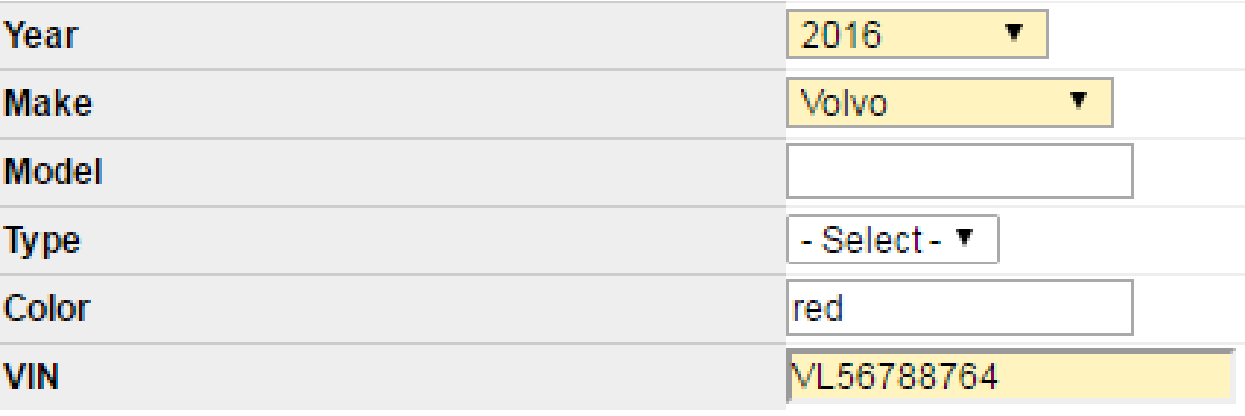
Enter the year, make, model, type, color, and VIN. Year, make, and VIN are required.
Mark whether the equipment is CARB compliant, then enter applicable information in the right-hand column.
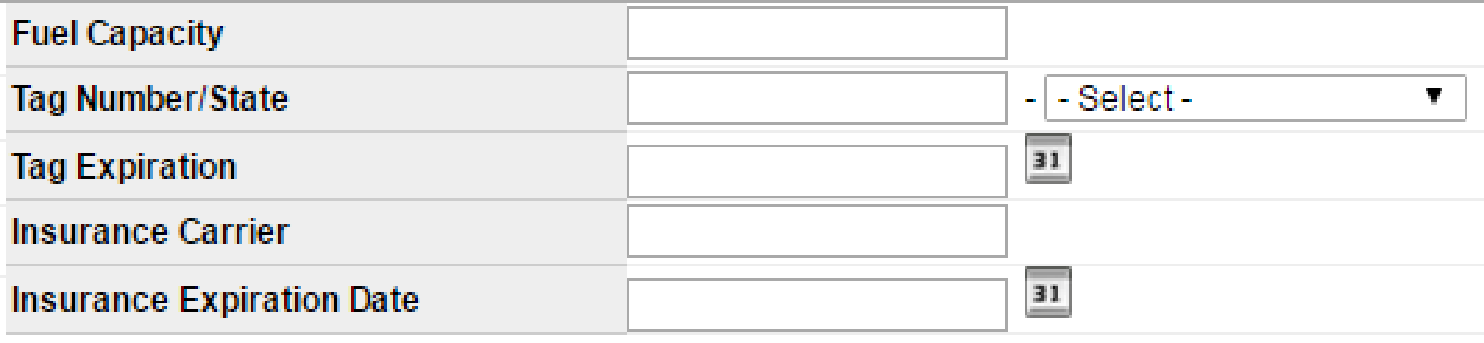
Enter applicable safety information on the bottom half of the screen. The Safety Summary Report pulls from this section—enter as much as you can even though these fields are not required. For more on that report, see Safety.
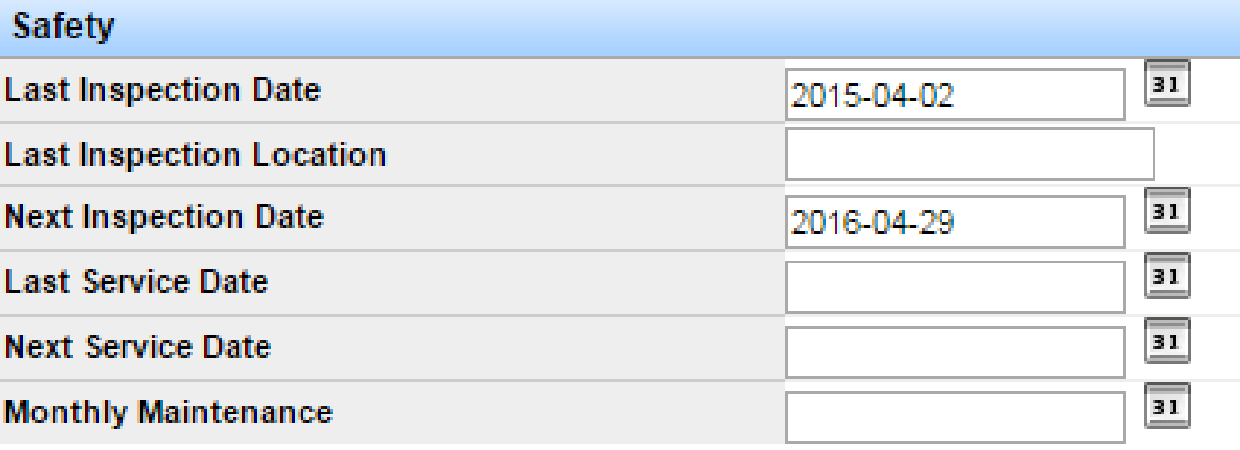
Enter EOBR information if applicable. If the truck houses an EOBR unit (for example Qualcomm), the EOBR ID must match exactly what the vendor has on file—tractors typically use a serial number. Enter the same EOBR information on the driver's profile as well.

Enter any comments if needed. When everything looks correct, click Save Record.
Edit Tractor Information
Go to Drivers/Equip > Equipment > Tractors > Search Tractors. Filter by criteria if you want, or click Search with no filters to list all tractors.

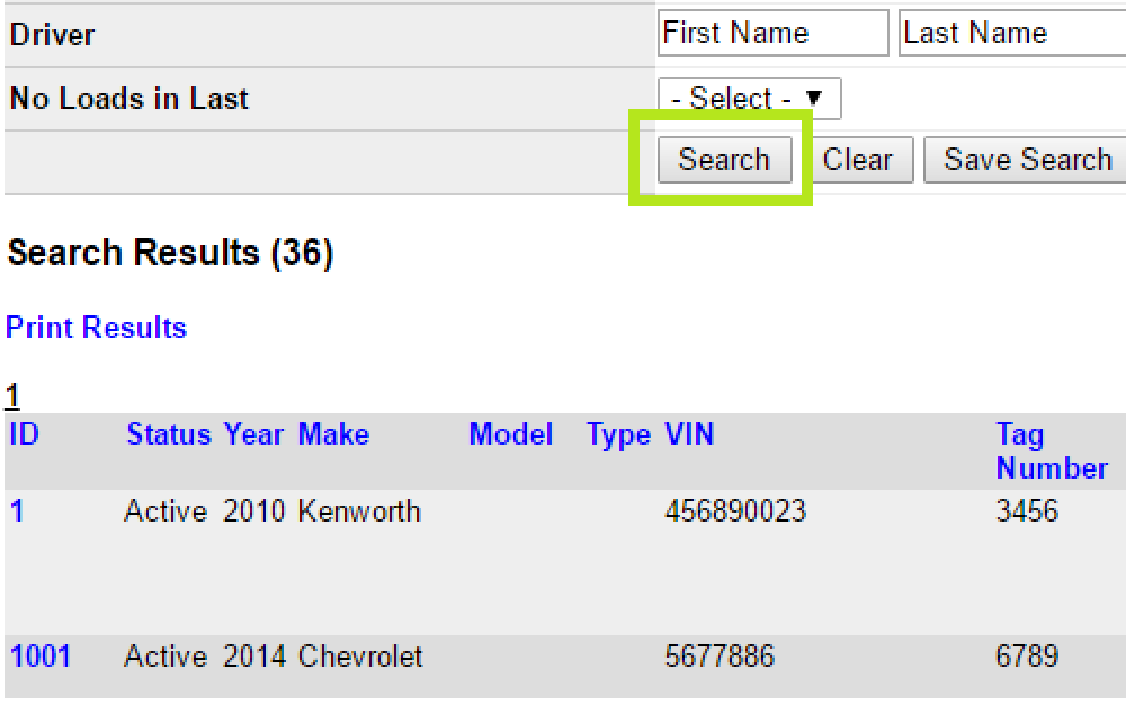
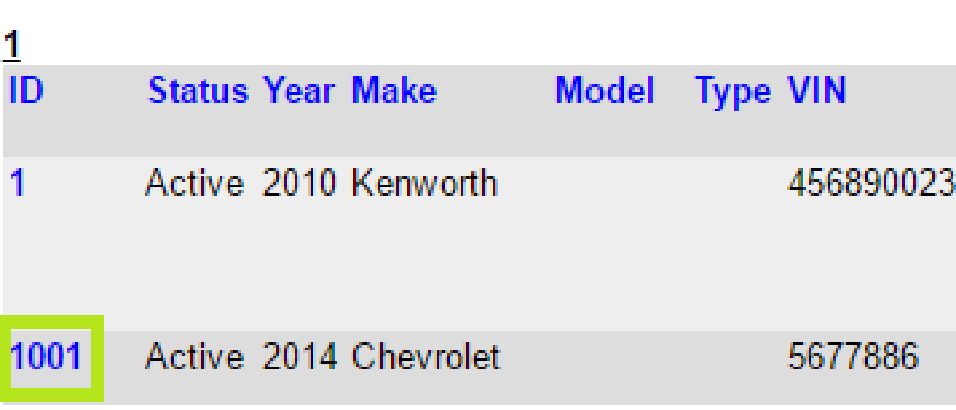
Click the tractor ID to open the Tractor Summary screen. Click Edit Information in the upper right, make your changes, then click Save.
Assign Drivers to Tractors
After you add tractors, assign the correct driver to each piece of equipment. You can assign multiple drivers to one piece of equipment, but a driver cannot be assigned to multiple pieces of equipment at the same time. There can only be one owner per piece of equipment.
On the Tractor Summary screen, scroll to the Drivers section and click +Add Driver.
Note: You must assign a driver here for the correct tractor to populate on the dispatch form. Edit or add drivers anytime with the Manage icon.
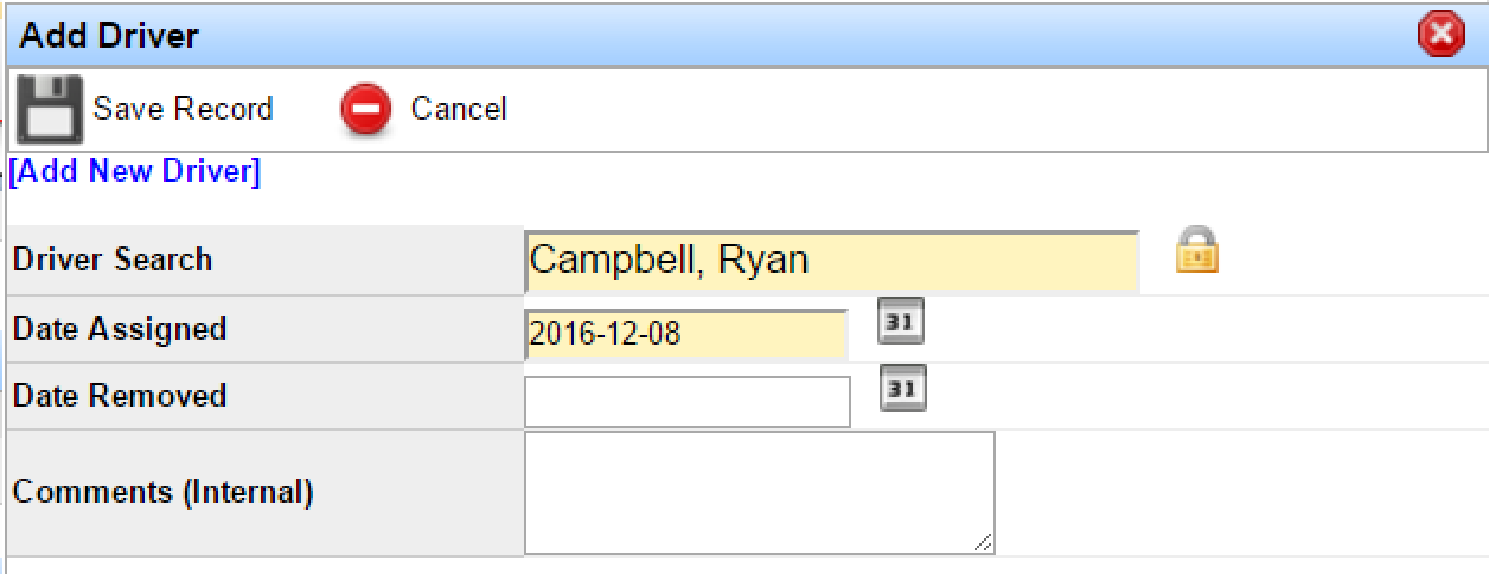
In the Add Driver window, start typing the driver's name, click the correct name to lock it in, enter the date assigned, and click Save.
Add Trailers
After your tractors are in the system, add your trailers so they populate and are available at dispatch.
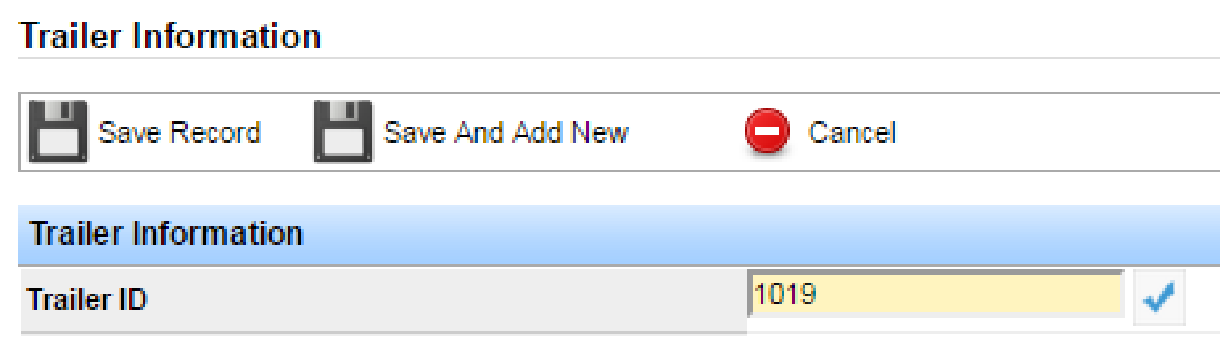
Go to Drivers/Equip > Equipment > Trailers > Add Trailer. A Trailer Information window opens with an automatically assigned trailer ID—you can change it if you want.
Select the trailer status from the Status drop-down.
Note: Only Active trailers are available for dispatch. Yellow fields are required.
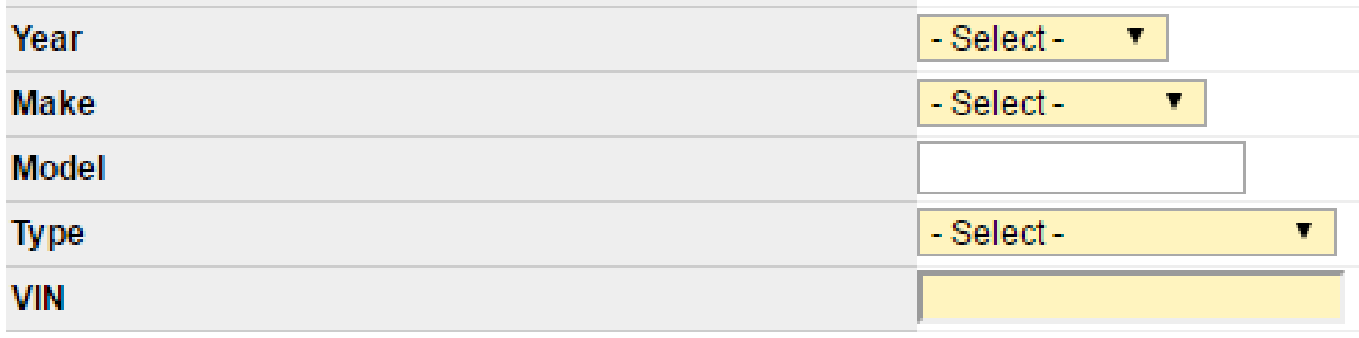
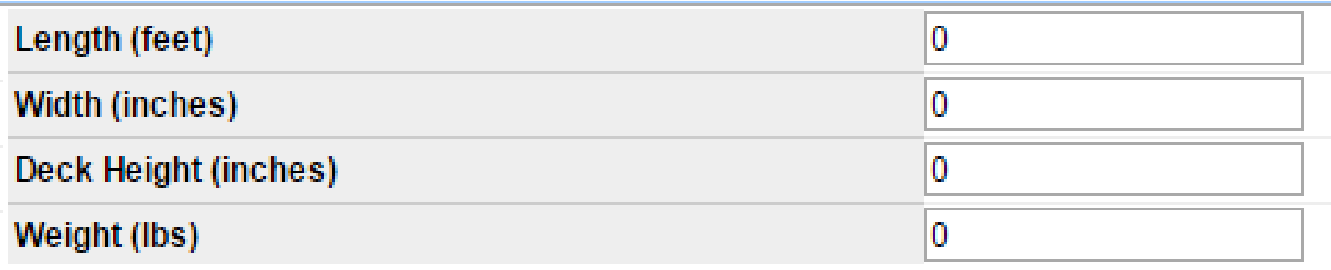
Enter the year, make, model, type, and VIN.
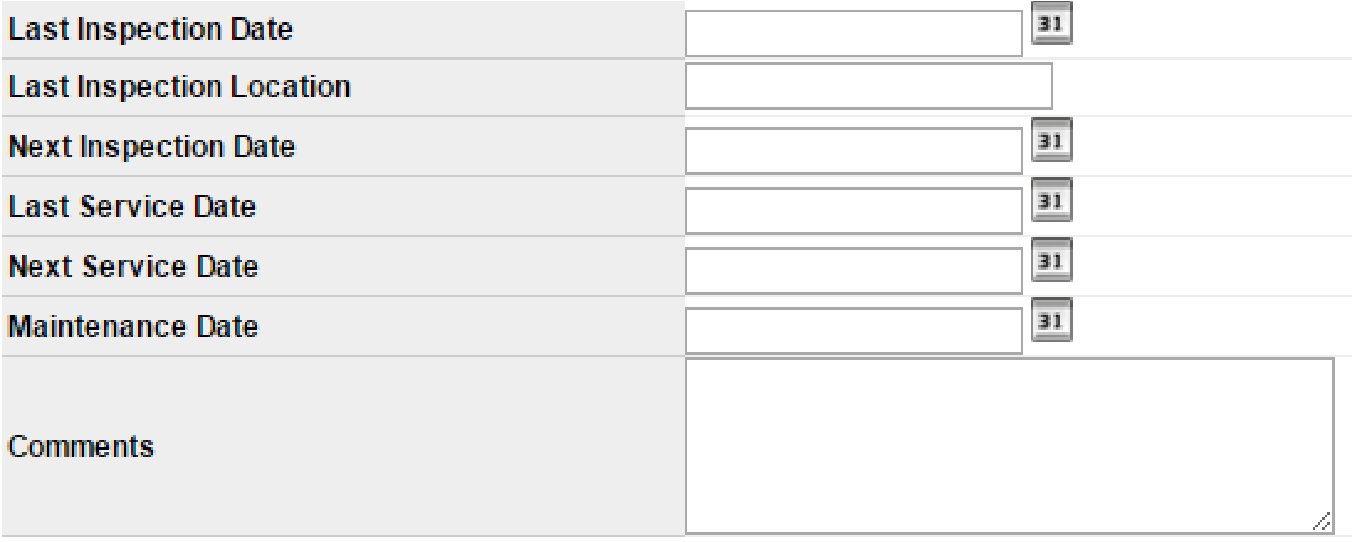
Enter last inspection date and location, next inspection date, last and next service dates, maintenance date, and comments when available. The Safety Summary Report pulls from this section—see Safety for more detail.
Enter the current owner and the Trailer Owned By date, fill in applicable right-hand column fields, then click Save Record.

Edit Trailer Information
Go to Drivers/Equip > Equipment > Trailers > Search Trailers. Filter as needed, or click Search to list all trailers.
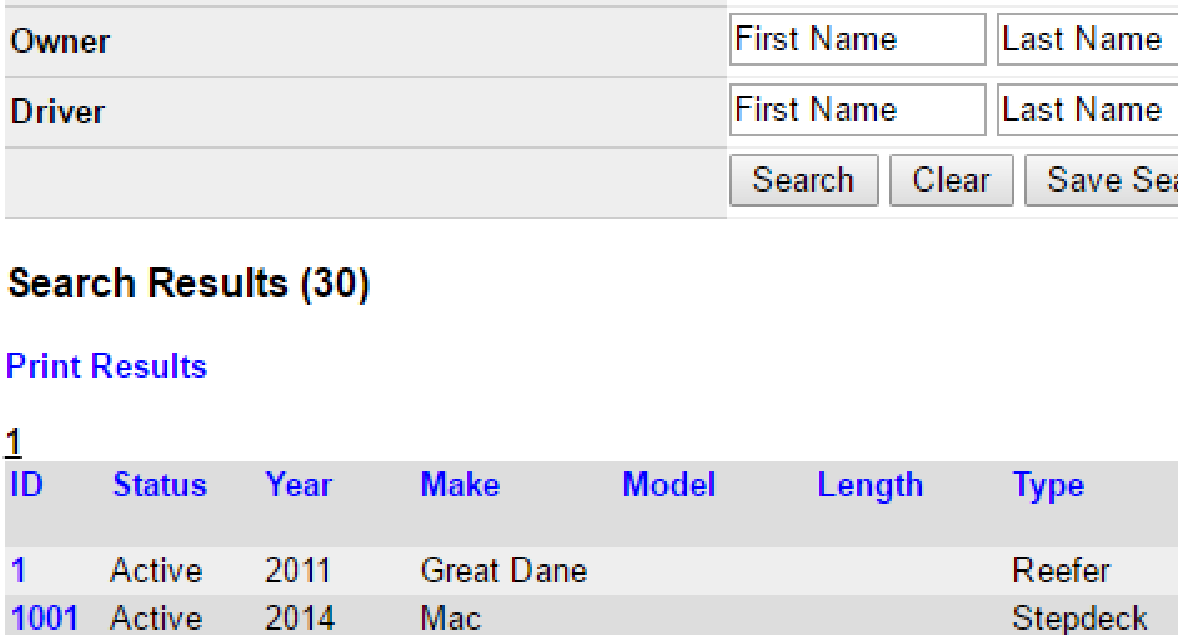
Click the trailer ID to open the Trailer Summary screen. Click Edit Information, make your changes, then click Save.
Assign Drivers to Trailers
Assign the correct driver(s) after you add trailers. Multiple drivers can be assigned to one piece of equipment, but a driver cannot be on multiple pieces of equipment at once, and there can only be one owner.
On the Trailer Summary screen, scroll to Drivers and click +Add Driver.
Note: You must assign a driver here for the correct equipment to populate on the dispatch form. Use the Manage icon to edit or add drivers later.
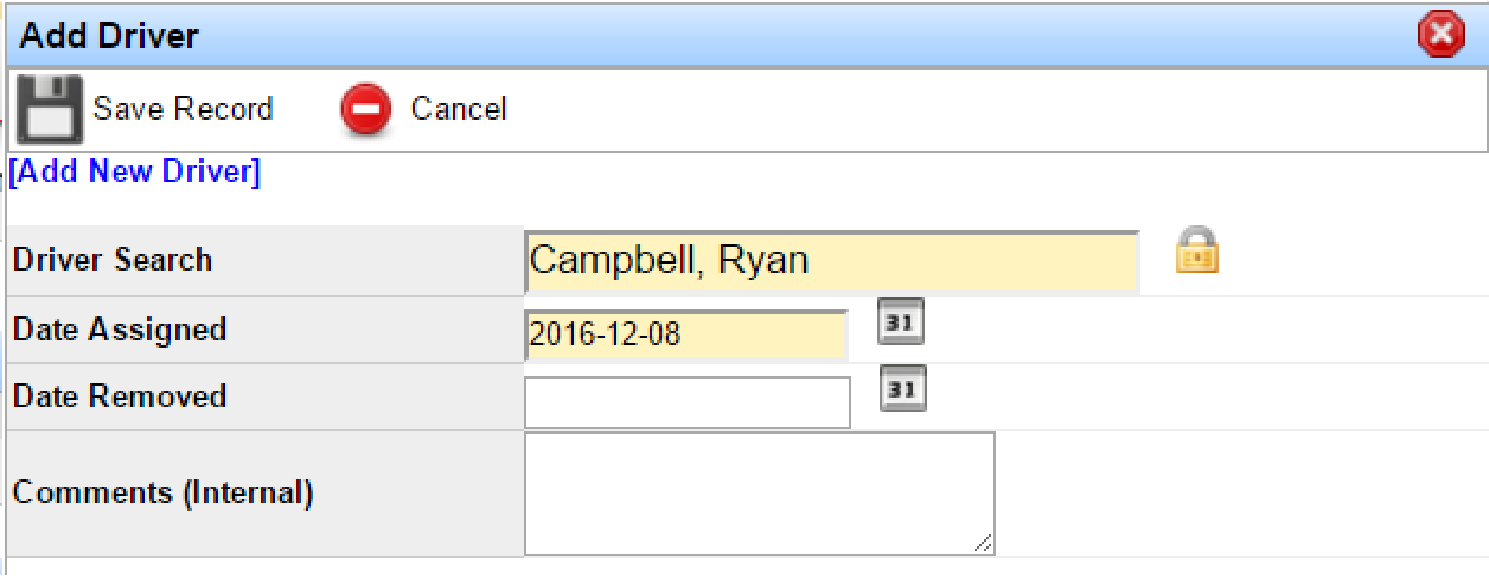
In the Add Driver window, enter the driver's name, lock in the correct match, enter the date assigned, and click Save.
Questions about adding equipment? Contact support@transportpro.net.