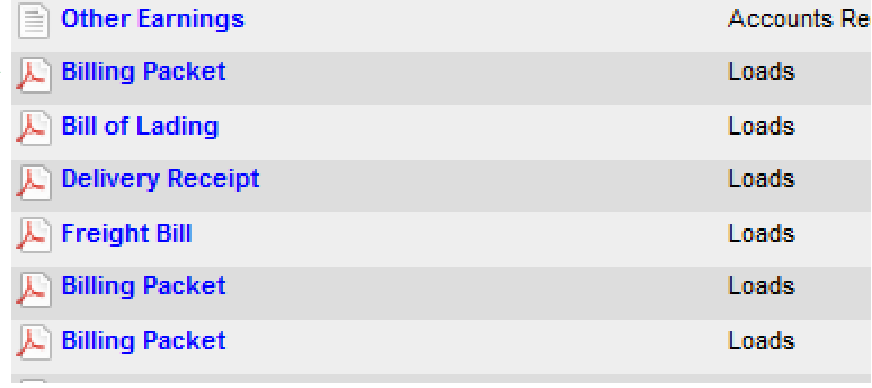
Add Image File
Go to Imaging > Add Image File. Browse to upload the document and select the category/folder.
Note: With Transflo or similar scanning, files auto-deposit into a predefined folder—you can skip manual upload and go straight to Image Indexing. TIFF (.tiff) is strongly recommended. By default all users can access uploaded documents; restrict access through your administrator if needed.
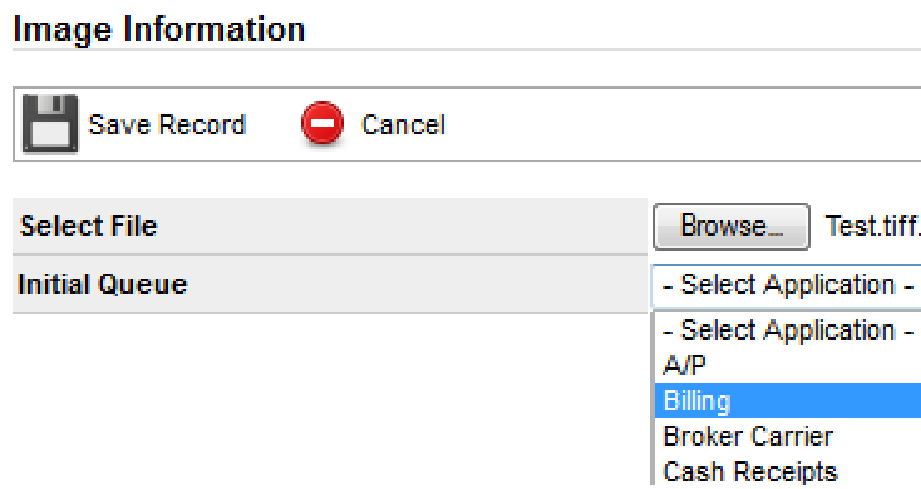
Click Save Record. The file is then available in the Image Indexing queue for that folder.
Image Indexing
Go to Imaging > Image Indexing. In the Default Document Queue, choose the folder from Jump to Queue. Queued files appear on the right.
Important: Only unread Transflo and Trippak emails auto-deposit. Opening those emails beforehand can prevent auto-deposit because the system assumes they were already indexed.
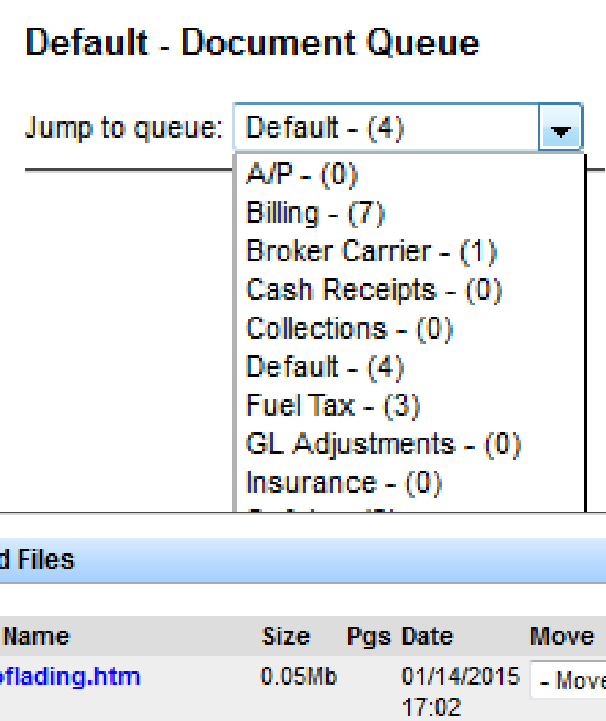
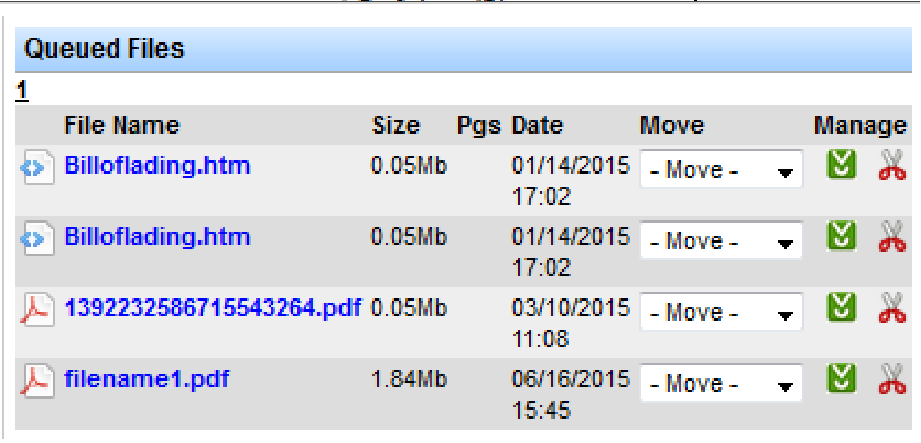
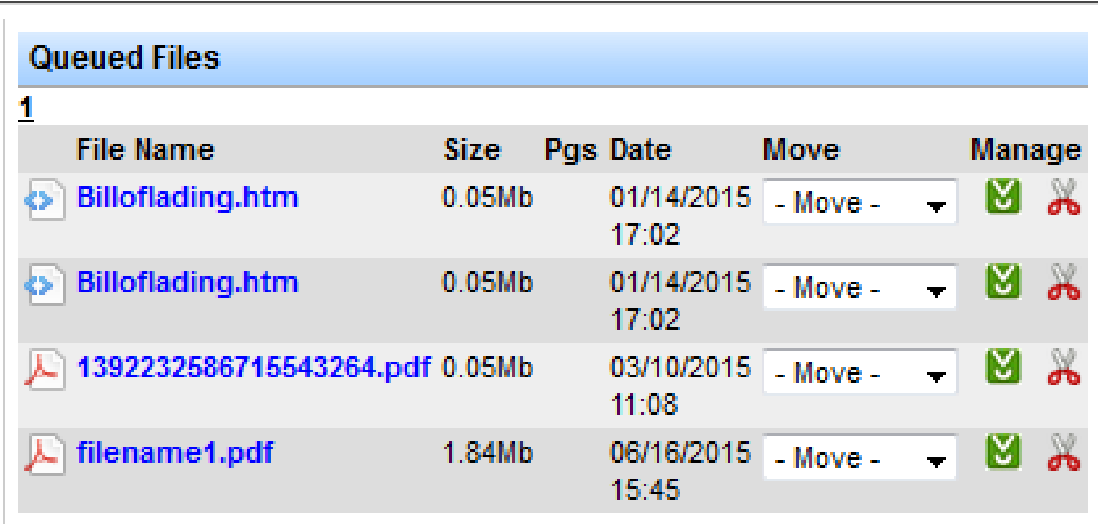
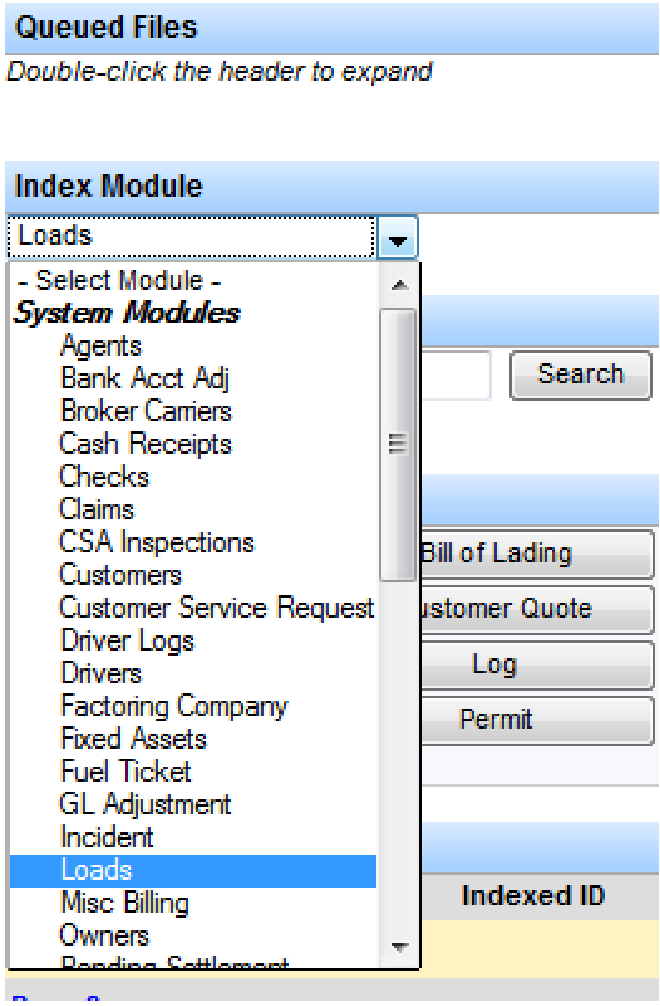
You can move a file to another folder, open or download it (green icon), or delete it (scissors). Click the document to open it. Choose the correct Index Module, then enter a required Keyword (for Loads, enter the load number). Assign a document type to each page of the packet, then click Save Record.
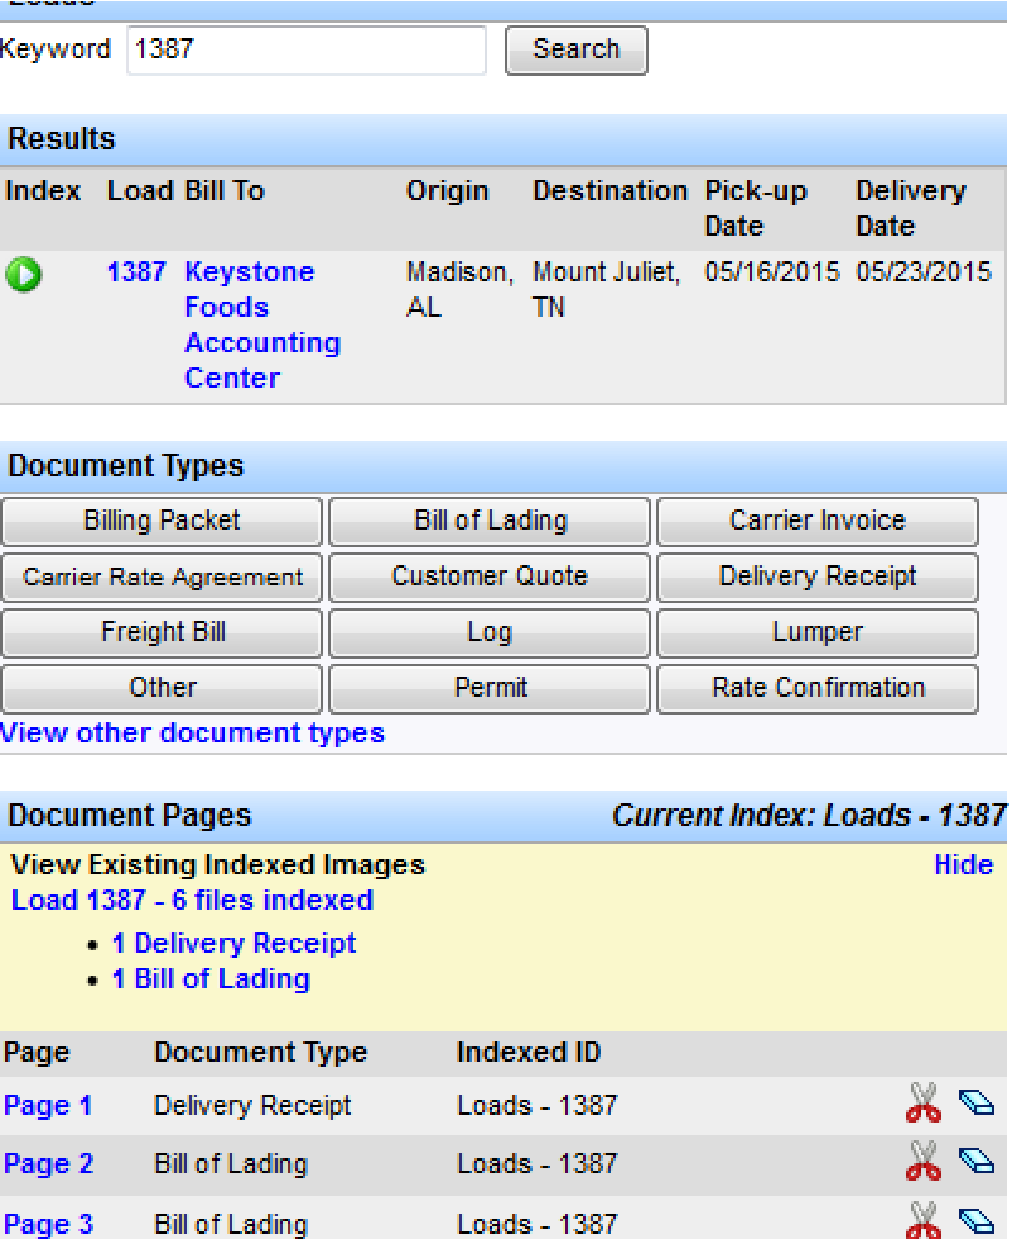
Note: The Indexed ID column reflects your keyword. The keyword/Index ID is required—you cannot save without it.
Search Image Files
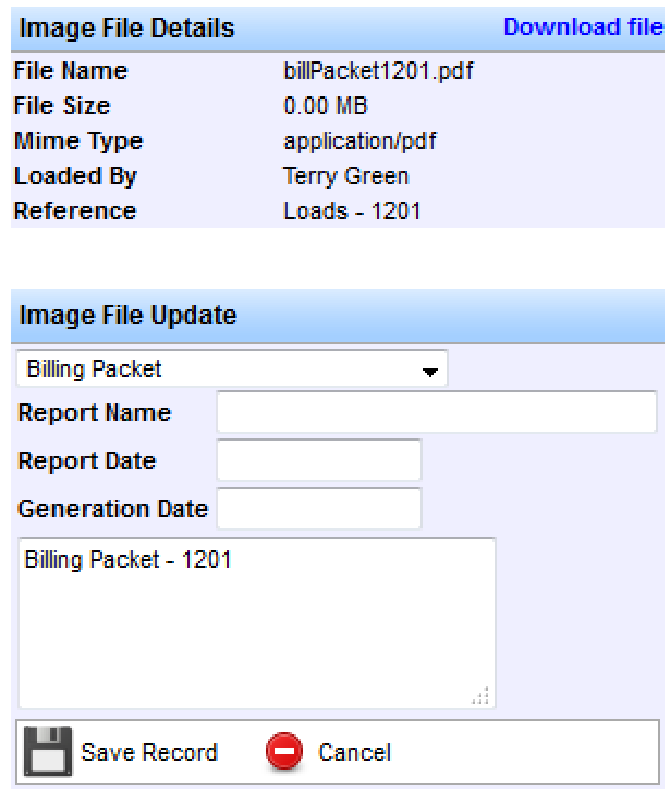
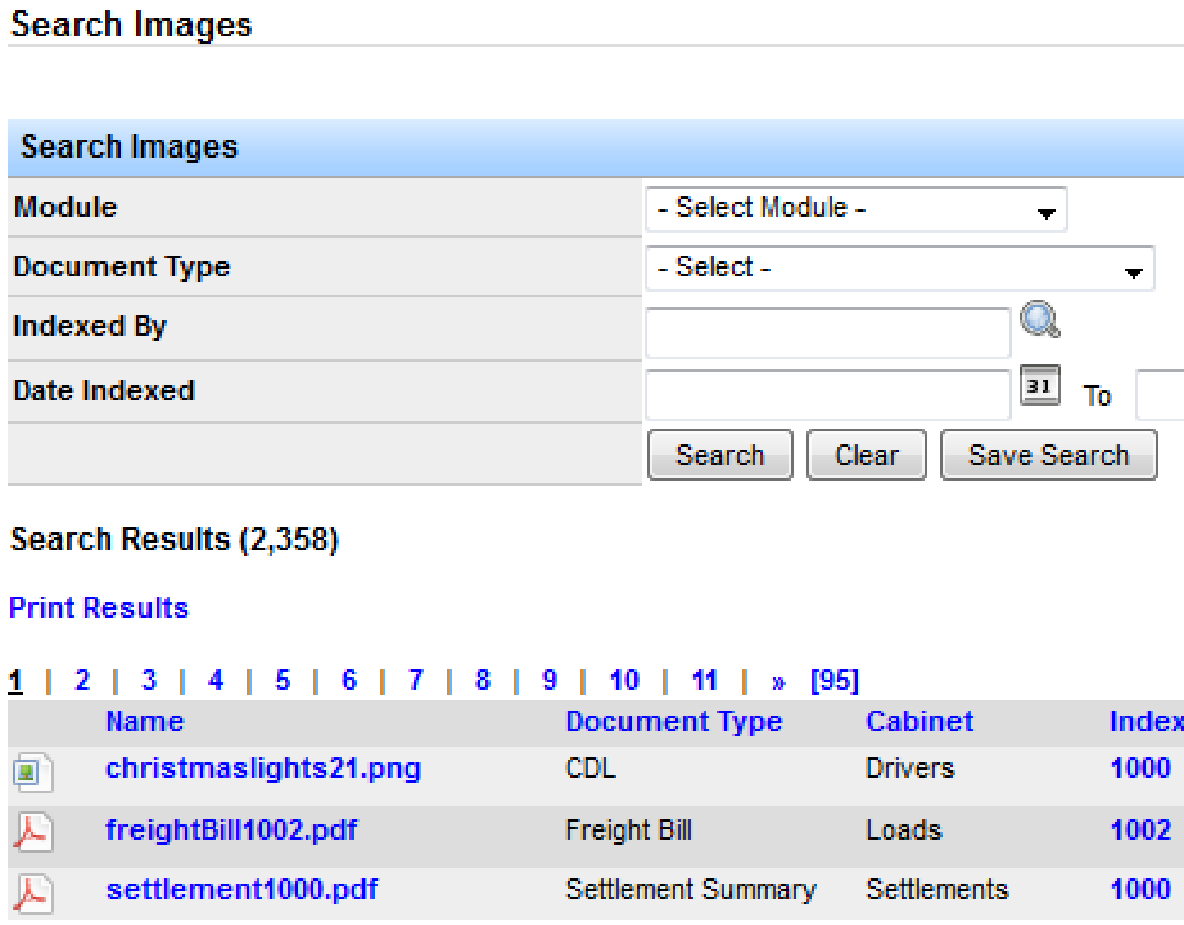
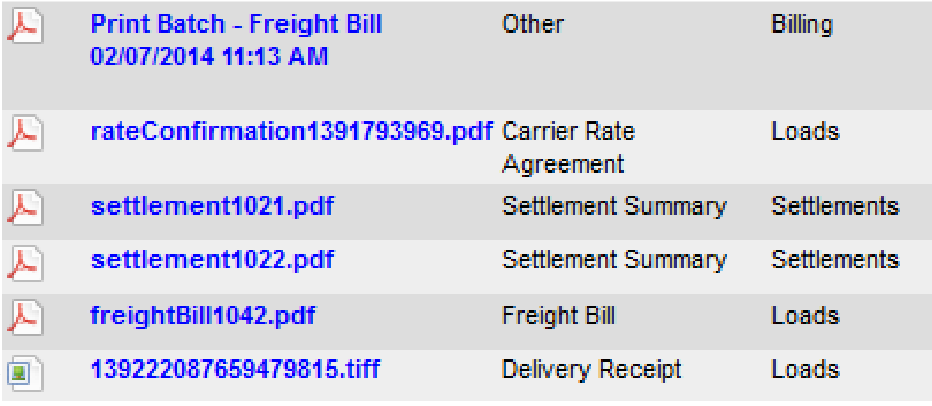
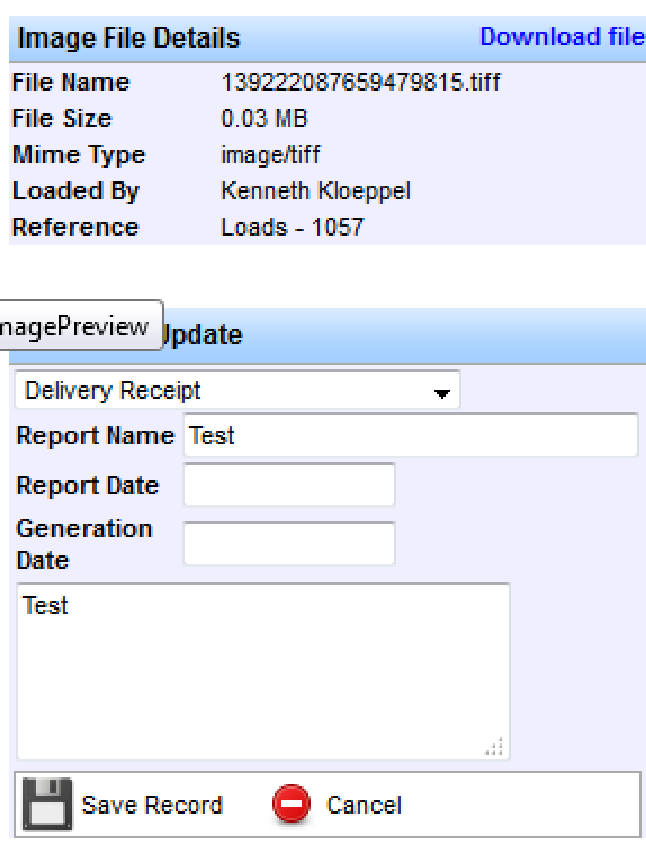
Go to Imaging > Search Image Files, set filters, and click Search. Open a file from the Name column to preview, download, change document type, add notes, or update report fields, then Save Record.
Manage Document Types
Go to Imaging > Manage Document Type. Applications (categories) and security groups appear on the left; Current Values lists existing document types on the right.
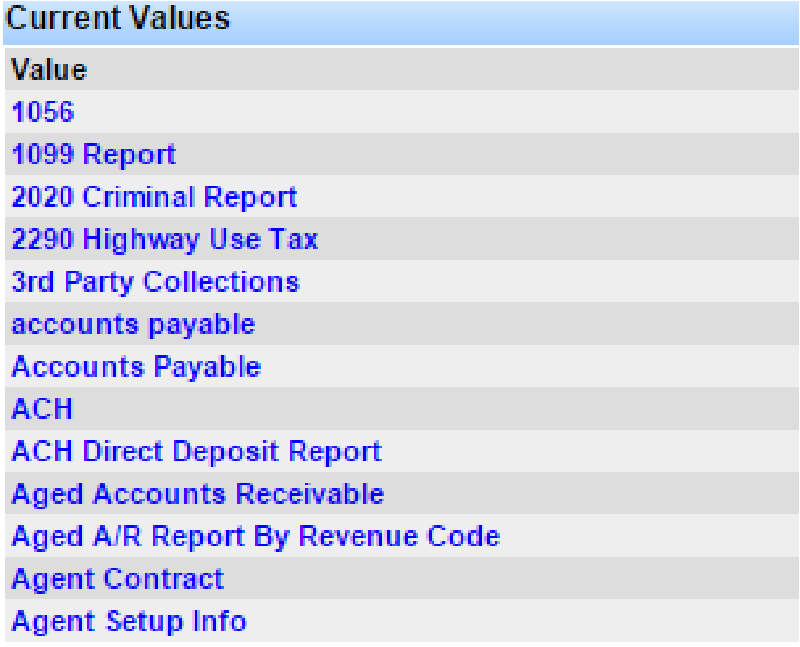
You can assign an existing value to applications/security groups, create a new value and assign it, or add a type without assignment (available in all imaging dropdowns).
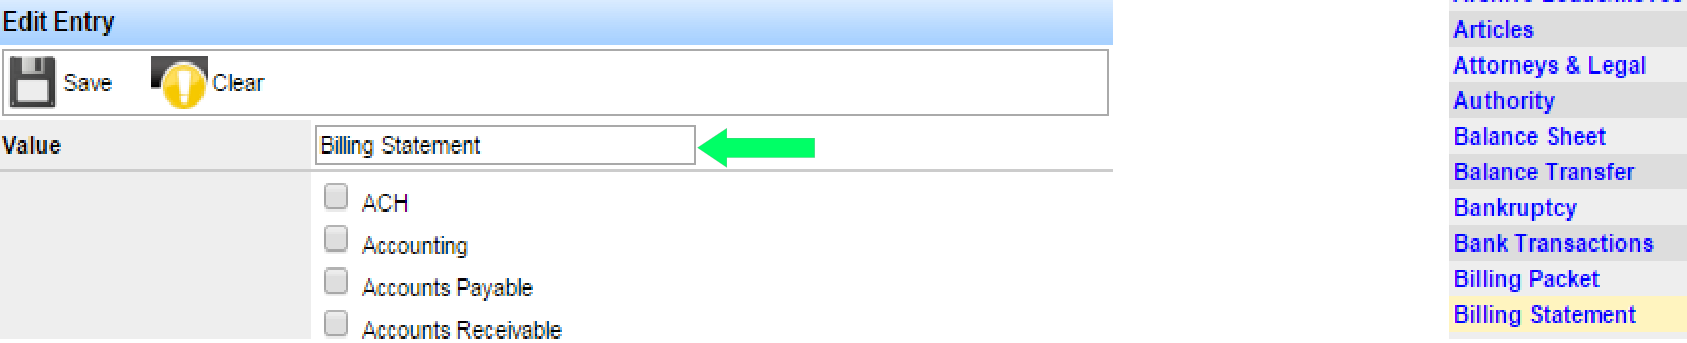
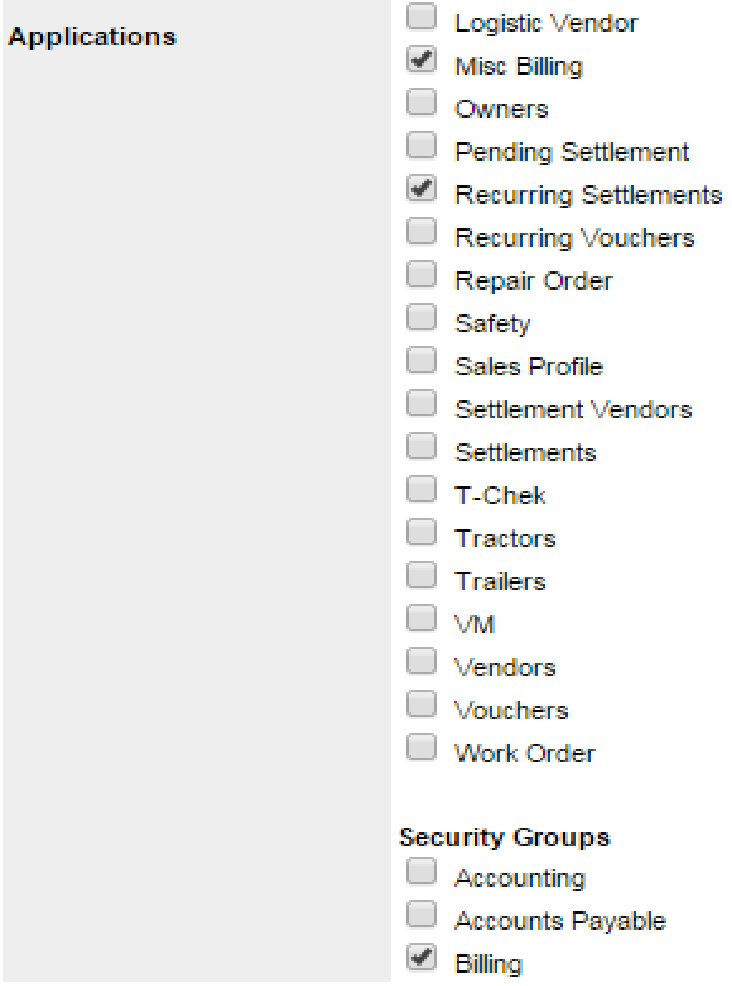
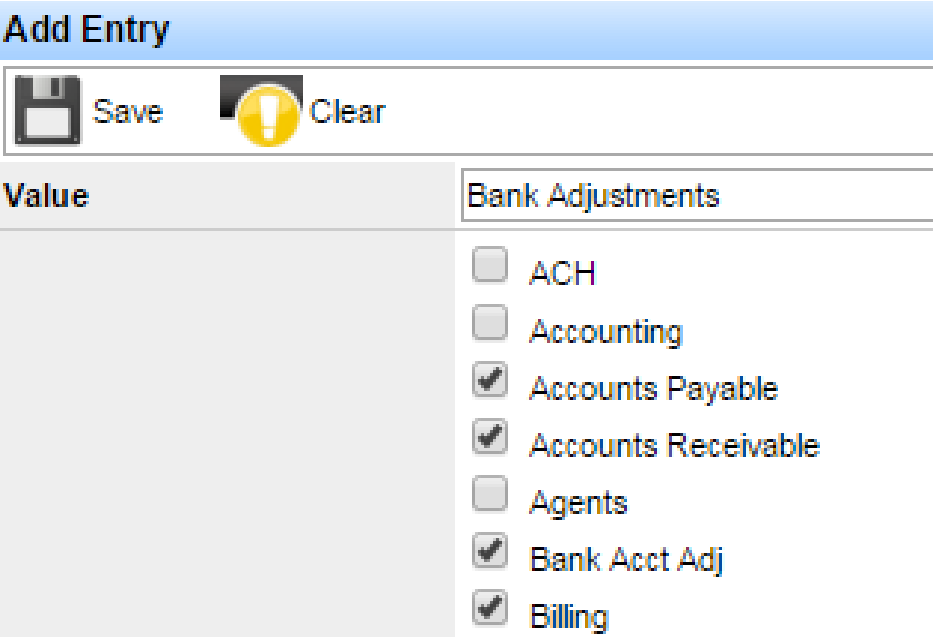
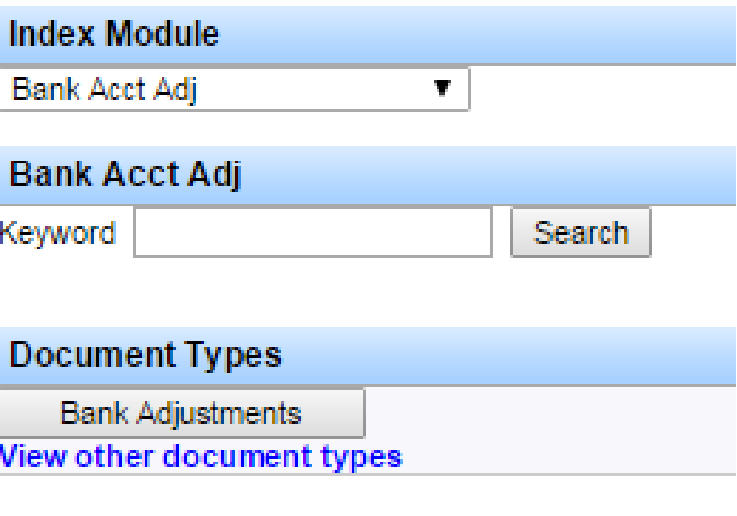
After saving, assigned types appear when indexing under that Index Module (for example Bank Adjustments under Bank Acct Adj).
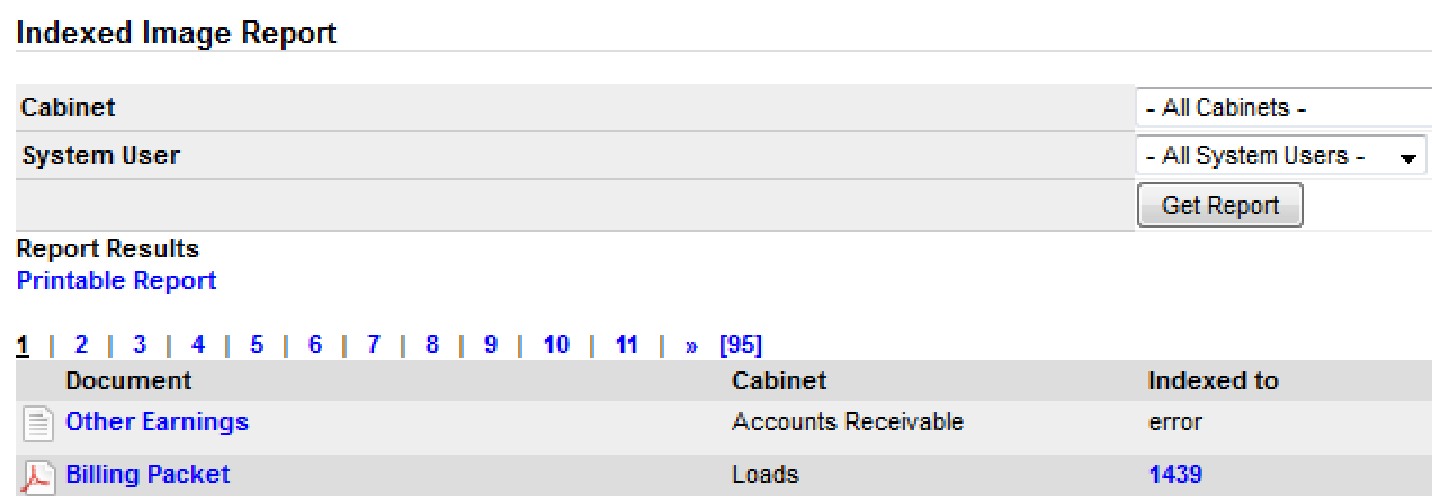
Indexed Image Report
Go to Imaging > Reports > Indexed Image Report, filter as needed, and click Get Report. Open a document link to view file details, download, or update the image, then Save Record.