


Set Up Portal Access
Before you create portal accounts, confirm with your Transport Pro account representative that the portal is activated. Once it is active, portal access is managed on each customer record.
Open the customer from Customers > Search Customers. Filter as needed, click Search, then click the customer ID. On the Customer Summary screen, click Edit Information in the upper right.
Note: In the first column of the Customer Information form, a Portal Password field appears when you click Edit Information. The system requires a strong password, as shown on the password strength gauge. For more on editing customers, see Add a Customer.
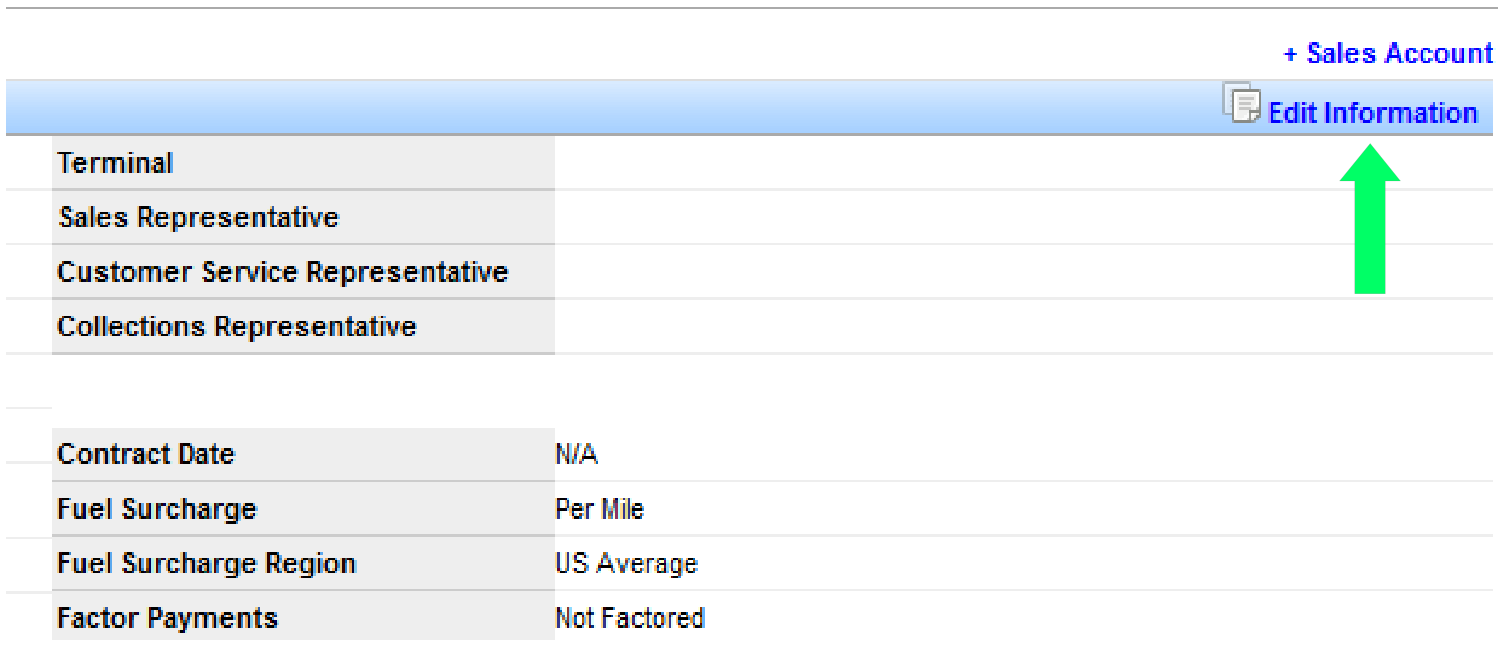
Enter the desired password and click Save Record. The customer then has portal access. Their username is their Transport Pro customer ID.
Customer Portal Access
Provide each customer with the portal URL, username, and password. Your Transport Pro account representative supplies the URL.
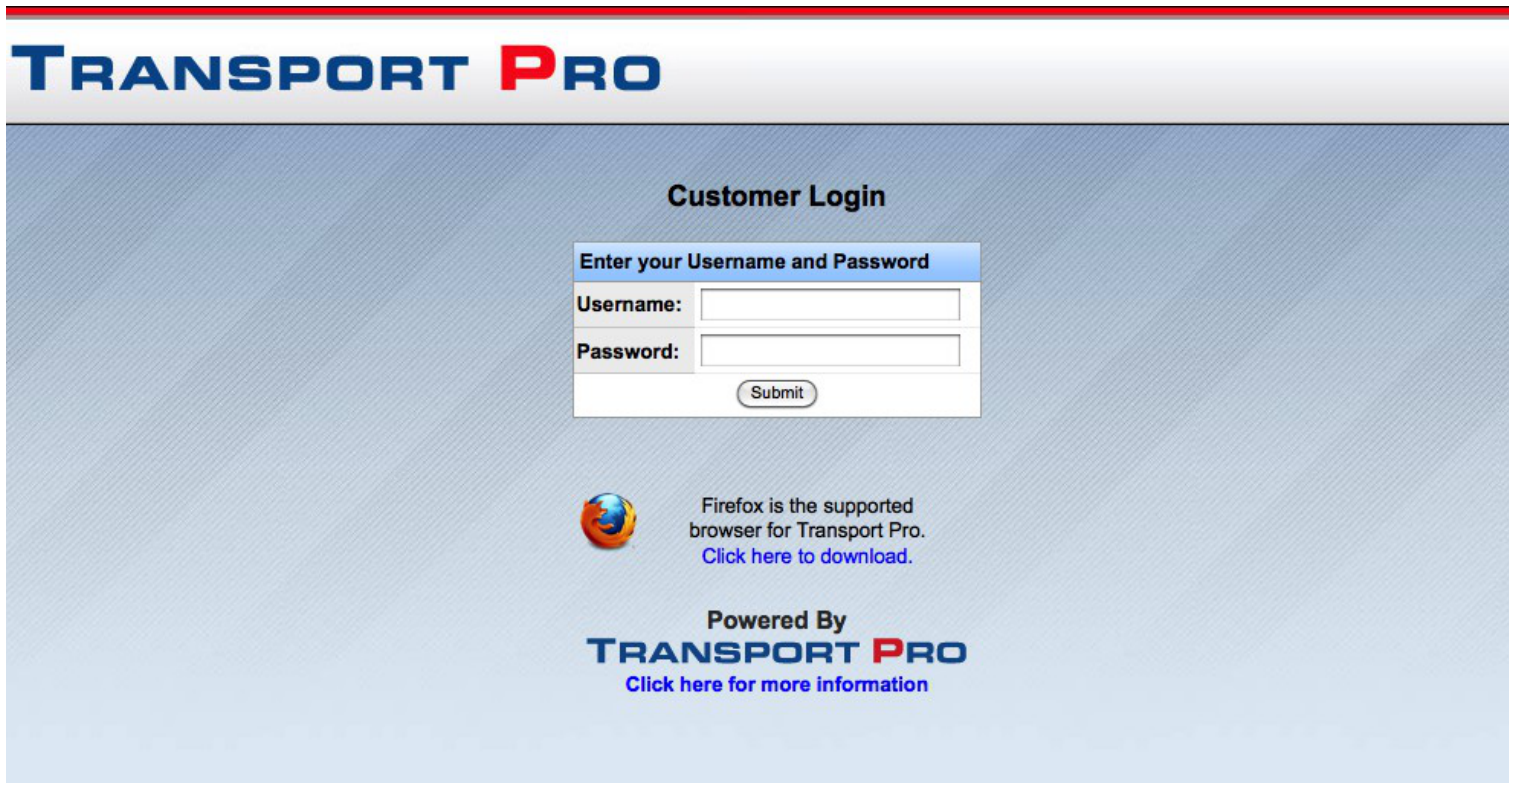
The login page looks similar to the screenshot below, with your custom logo at the top.
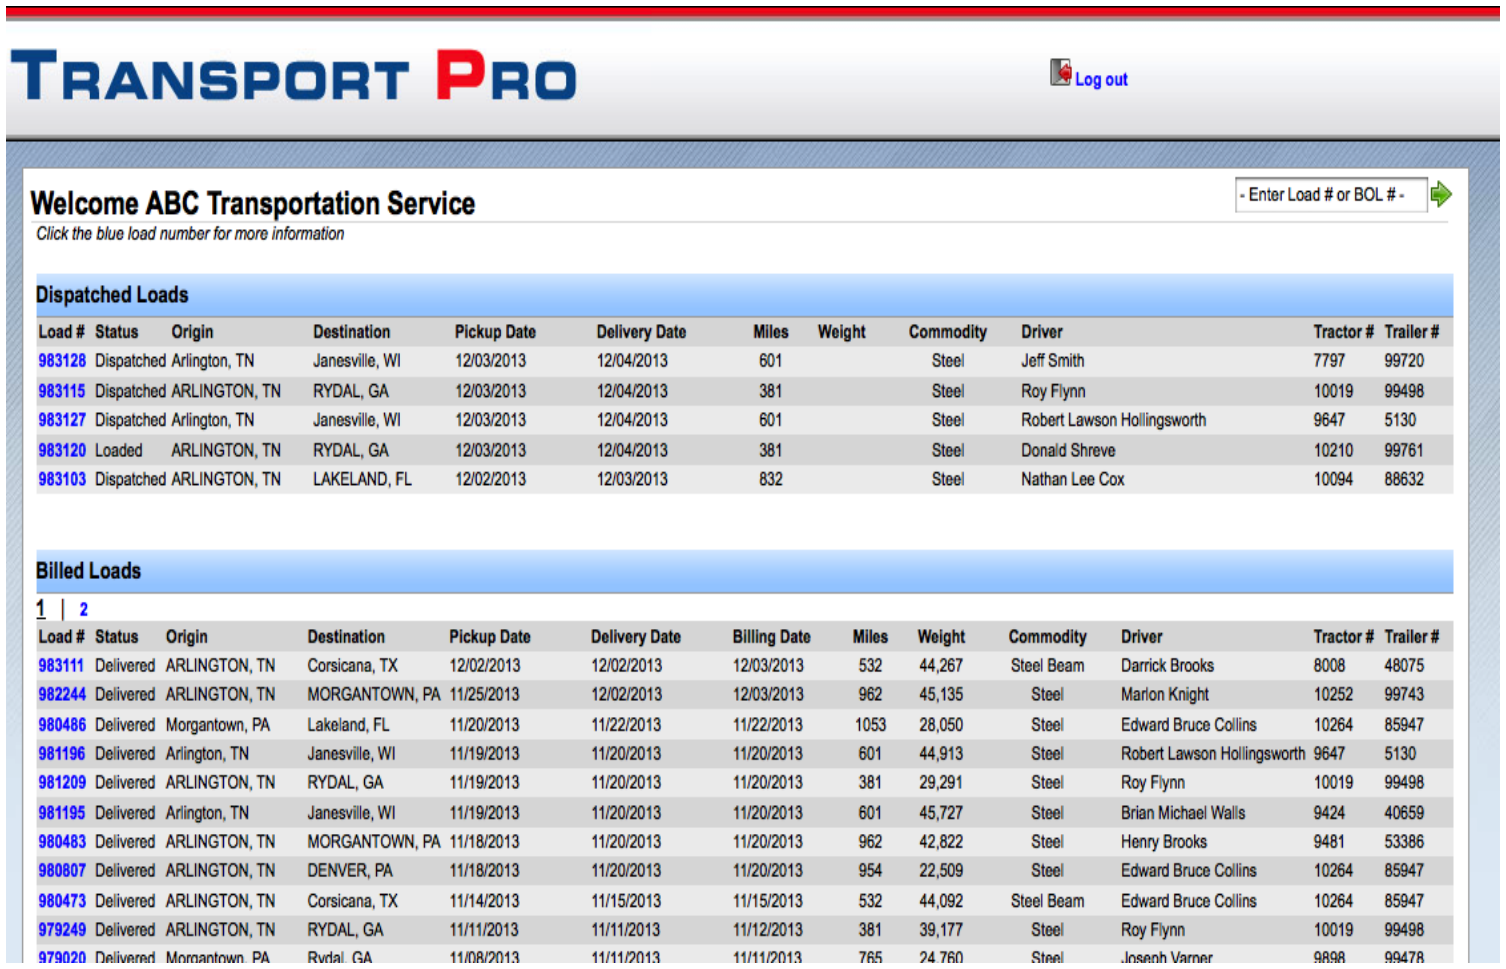
After login, the customer sees a simple dashboard with Dispatched Loads and Billed Loads.
Load Detail and Documents
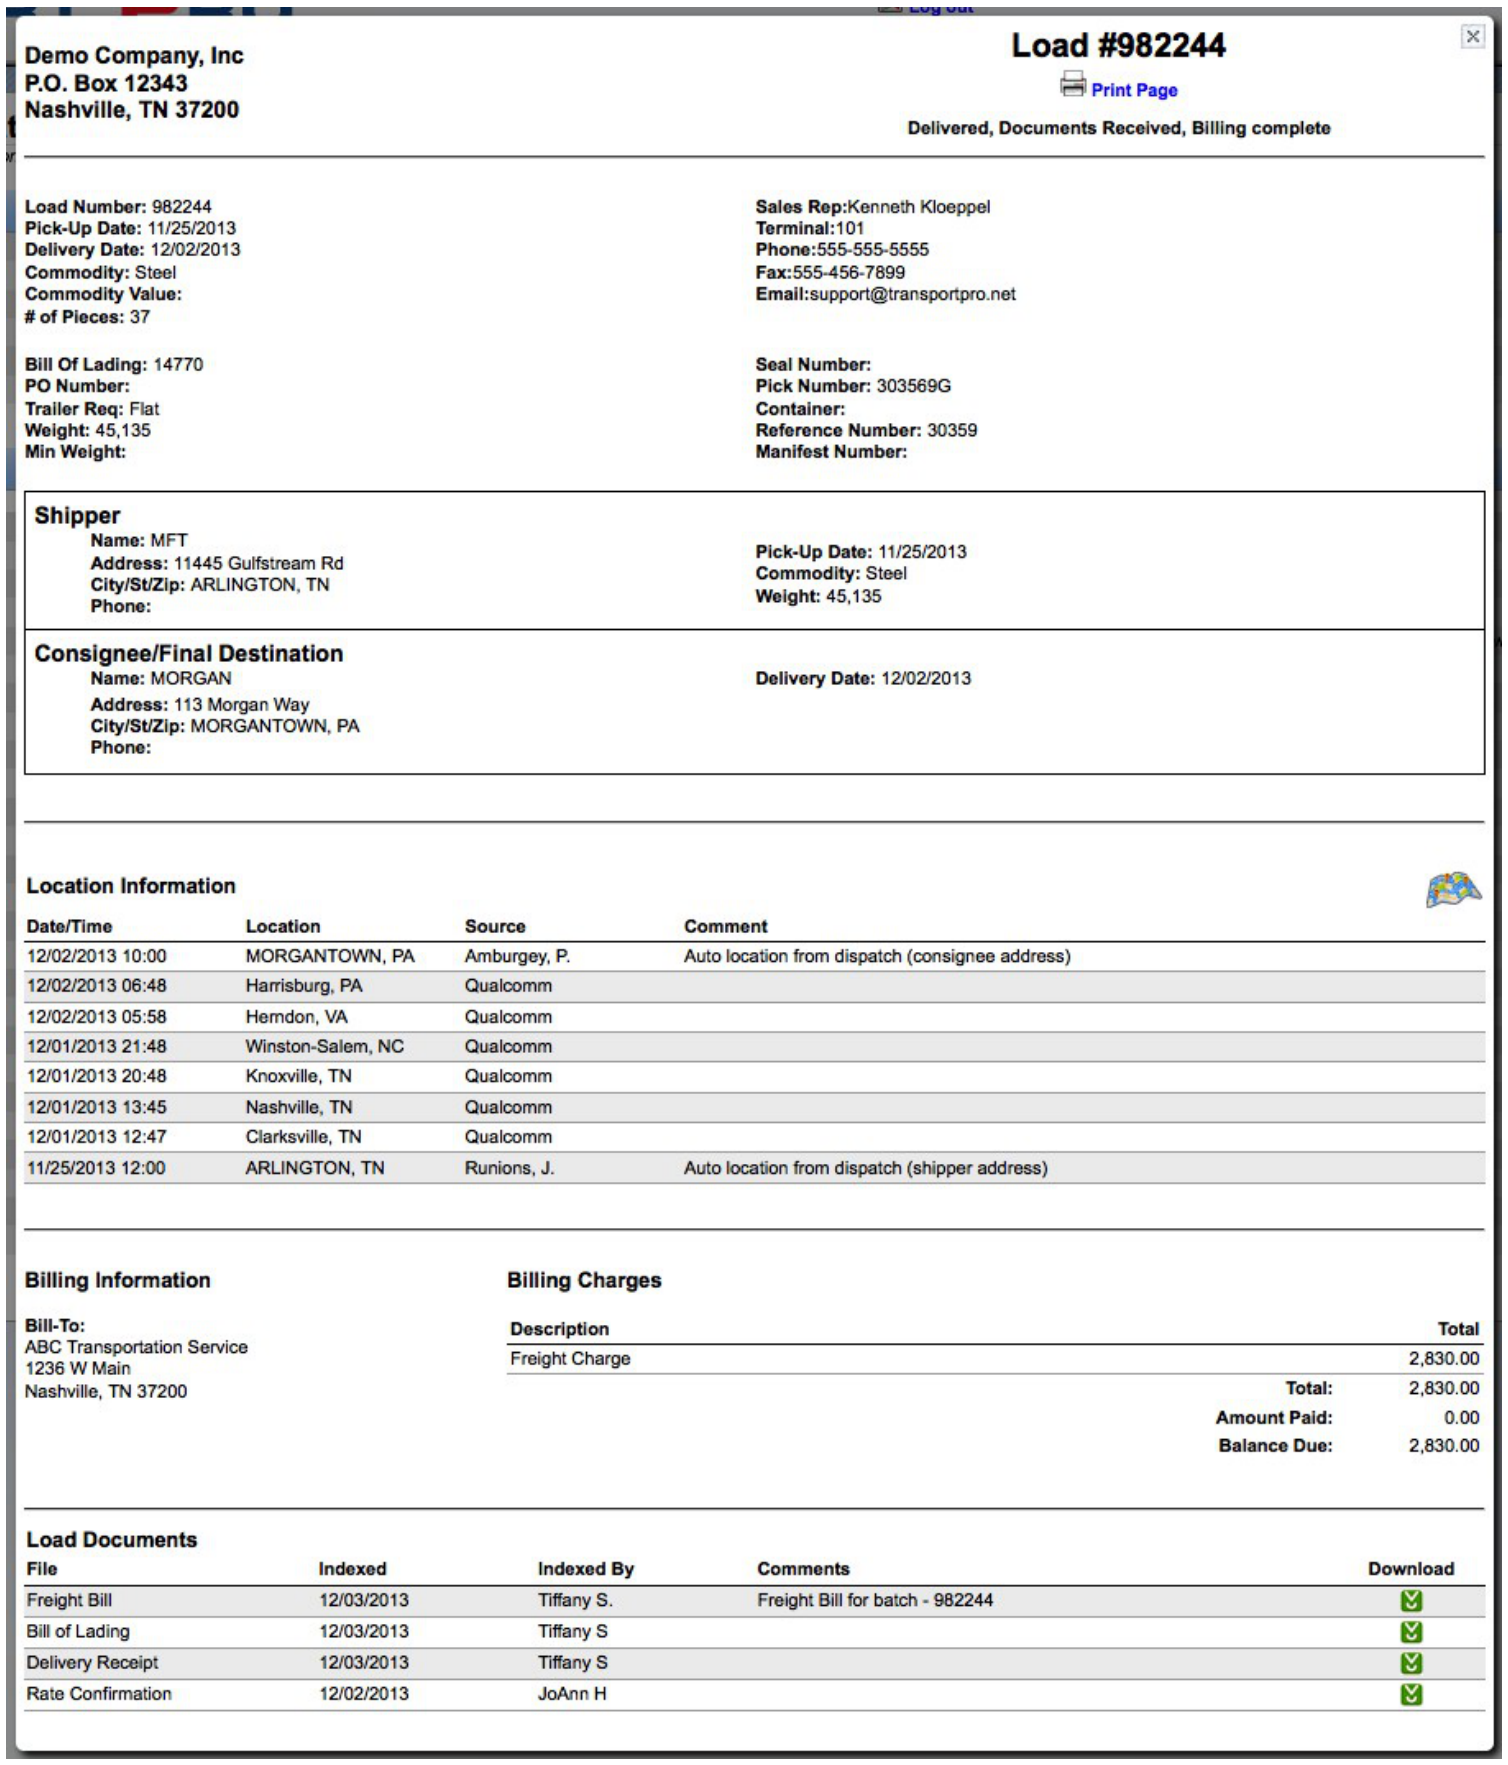
Clicking a blue load ID opens more information about the load, including tracking, billing details, and available images such as proof of delivery documents and the freight bill.
Search Loads
If a customer does not remember the Transport Pro load ID, they can use search at the top of the screen to look up loads by Bill of Lading, pickup number, and similar references.
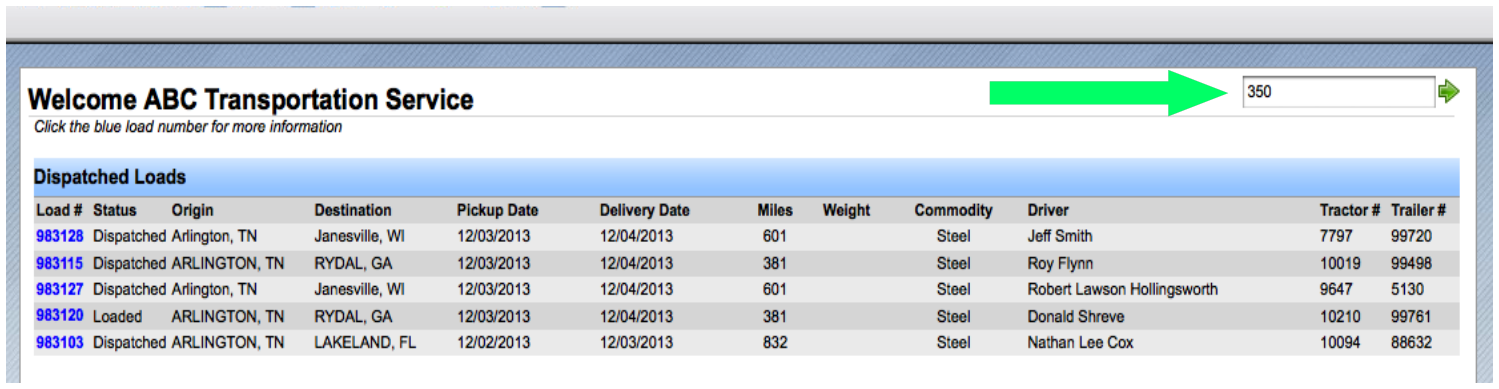
Search results list matching loads. Click the blue load ID to open the load detail screen.
