


How Cash Reconciliation Works
Cash reconciliation is driven by cash accounts in the chart of accounts. You still need a checking account for each GL account you reconcile. If multiple checking accounts point to the same GL account, those checks process together. To keep checking accounts separate in reconciliation, set up a separate GL account for each one.
Note: Checking accounts are managed under Accounting > Checking Accounts. See the Add & Edit Checking Accounts guide for setup steps.
Add Bank Account Adjustment
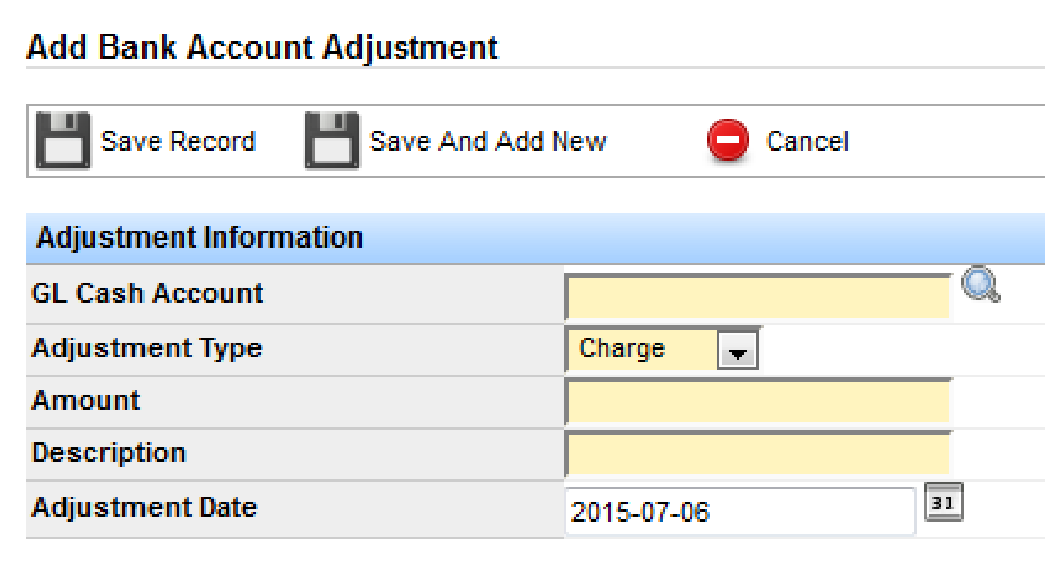
To add a bank account adjustment, go to Accounting > Cash Reconciliation > Bank Account Adjustments > Add Bank Adjustment.
Complete the adjustment information. Yellow fields are required (GL Cash Account, Amount, and Description). Choose an Adjustment Type (for example, Charge), set the Adjustment Date, then click Save Record.
Search Bank Account Adjustments
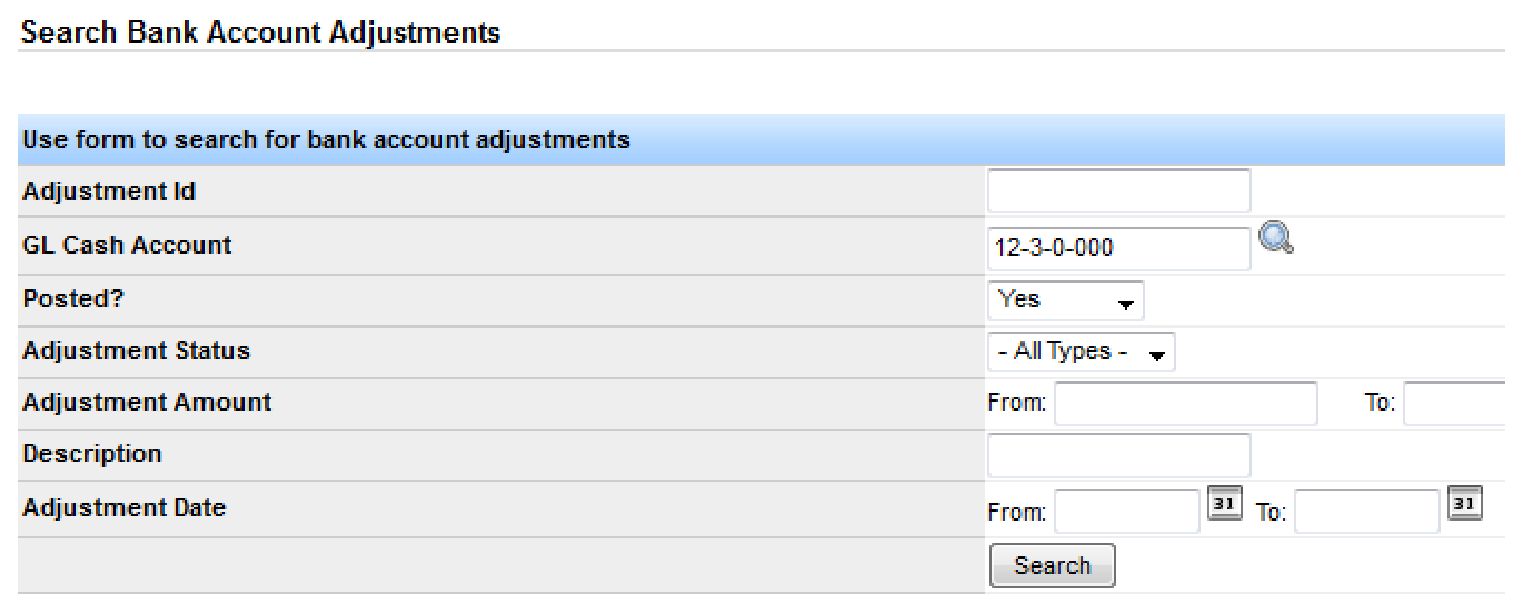
To find existing adjustments, go to Accounting > Cash Reconciliation > Bank Account Adjustments > Search Bank Account Adjustments.
Filter by adjustment ID, GL cash account, posted status, adjustment status, amount range, description, or date range. Click Search to list matching bank account adjustments.
Post Pending Bank Account Adjustments
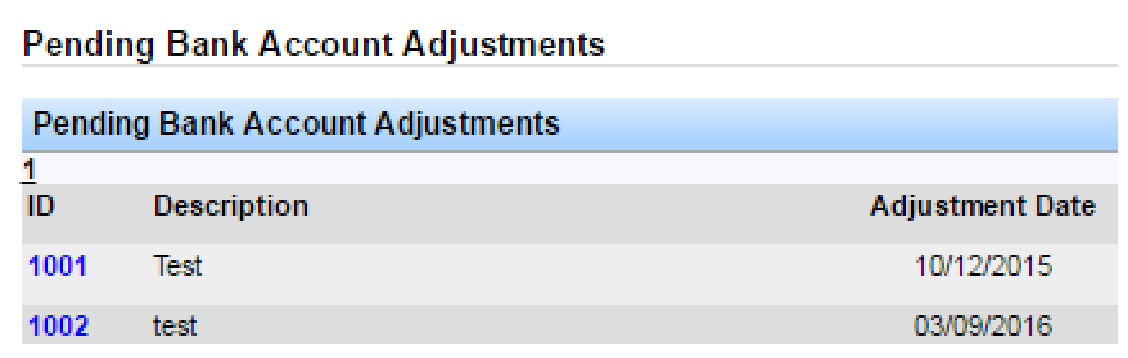
To post adjustments you have added, go to Accounting > Cash Reconciliation > Bank Account Adjustments > Post Pending Bank Adjustments.
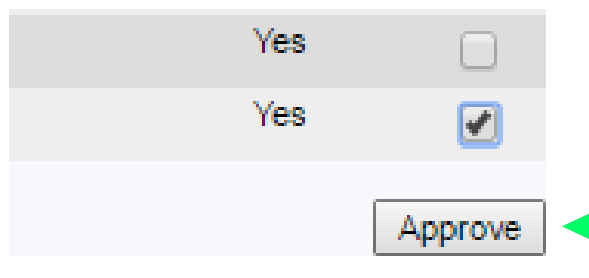
The Pending Bank Account Adjustments window lists pending items. Click an adjustment ID to review details. To post, check the box for the adjustment(s) you want, then click Approve.
Process Cash Statements
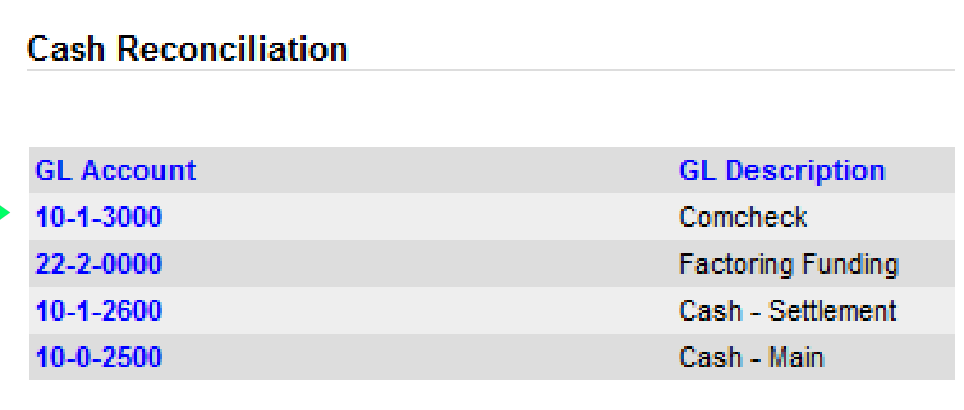
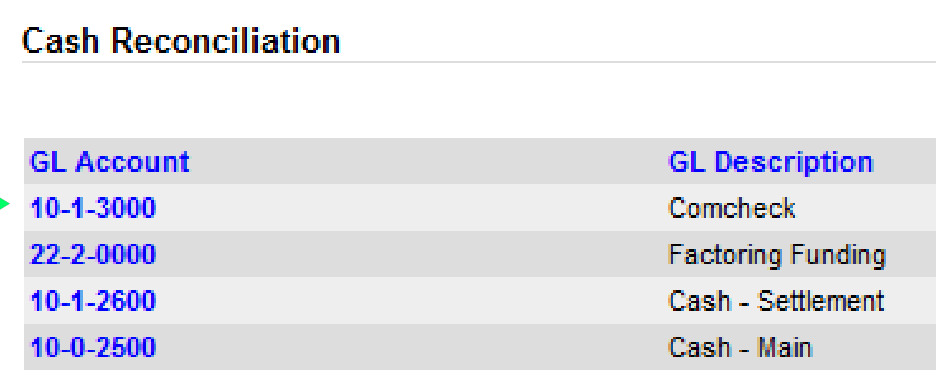
Go to Accounting > Cash Reconciliation > Cash Recon > Process Cash Statement. The Cash Reconciliation window lists your GL and bank account information. Click the GL Account link for the statement you want to process.
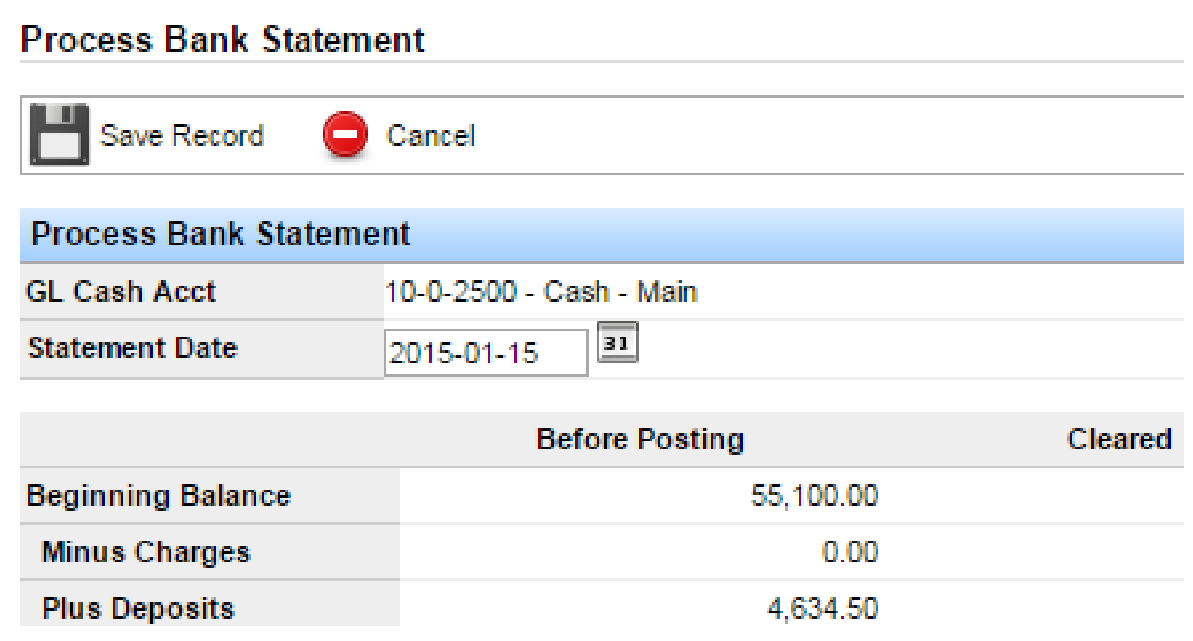
The Process Bank Statement window opens. Review or edit the information and confirm the Statement Date is correct. Use this screen to compare your bank statement to balances in Transport Pro.
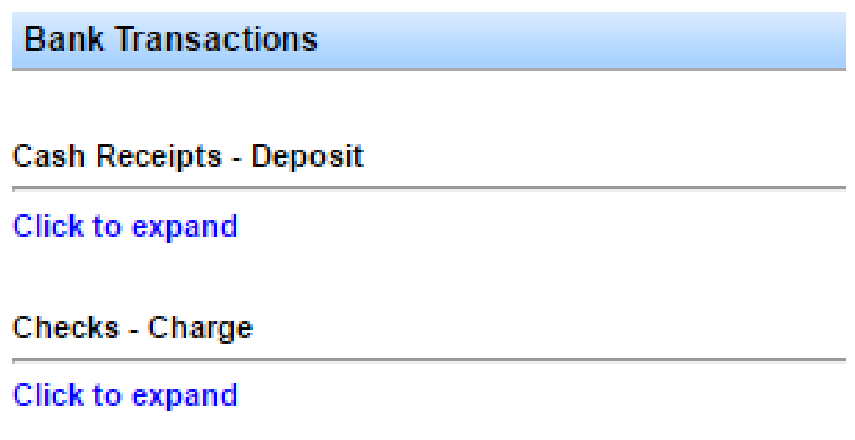
Outstanding cash receipts and checks appear under Bank Transactions. Click Click to expand for Cash Receipts - Deposit and Checks - Charge to view the full lists.
Compare the listed transactions to your bank statement. Mark items that have cleared by checking Cleared next to each item, or use Clear All to clear everything in the list.

When the correct items are cleared, click Save Record. The statement moves to the Post Cash Statement queue.
Note: For new accounts, the statement date defaults to the date you process the statement. After that, it defaults to the first of the month. You can change the date as needed. Changing the date automatically unclears entries for that cash account effective after the entered date—click Save Record, then re-clear items as needed after the page refreshes.
Post Cash Statements
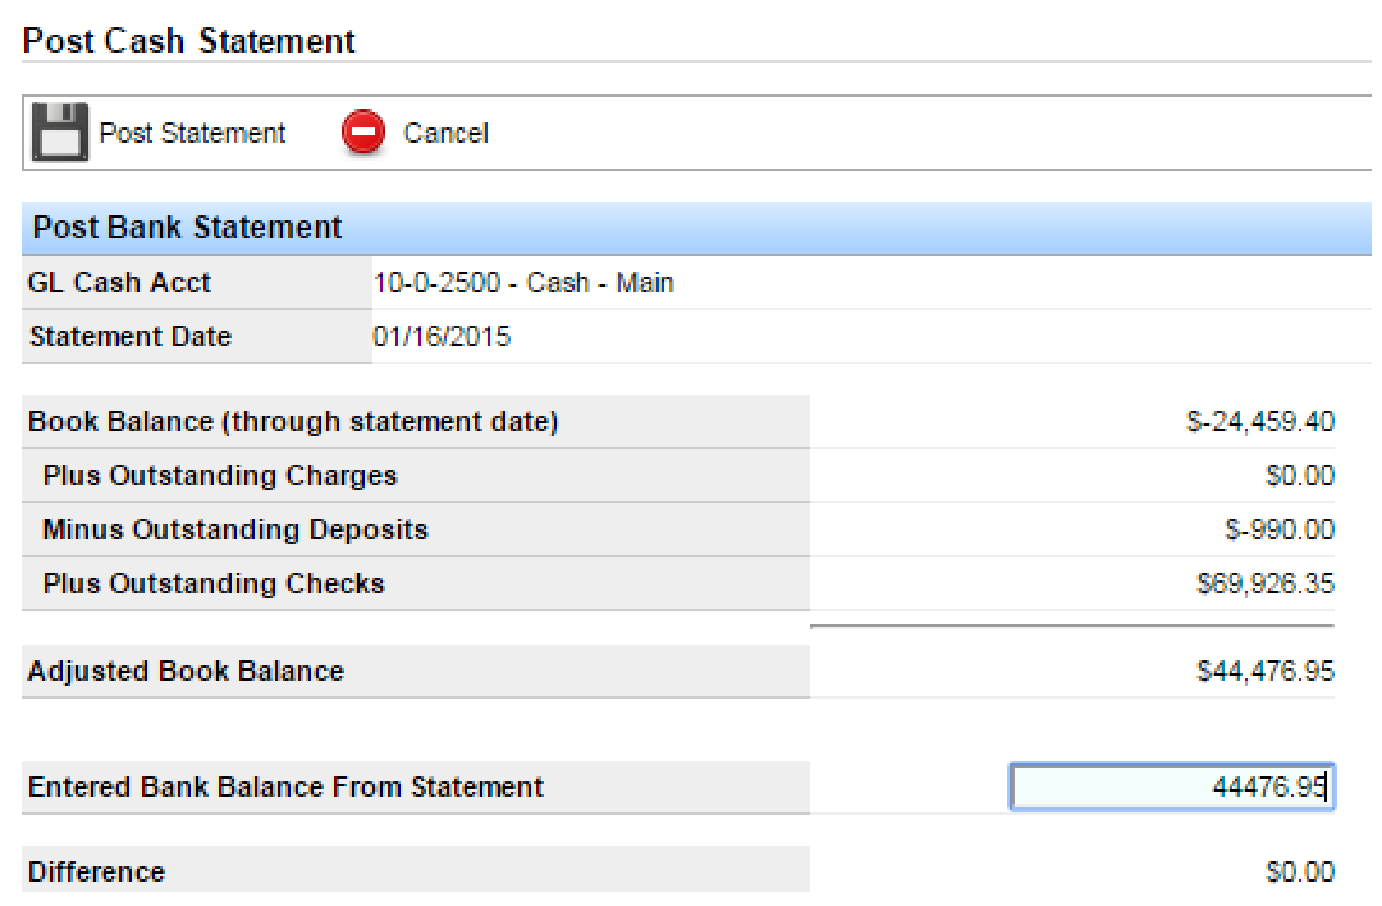
After you process a cash statement, post it. The adjusted book balance on this page should match your bank statement exactly.
Go to Accounting > Cash Reconciliation > Cash Recon > Post Cash Statement. Click the GL Account link for the statement you want to post.
The Post Cash Statement window shows book balance, outstanding charges, deposits, checks, and the adjusted book balance. Confirm those figures match your bank. Enter the bank balance in Entered Bank Balance From Statement (the Difference should be $0.00), then click Post Statement.
Important: The Adjusted Book Balance must match your bank balance before you post.
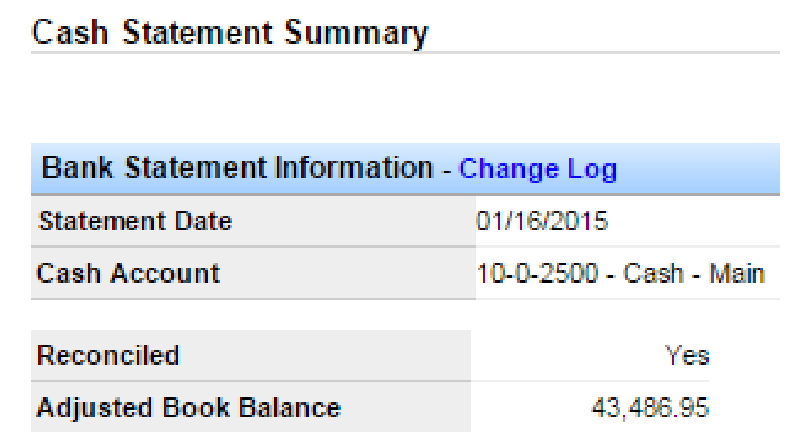
After you post, the Cash Statement Summary confirms the statement date, cash account, reconciled status, and adjusted book balance.
Note: After the first statement is posted, subsequent statements automatically load on the first day of the month.
If you have questions about cash reconciliation, contact support at support@transportpro.net.