


Search Chart of Accounts
Go to Accounting > Chart Of Accounts > Search Chart of Accounts. Enter filters if you want, or click Search with no filters to list accounts.
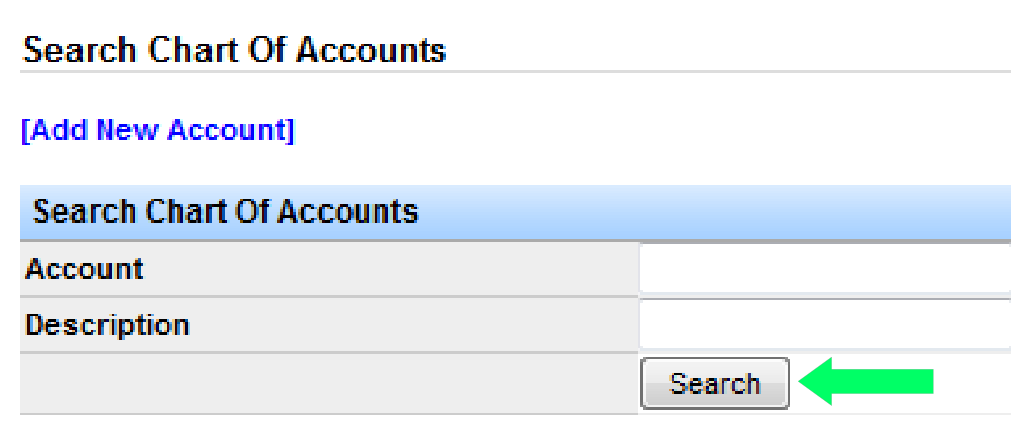
Results list the accounts used for load sales, settlements, and other activity that posts to the general ledger.
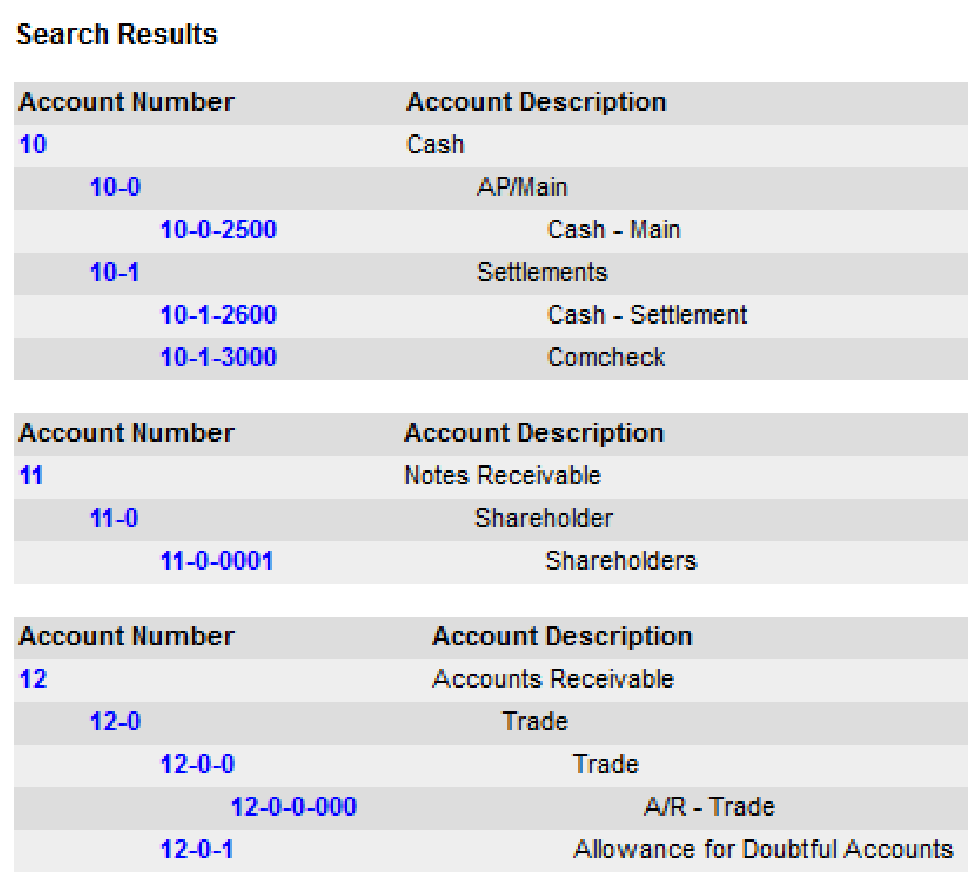
How Accounts Are Structured
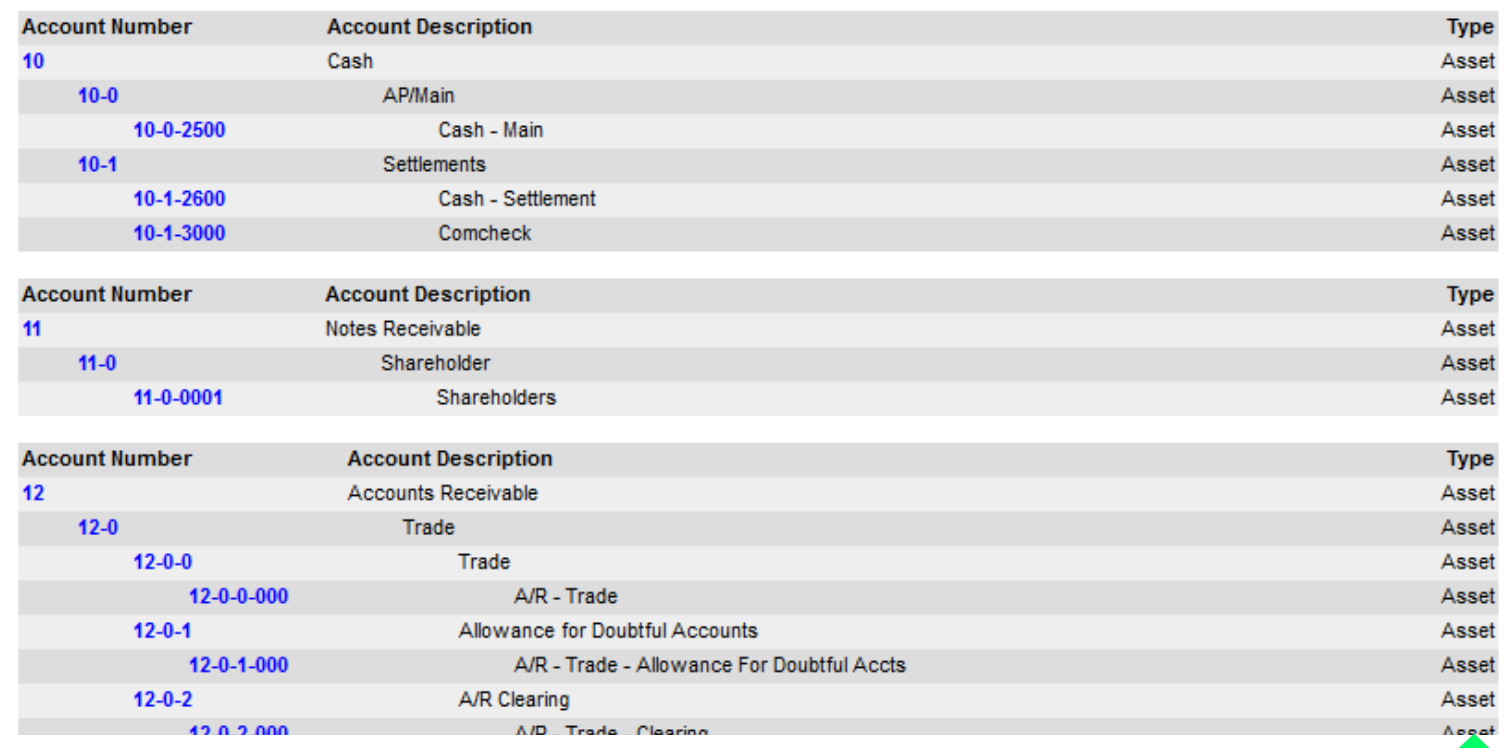
Transport Pro requires account numbers and uses chronological nesting to categorize accounts. For example, if Cash is account 10, related cash accounts nest under that umbrella.
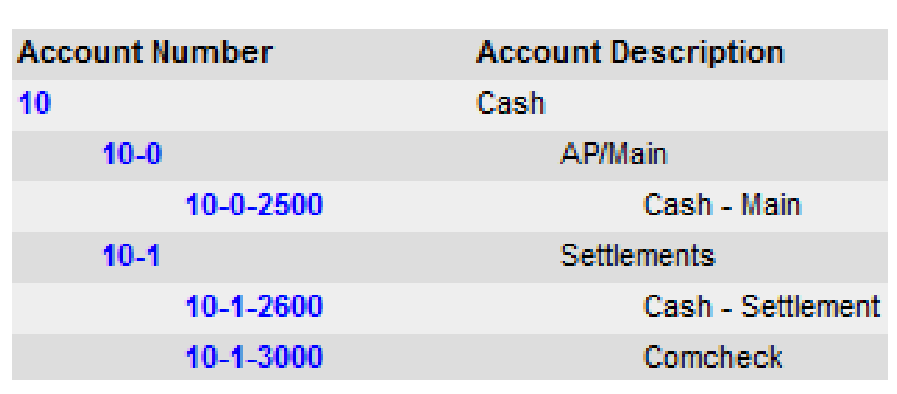
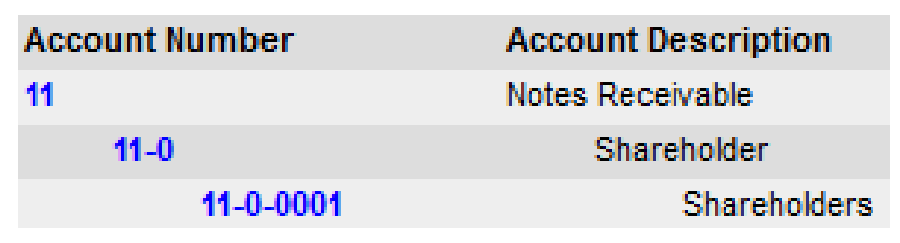
Account types are also grouped by number series. For example, groups 10–19 can be assets and 20–29 liabilities.
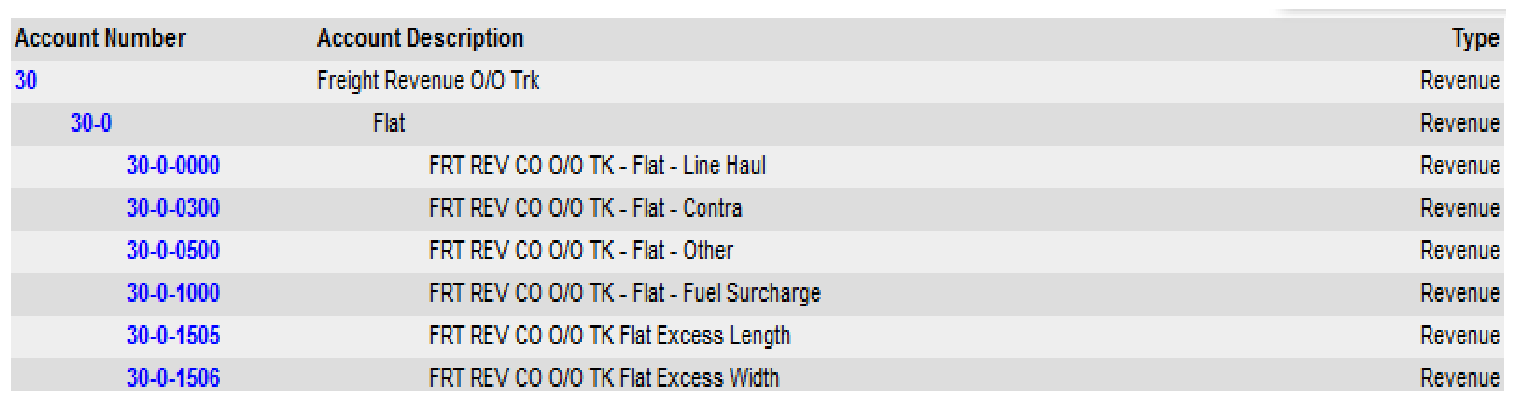
The 30 series is set up for Freight Revenue. When a load is billed from the front end, those transactions post into the 30 series.
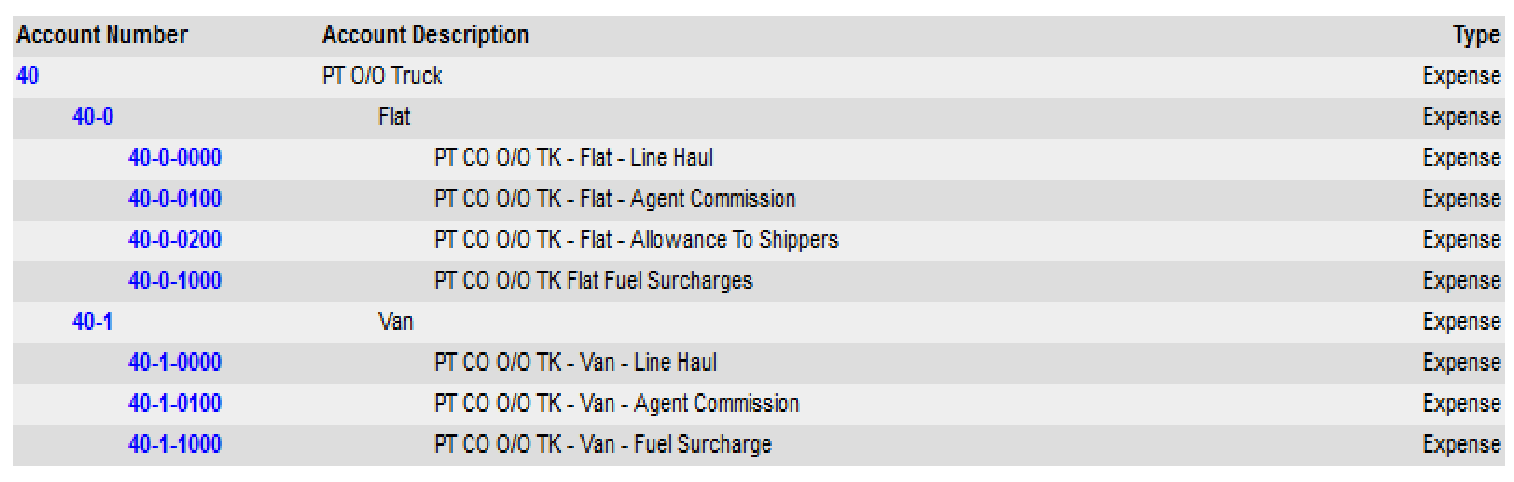
The 40 series is designated for load-related Expense accounts. Load expense transactions transfer to the general ledger in that series.
Note: Comparing the 30 series (freight revenue) against the 40 series (load expenses) makes it easier to see load profits versus losses.
Load sales transactions also generate based on the carrier type dispatched. For example, Owner Operator freight revenue posts into the corresponding 30 series group when an owner operator is dispatched.
Add an Account
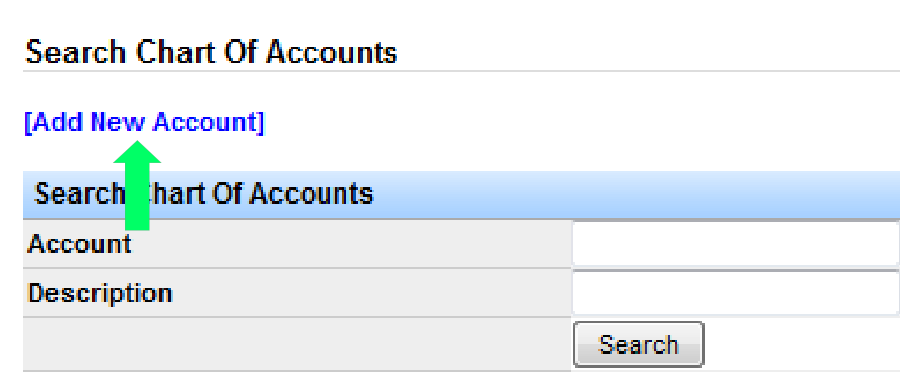
To add a new account, click Add New Account in the upper left of the Chart of Accounts page.
Account Fields
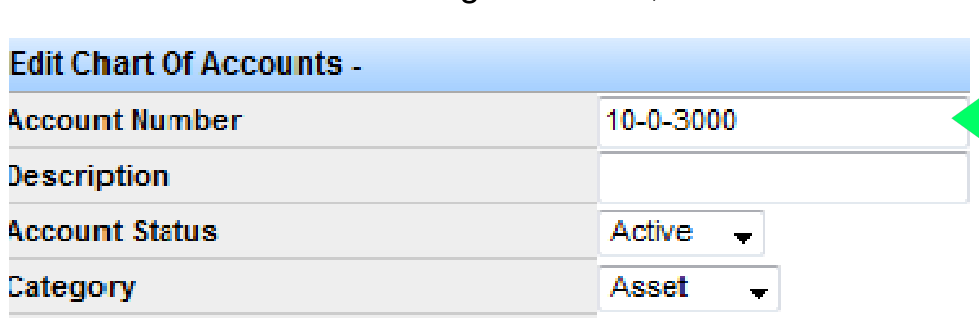
- Account Number: Required. Use a number that fits the series—for a new Cash account, start with 10 (for example, 10-0-3000).
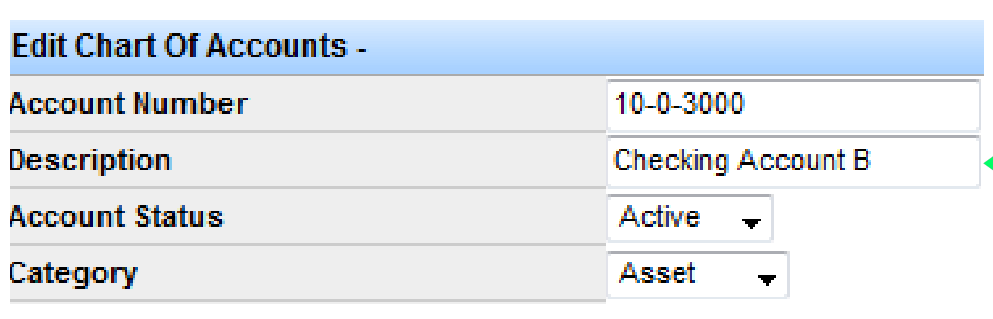
- Description: Enter the account title.
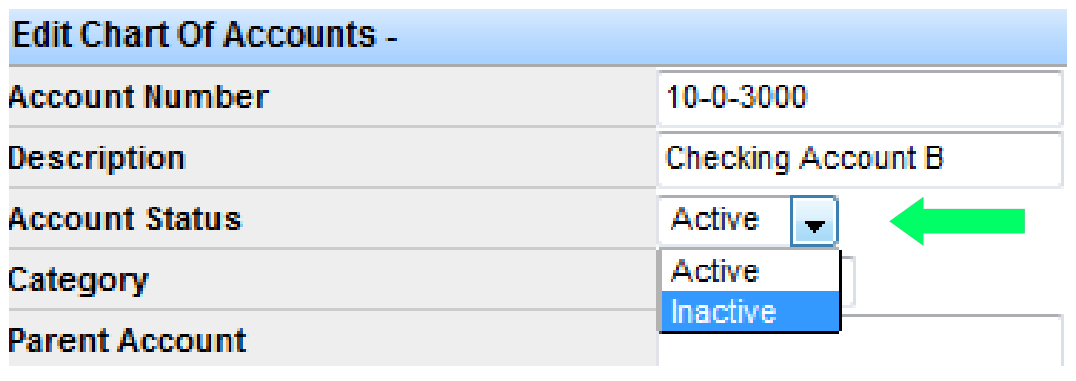
- Account Status: Active or Inactive. Accounts cannot be deleted; inactive blocks access and editing.
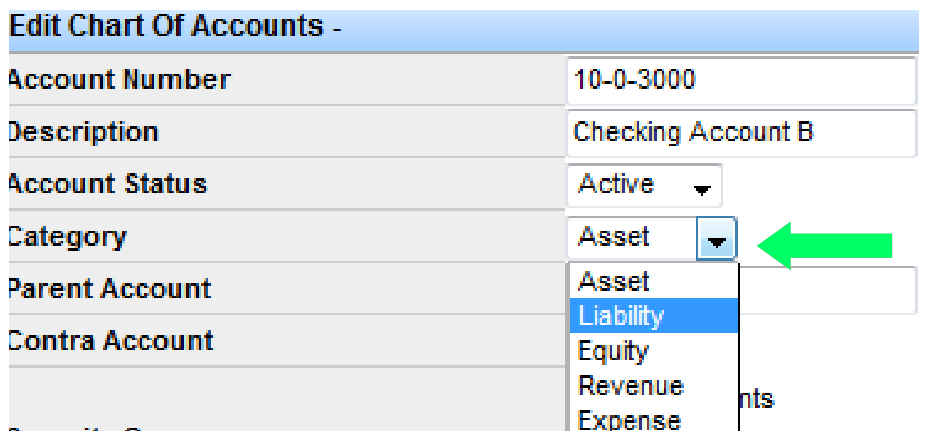
- Category: Select the correct account category.
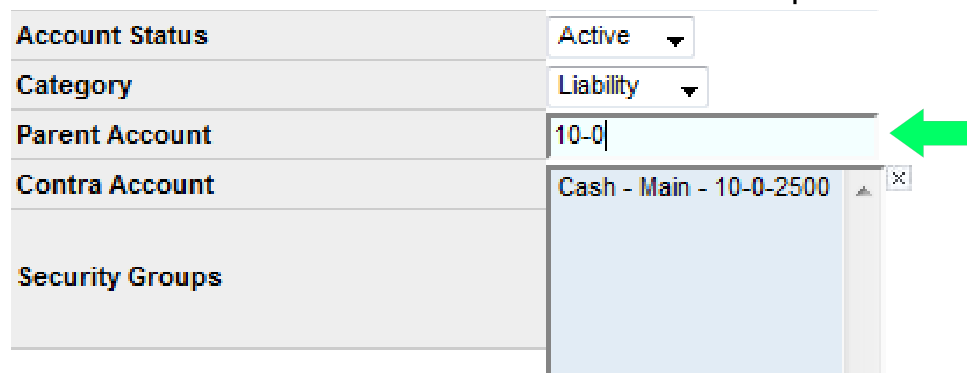
- Parent Account: Enter the parent number so the new account nests correctly (for 10-0-3000, the parent is 10-0). As you type, matching parents appear. With no parent, the system creates a new top-level account.
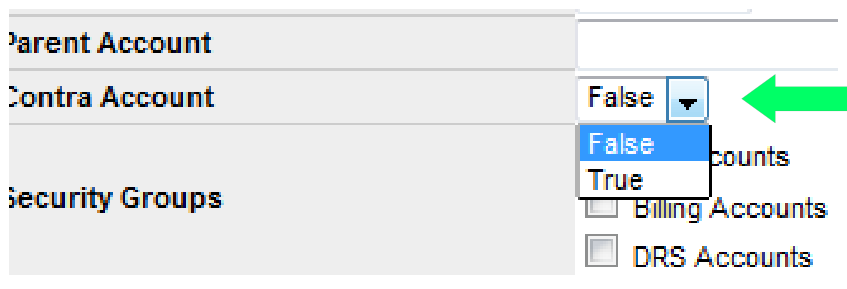
- Contra Account: Choose the option your accountant requires for this account.
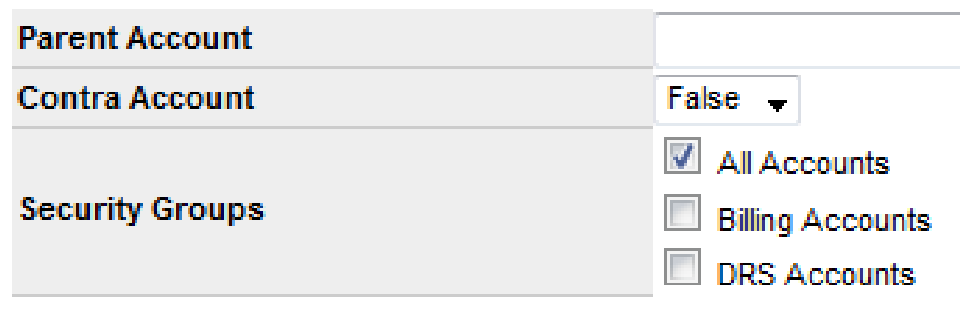
- Security Groups: Check the groups that should see this account. If none are selected, the account will not appear on reports.
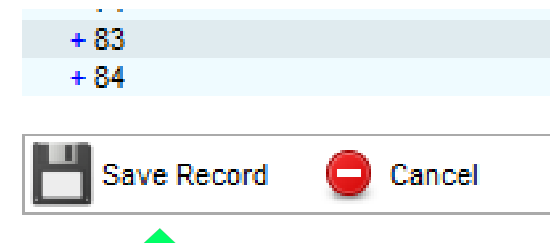
Important: Click Save Record before exiting the window. If you do not assign a security group, the account will not show on any reports.
If you have questions about the chart of accounts, contact support at support@transportpro.net.